.avif)
If you’re a professional who absolutely hates creating presentations at the last minute because your boss texted you in the evening, you’re not alone. For most professionals, meetings and presentations are a significant part of their jobs every day. And AI isn’t getting any better at creating presentations the way most of us want.
But AI is getting better at automating the most annoying aspects of your professional lives. Another maverick in the slides, deck, and presentation field is Kimi Slides. Kimi Slides basically turns one prompt into a finished, professional deck. You give it the idea, it handles the flow, the layout, and the design without you touching a single slide. What makes this even wilder is what’s running behind it. Kimi K2 is a Mixture of Experts model with a trillion parameters overall, but it only wakes up the smartest 32 billion for each task. That’s why the results feel fast, focused, and surprisingly on point, without the usual clutter you get from oversized models.
So here we are with a tutorial on Kimi Slides. We will show you how to access Kimi Slides, enter your presentation prompt, choose a template, customize your style, generate and review the slides, and download and export your presentation.
Here is the list of steps to create a fantastic presentation:
- Access Kimi Slides
- Explain your presentation
- Edit your presentation
- Download and share your presentation
Let’s get right into it!
Step 1 - Access Kimi Slides
Kimi Slides shine at turning a rough idea into a complete, coherent deck in minutes. The flow makes sense, the slides are logically structured, and the layouts are clean enough to be client-ready or at least 80 to 90% there. For strategy decks, internal presentations, explainers, or first drafts, it saves a massive amount of time.
Start building your presentation by accessing Kimi. Create an account or log in to an existing one.
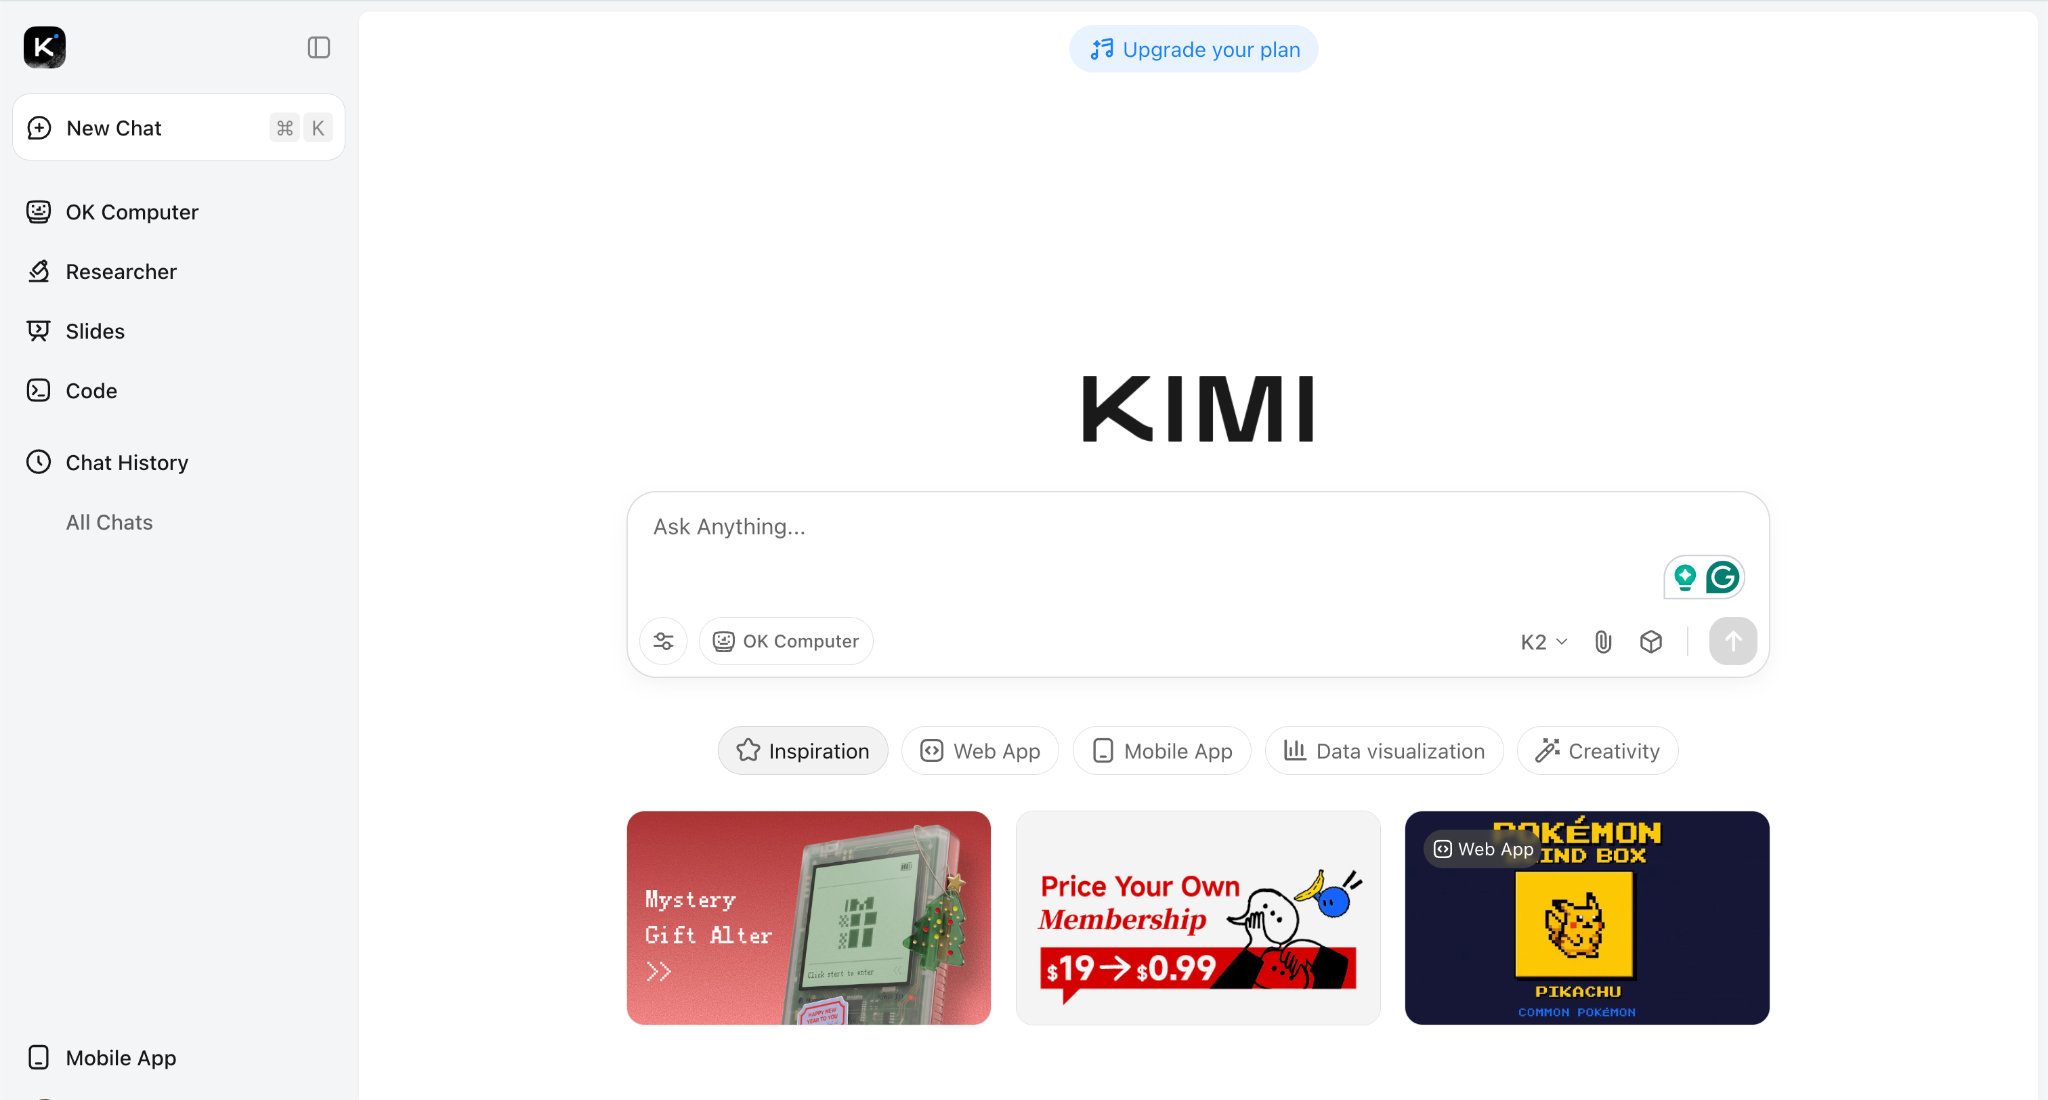
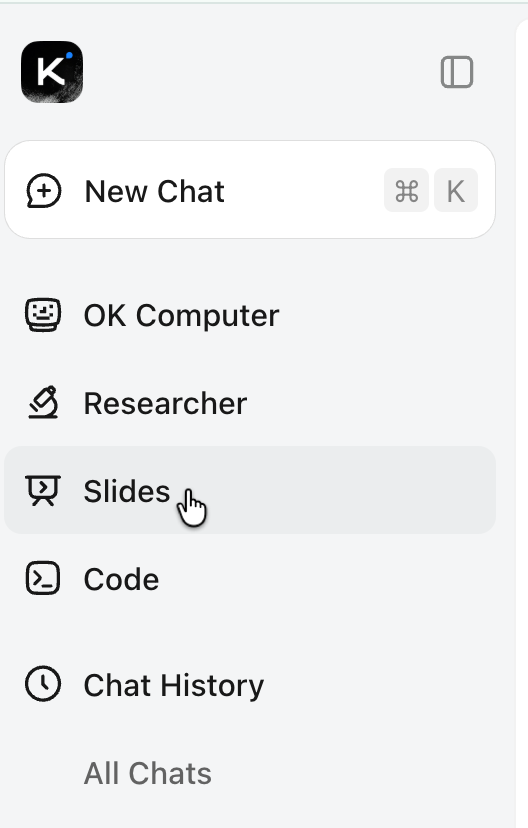
Once you’re in, head to the dashboard and look for Kimi Slides. That’s where the magic happens. It runs on the Kimi K2 model, which is built specifically to crank out slide decks without you worrying about structure or layout. On the homepage, you’ll see a few creation paths. Just click Kimi Slides, and you’re off.
If this is your first time using Kimi, you’ll get free credits to play around with, which is more than enough to test the tool and generate a few decks. If you want to go further, paid plans start at Moderato at $19 a month, then Allegretto at $39, and Vivace at $199. You don’t need to upgrade right away, though. The free tier is perfectly fine for experimenting and seeing what Kimi Slides can actually do.
Step 2 - Explain your presentation.
Let’s get down to business. An interesting feature that you might not see elsewhere is the cute little cube icon on the left side of the chat interface. This feature saves your prompts when clicked so that you can use them in future projects. Instead of writing a prompt every time you need a presentation, you can just click this icon and save the hassle of writing a prompt.
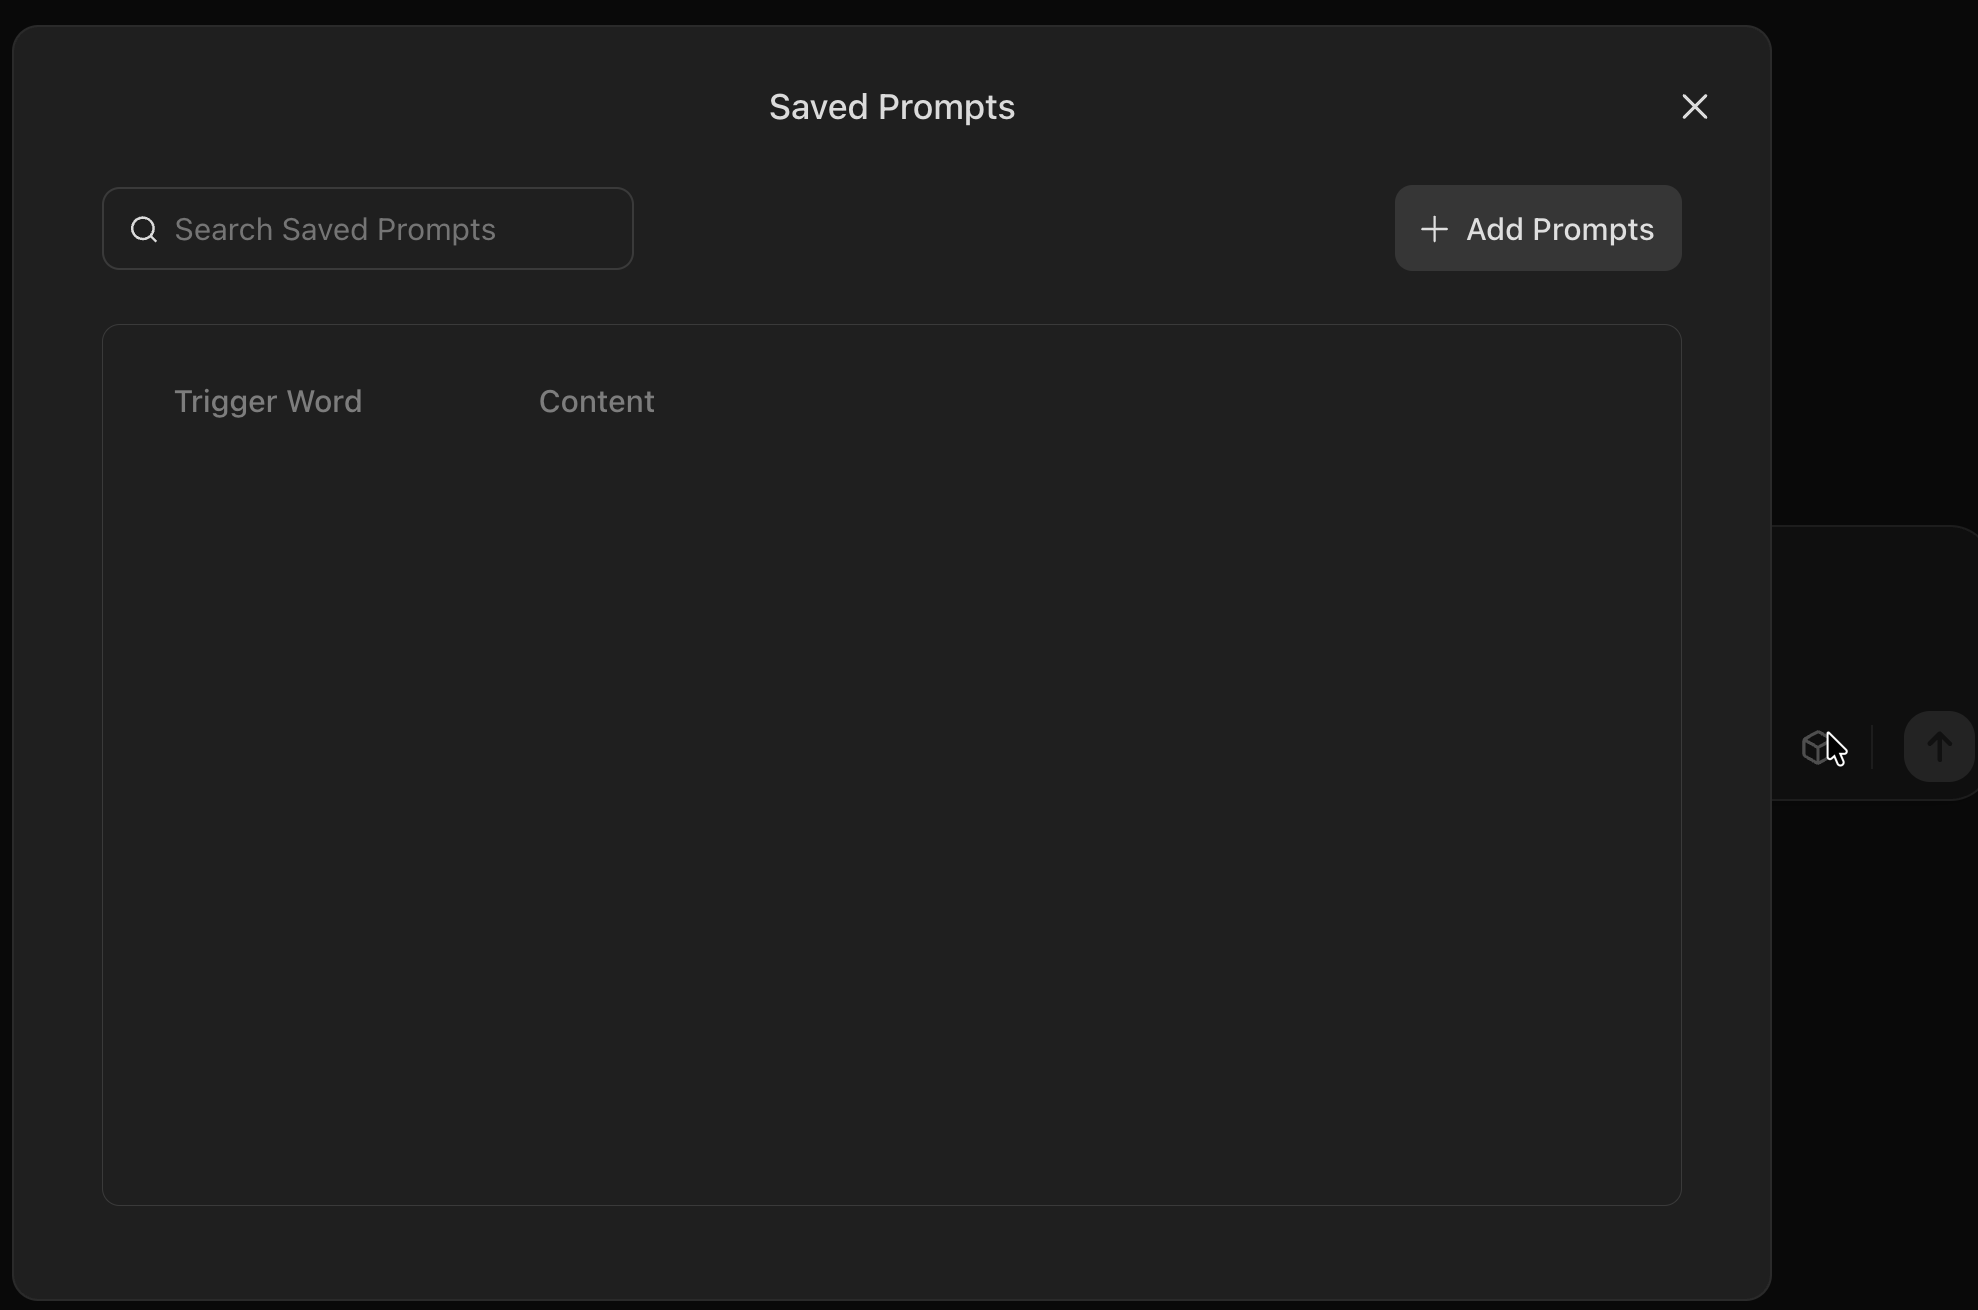
Figure out what you want with your presentation. Write a prompt that goes like this:
Prompt:
Create a business plan presentation for an artisan bread shop called ‘DailyBake’ in Vancouver, Canada. The bread shop will have sourdough boule, rye bread, baguette, and other artisan breads.
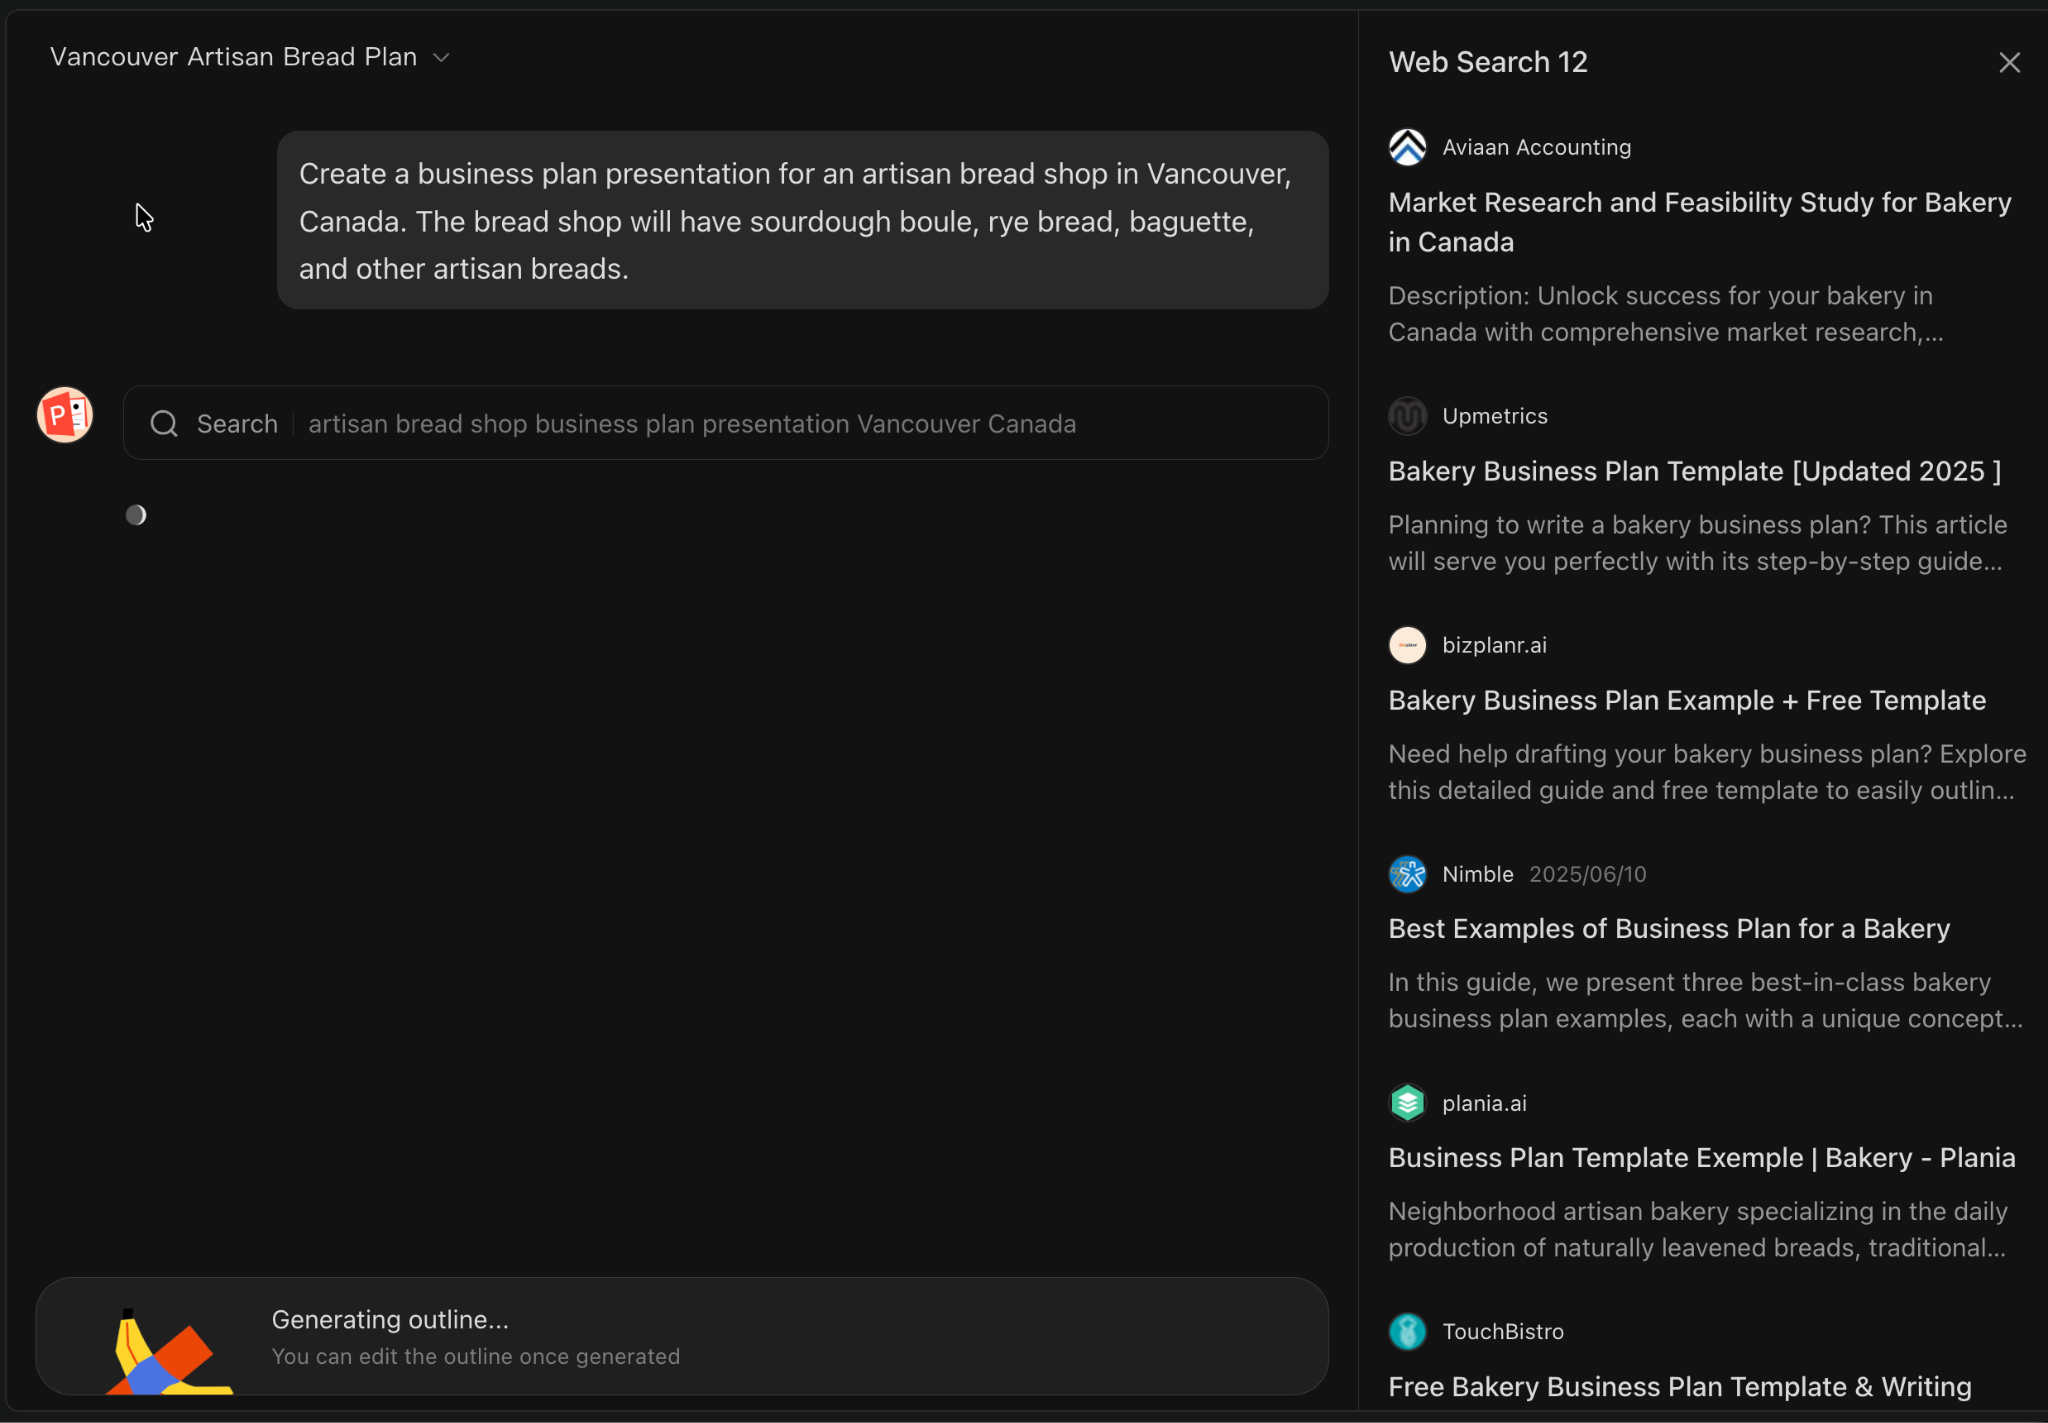
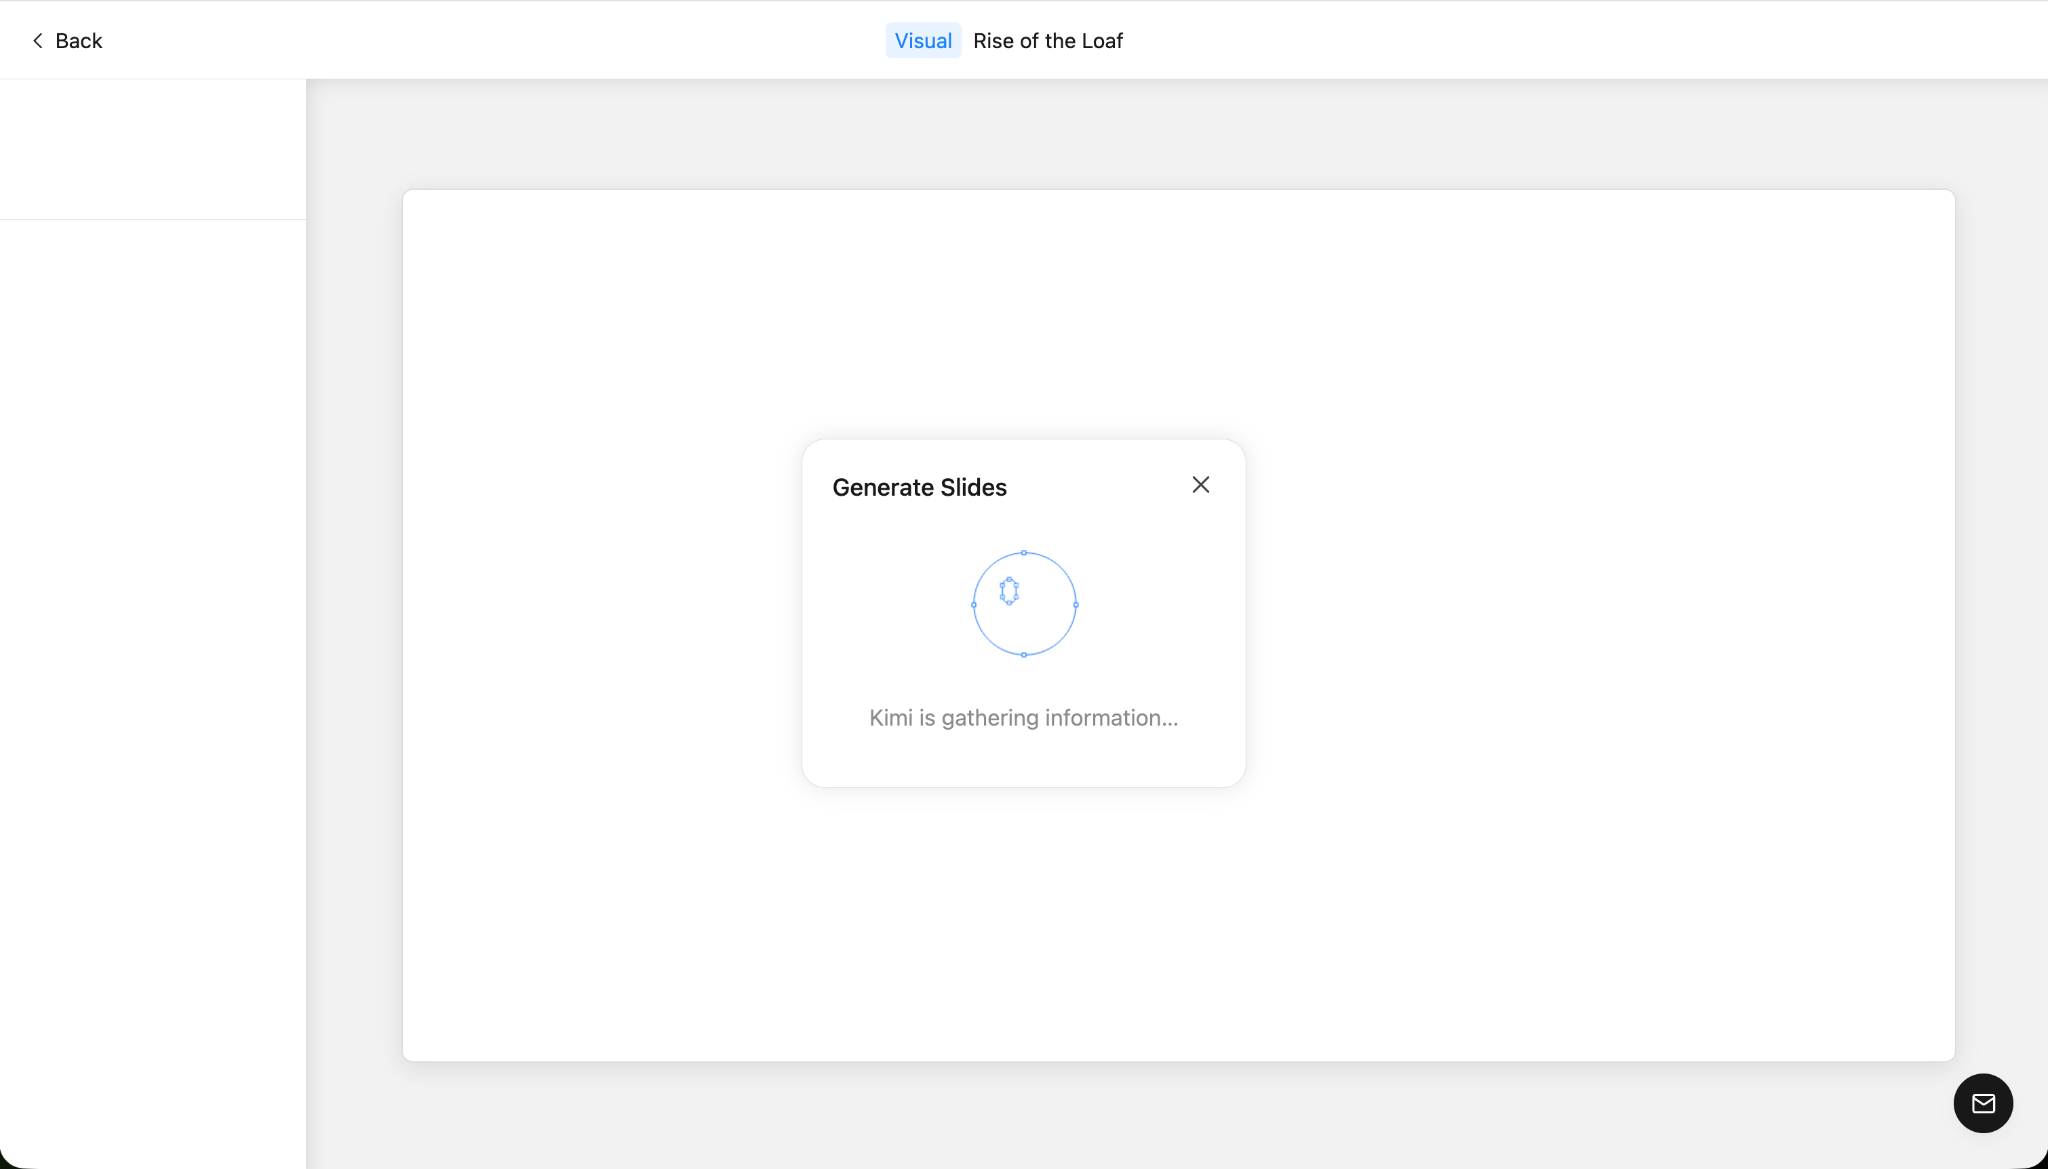
You drop in your prompt, and Kimi’s AI agent immediately gets to work. It figures out the spine of your presentation on its own: slide titles, core ideas, sections, and the key points that actually matter. Within seconds, you’re looking at a real outline instead of a blank slide staring back at you.
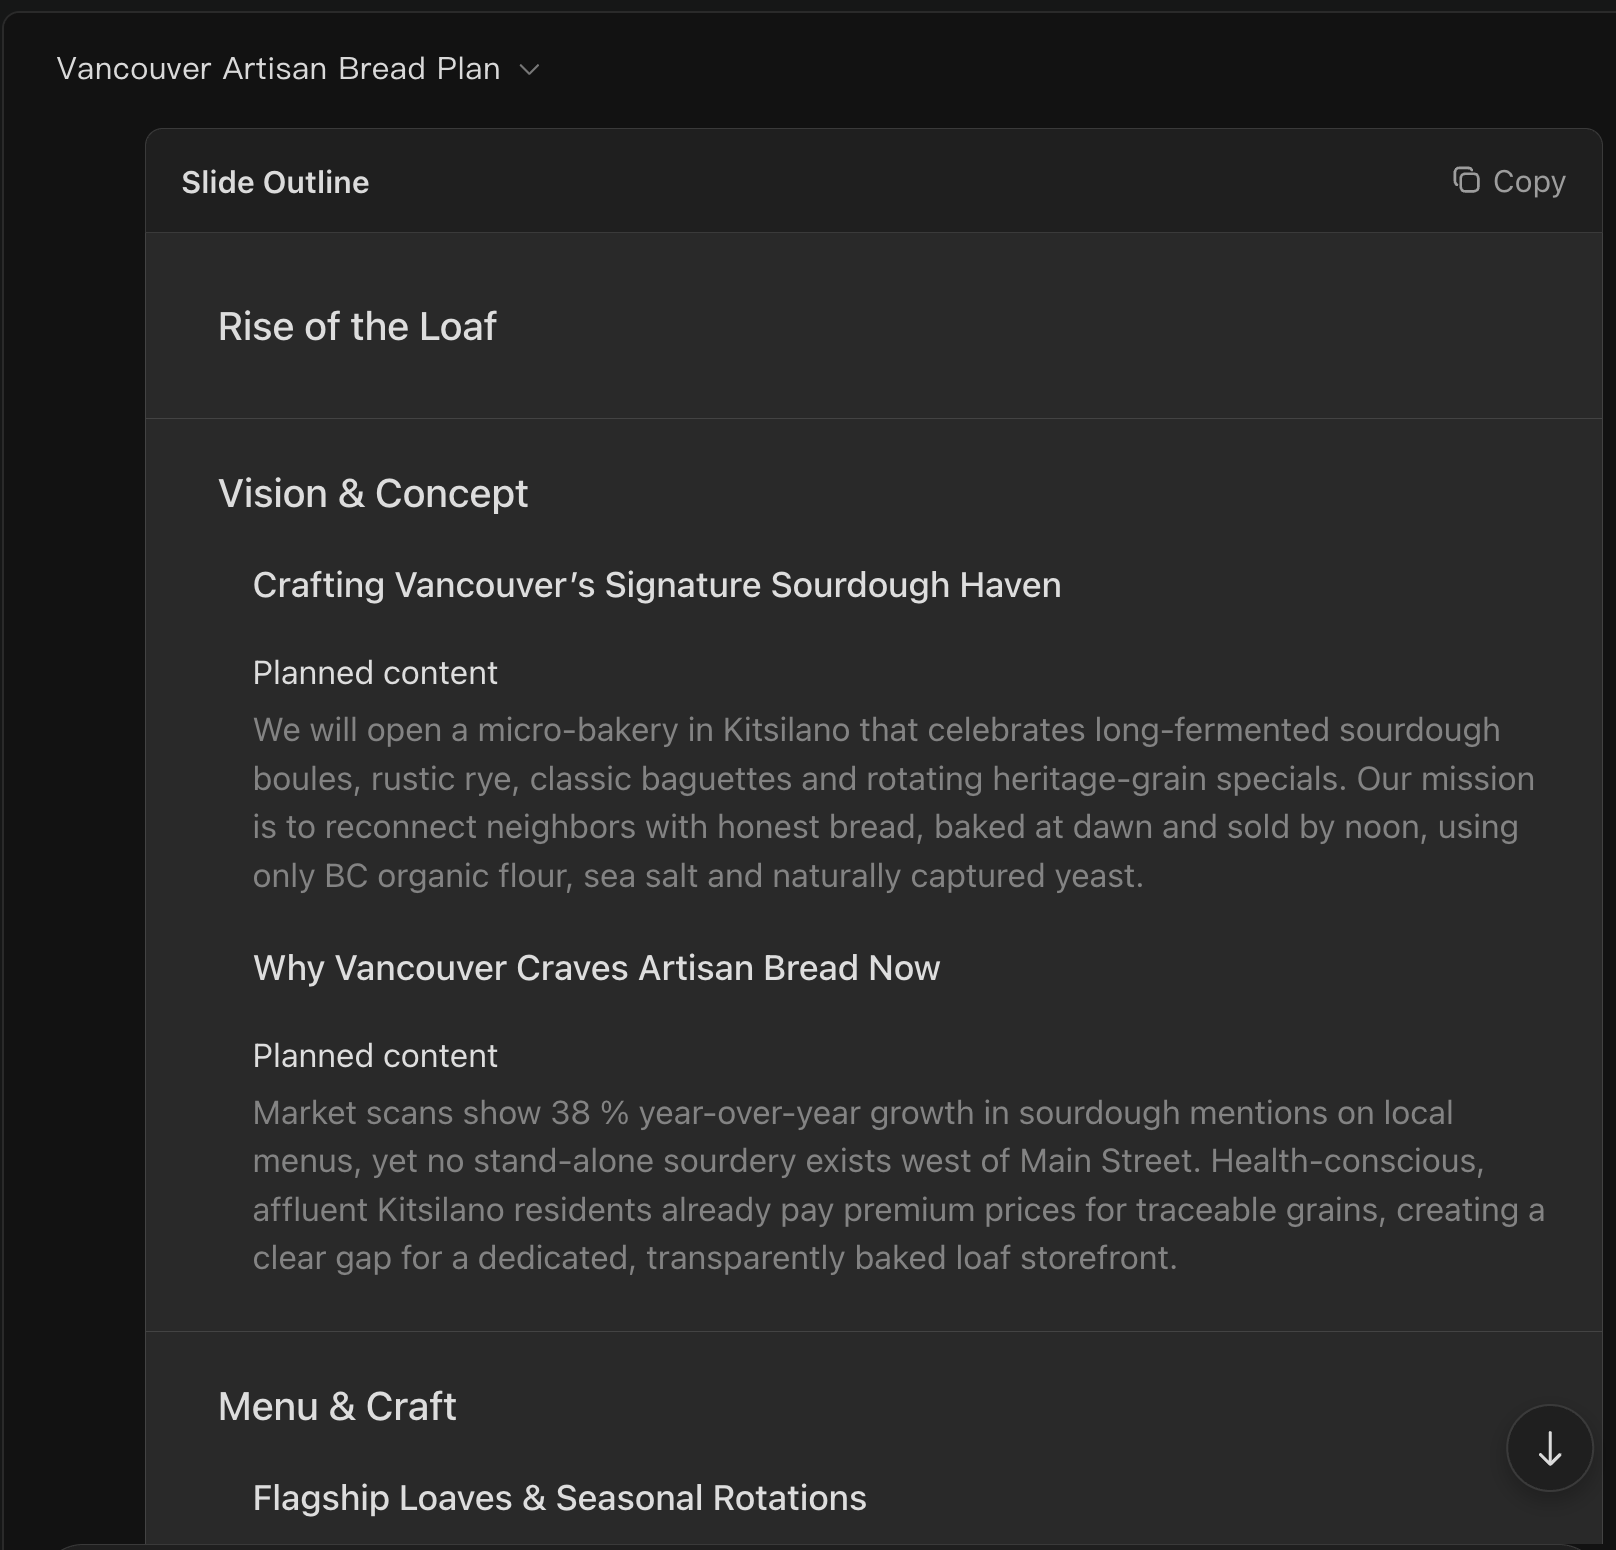
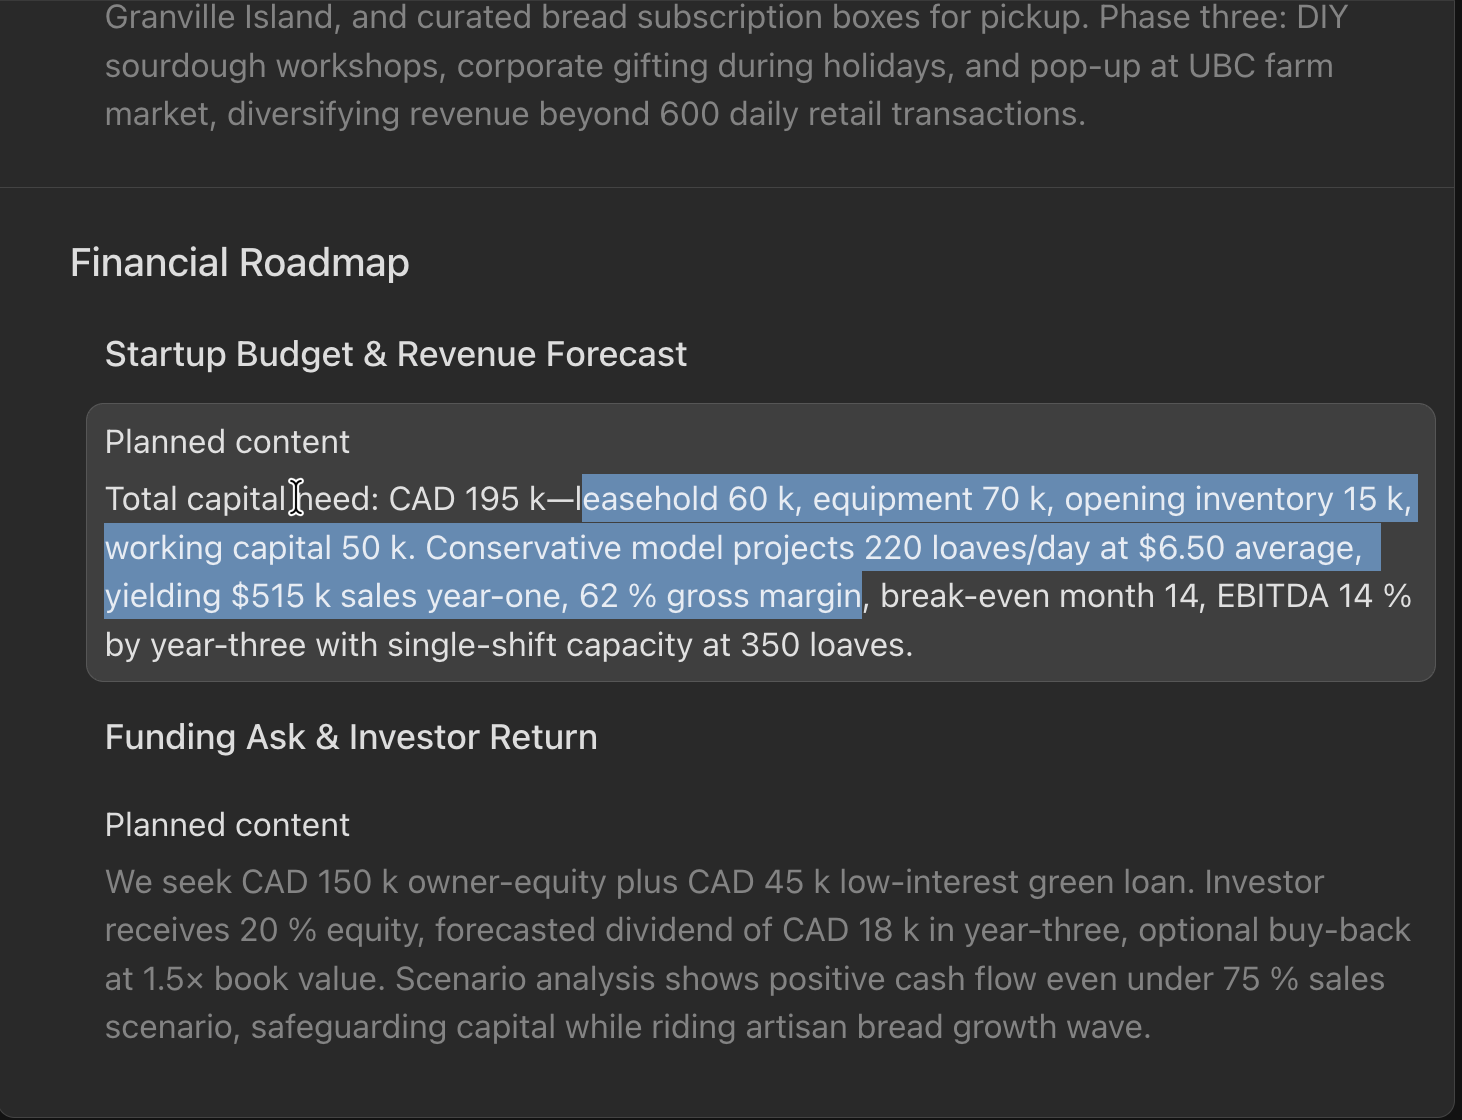
The interesting part is that you can click any part of the outline to edit it.
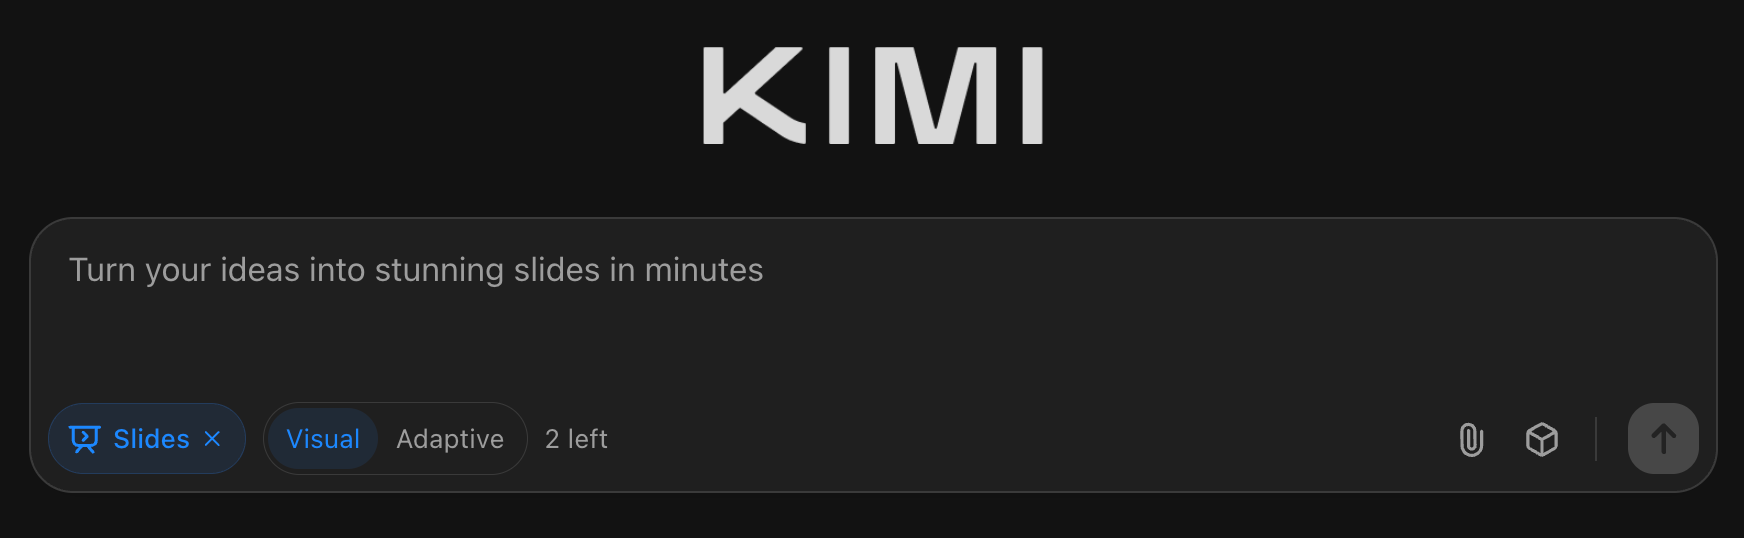
Next, you get to pick how the deck is generated, and this actually matters.
- Preset Mode sticks to a clean, structured layout with clearly organized text and ready-made templates. It’s safe, predictable, and very business-friendly.
- Adaptive Mode loosens things up. It leans more into visuals, spacing, and creative layout choices, which makes it feel more alive and less like a standard corporate deck.
If you’re building something for a café, a small bakery, or any brand that relies on vibe as much as information, Adaptive Mode usually looks way more appealing right out of the gate.
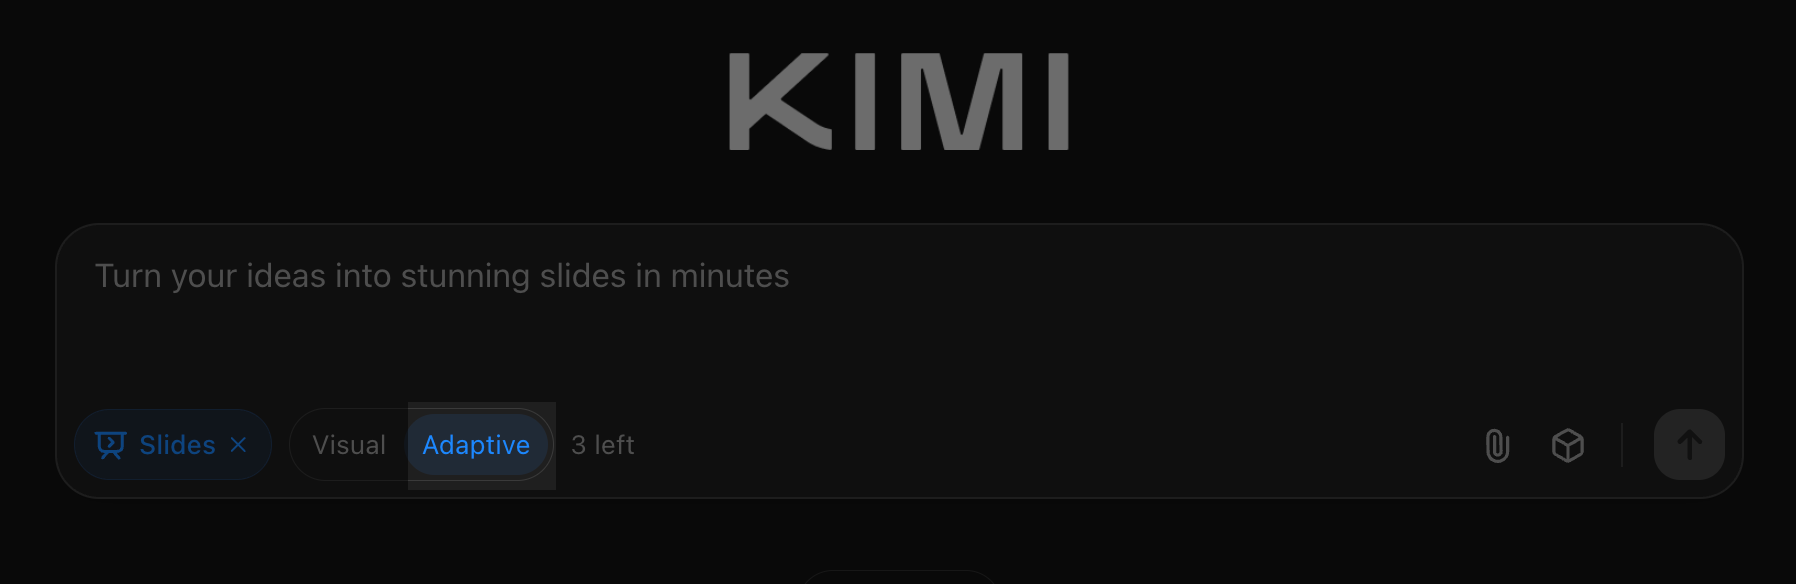
Click ‘Generate slides.’
Step 3 - Edit your presentation
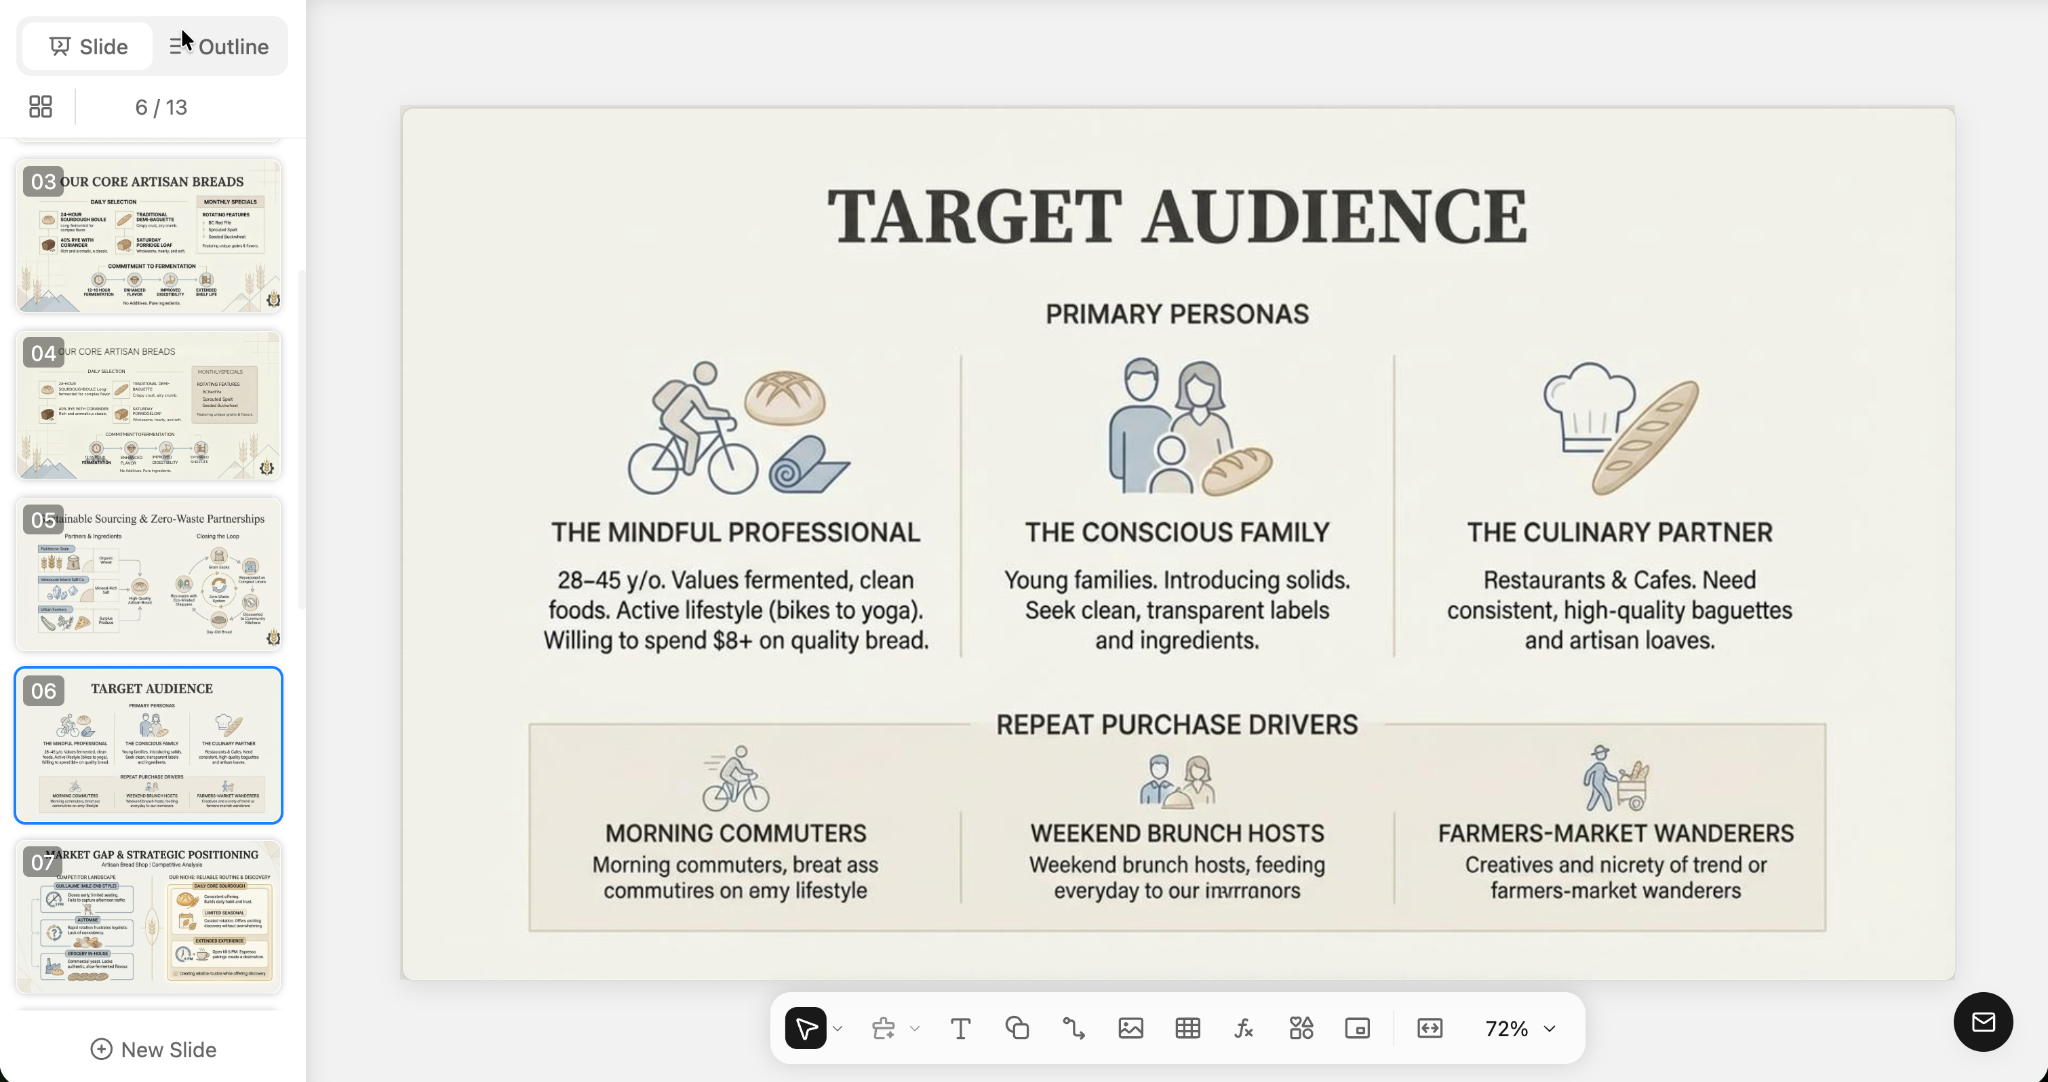
Whether you choose the visual or adaptive settings, you won’t be able to select a template in HTML mode. You have to resort to what Kimi Slides generated for you.

You can, however, edit the slides using the text, shapes, icons, and similar tools. The images it used are fantastic, and the overall layout and templates are not bad either.
Step 4 - Download and share your presentation
Once you are done editing and polishing the presentation, you can download the entire set of slides by clicking the ‘Download’ button at the top right corner of the screen.
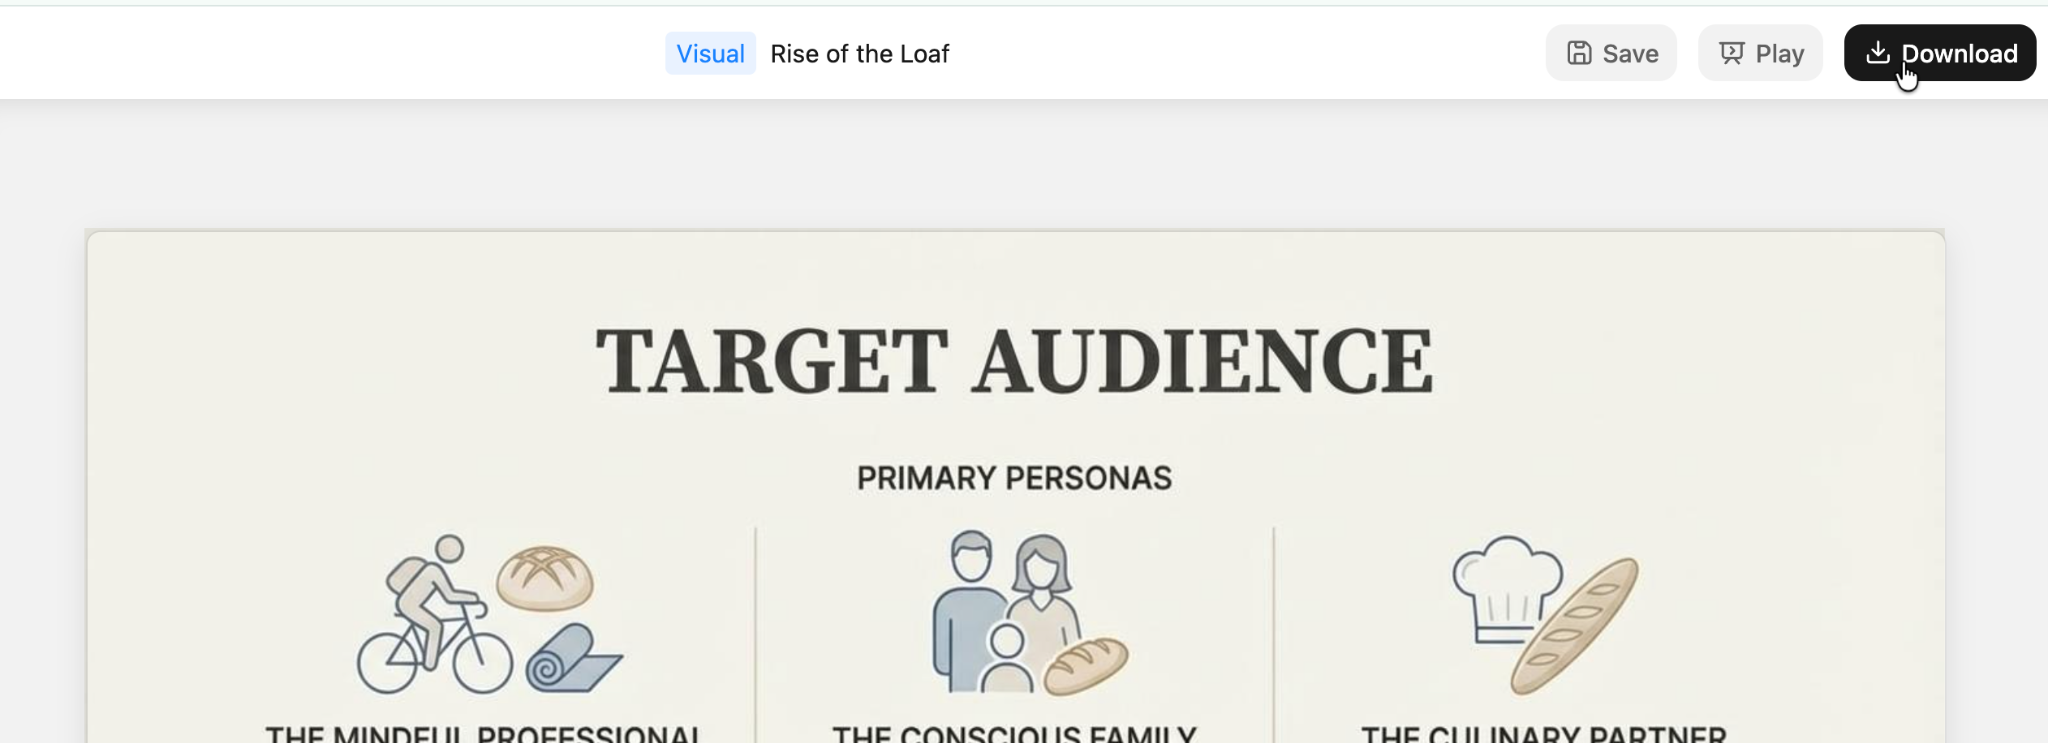
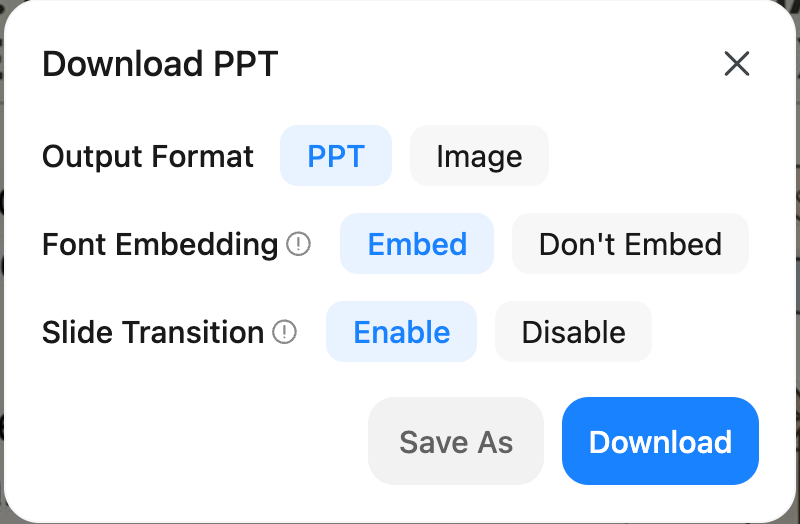
Once the deck looks good, hit Download in the top right. From there, pick your export format. Go with PPTX if you’re using PowerPoint, or export images if you only need the visuals.
Before you finalize it, double-check a few things.
- Embed the fonts so nothing breaks when you open it on another device.
- Turn on transitions if you want light animations during playback.
- Keep the embed option enabled so the deck looks exactly the way it was designed, no matter where it’s opened.
That’s it for this tutorial, AI Technonauts! Play around with different prompts and presentation styles until it clicks with your brand. Kimi K2 Slides can easily go toe to toe with tools like Gamma, which tends to feel a bit boxed in stylistically, or Canva, where text alignment can get messy fast. The big difference is speed and structure. Kimi gets you to a clean, well-organized deck much faster, with less fiddling and fewer fixes afterward.

.png)

