.avif)
.png)
Google is at it again! The AI engineers at Google are not coming slow. Google has launched an updated version of Veo - Google’s own AI video generation tool. Not only does Veo 3.1 offer crisp and elegant videos from images, references, and text, but it also offers a better voice. More control over your story, and visuals that feel incredibly real. It builds on VEO 3 with sharper prompts and smoother, higher-quality audio and video when turning your images into motion.
Ever thought about making a brand video of yourself or your product that really captures what it’s about? With VEO 3.1, you’re one step closer to making it happen. It gives you sharper visuals, clearer audio, and more control over your story. Everything looks and feels more natural, creating a video that actually represents you and what you stand for. VEO 3.1 makes turning your ideas into something you might really be proud of.
This tutorial is not about a step-by-step introduction to Veo 3.1. It’s about transforming a photo into a stunning brand video. In this tutorial, we’ll show you how to generate a headshot using Google Banana, transform the headshot image into a brand video using Veo 3.1 in Google Flow, prompt your first scene, and edit and review the video timeline.
By the end of this tutorial, you’ll be able to:
- Generate your headshot in Gemini
- Upload photos in Google Flow
- Prompt your first scene
- Review and edit your timeline
- Download your video
Let’s get right into it!
Step 1 - Generate your headshot in Gemini
The most effective way to create a brand video in under a minute is with a photo. You can upload a photo or generate one with Gemini. Head over to Gemini and log in to an account.
Note: It’s important to have a Google Pro account. Veo 3.1 is not free for everyone. It requires a subscription. A Pro account allows you to generate up to 3 videos a day.
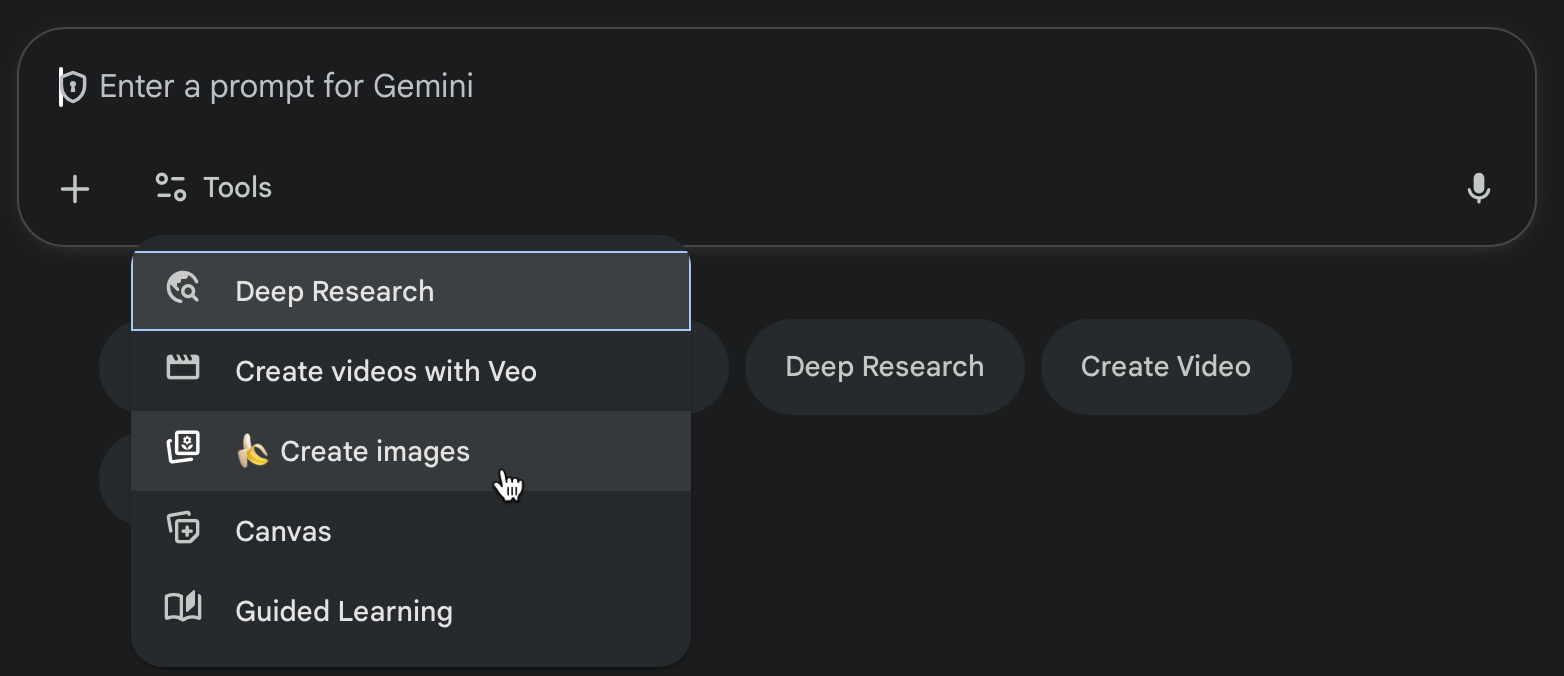
Go to the Tools drop-down and select ‘Create images.’
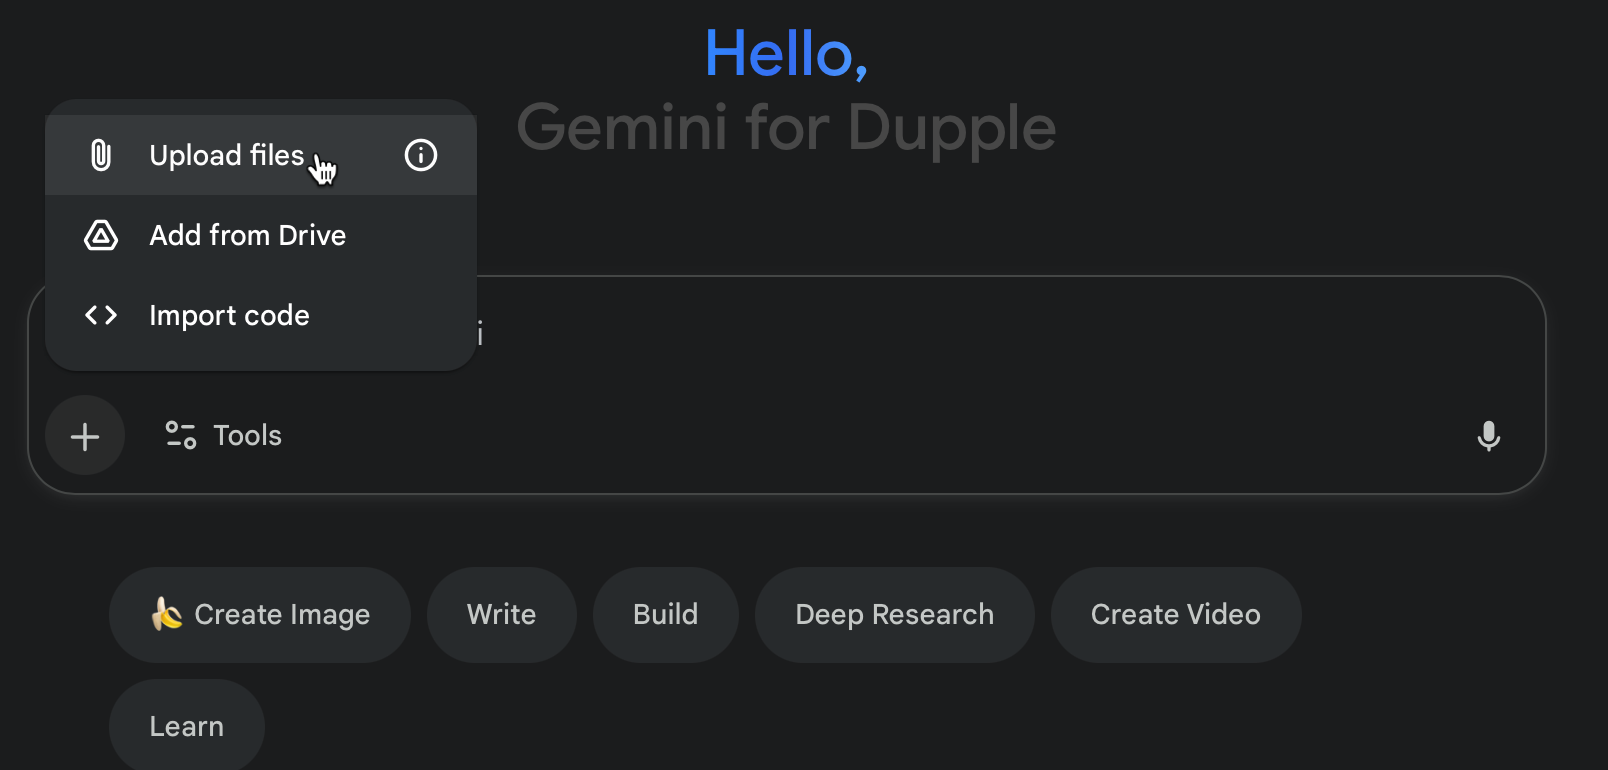
Here, you can upload a photo as a reference (recommended) or you can write a detailed prompt that defines the facial features, scene, clothes, and background. It’s better to upload an image. Click the ‘+’ sign in the chatbox and upload a photo.
Next, write a prompt to describe the desired image. Be as detailed as you possibly can. Describe the background, clothes, skin tone, light source, and other details. Here’s an example prompt to get you started.
Prompt:
Photo of a woman [upload reference], sitting in a modern office with large floor-to-ceiling windows overlooking a city skyline. She’s wearing a light business blouse and casual denim shirt, seated at a minimalist desk with a clean setup — maybe a laptop, notebook, or coffee cup. The space is bright with soft, natural daylight illuminating her face. She’s looking slightly to the right, appearing thoughtful and confident. The camera angle is a medium shot, slightly over-the-shoulder, showing part of the desk and the city view in the background. The image should feel photo-realistic, crisp, and modern, with realistic textures, natural skin tones, and a balanced depth of field that highlights her against the urban backdrop.

Generate another one with a prompt that shows the woman writing the notebook while looking at the laptop on the table. Use the following prompt for continuity.
Prompt:
Generate the same photo you created, but show the woman writing in a notebook and glancing over at the laptop screen. Everything is the same.
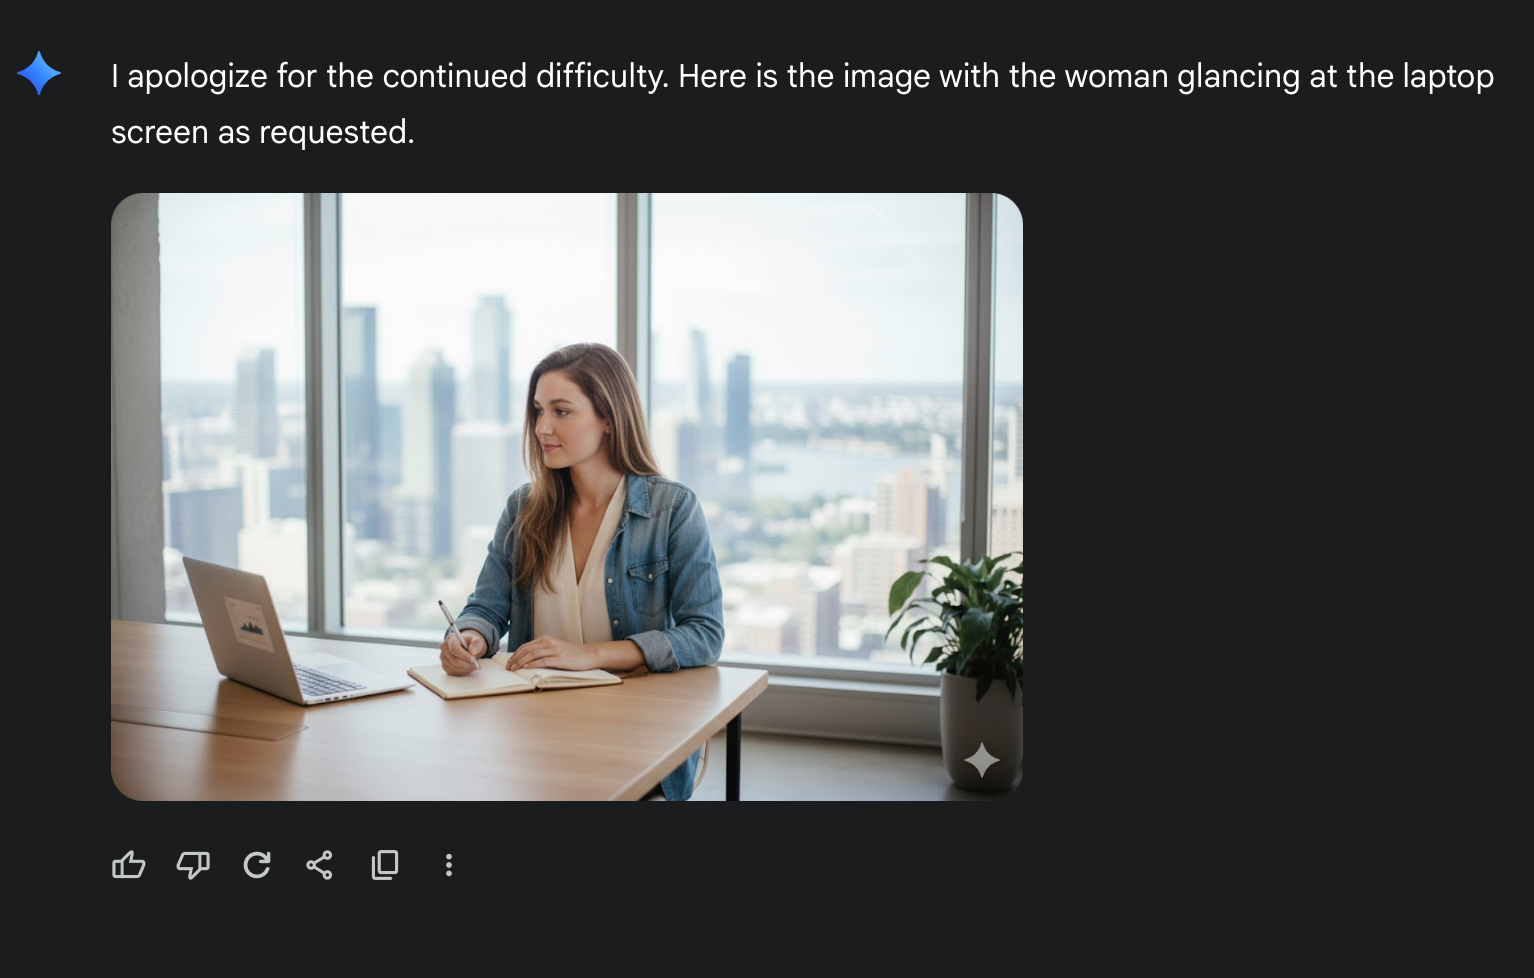
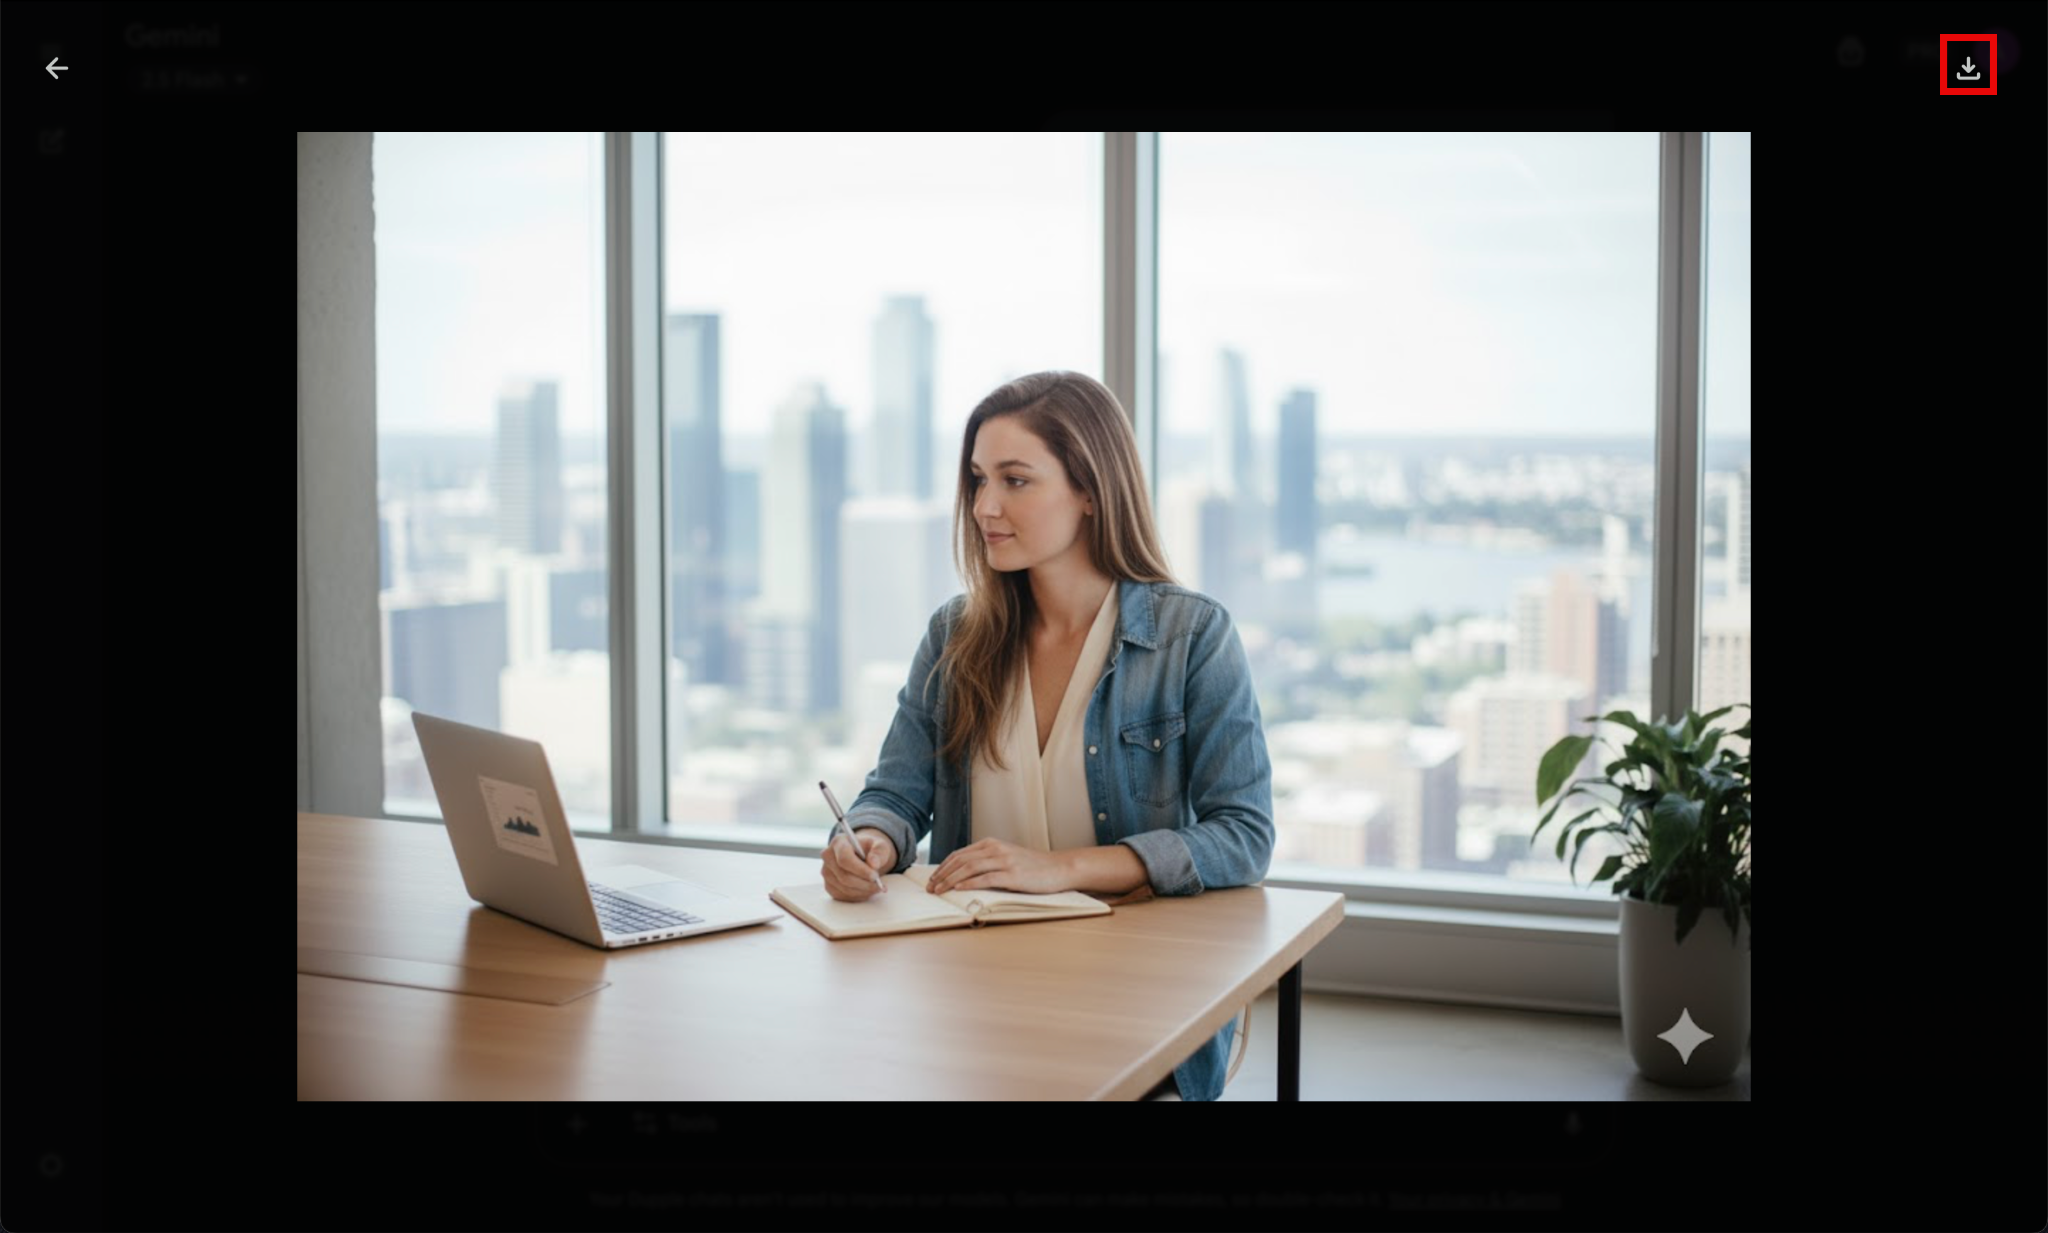
Download the images by clicking the photo. Click the down arrow button in the top right corner of the picture.
Step 2 - Upload photos in Google Flow
Once the images are downloaded, go to Google Flow and log in to a Google Pro account.

Click ‘New Project.’ You will be transported to the Google Flow’s Veo 3.1 video generation screen.

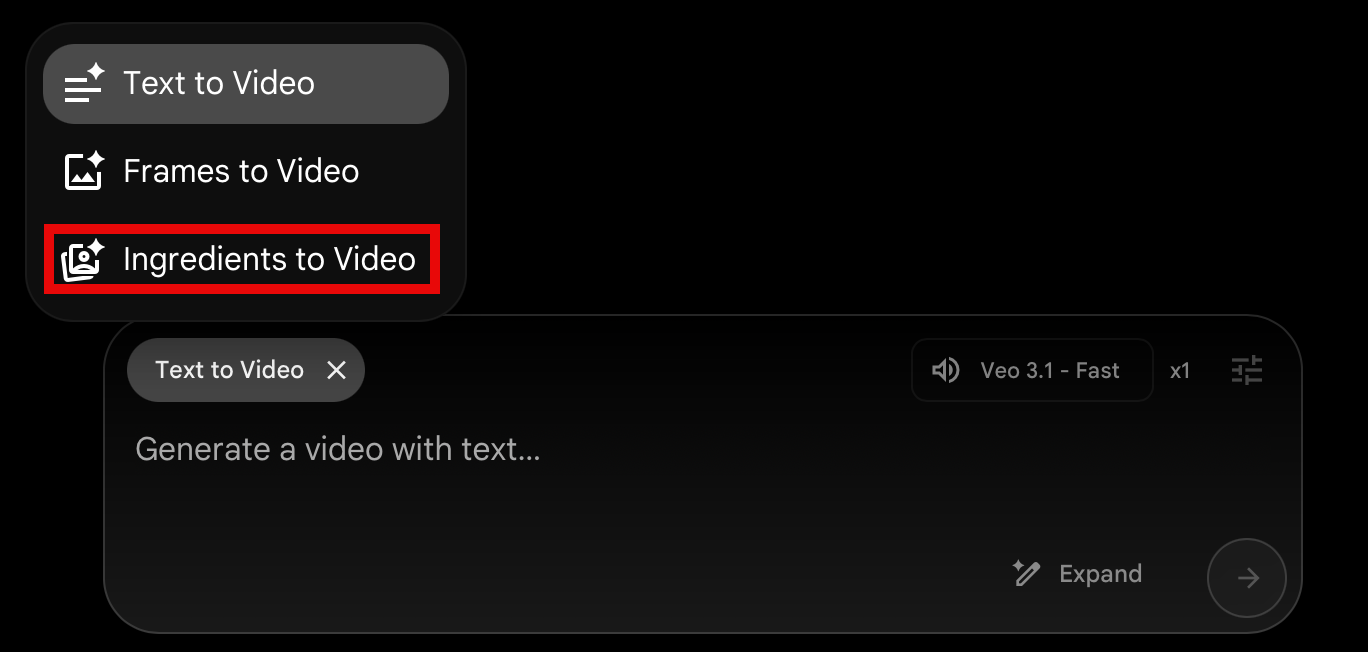
Switch the AI generation to ‘Ingredients to Video.’ The text-to-video is the same old video generation model that uses a prompt. The Frames to video allows you to add a video and generate a new video from the old one. Ingredients to Video enables you to upload reference images/videos and develop a complete video from the reference material.
Step 3 - Prompt your first scene
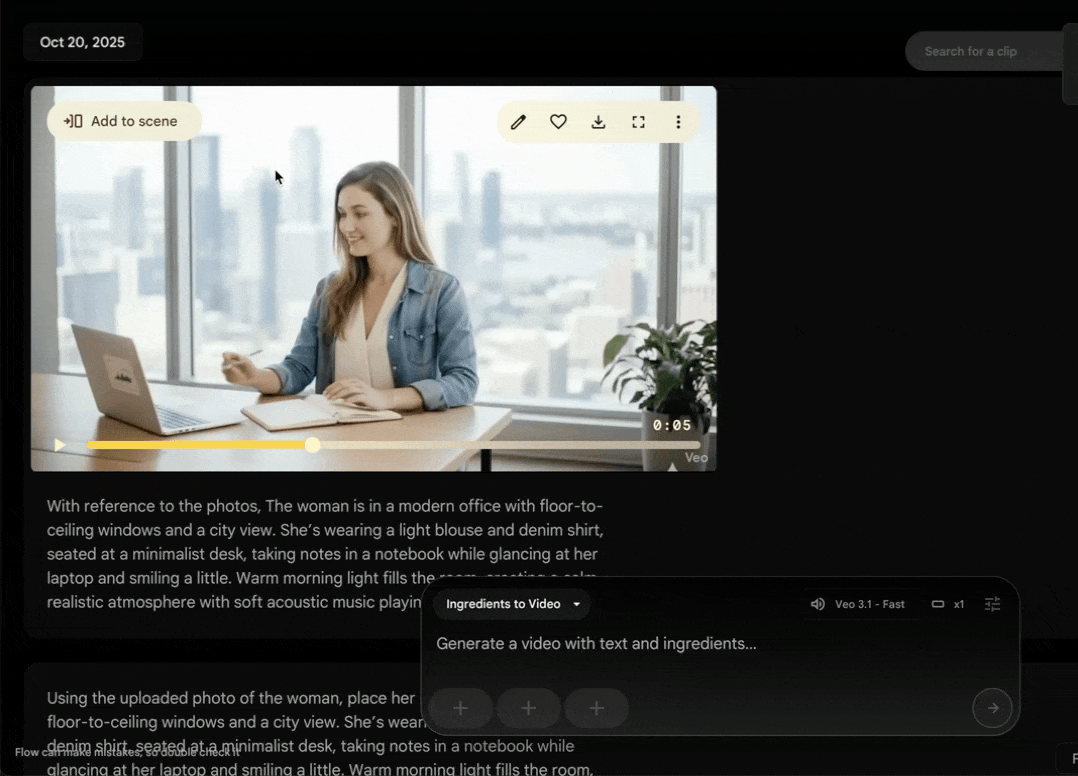
Time to write a prompt. Figure out what you want the brand video to do. Lay out the complete scene-by-scene frames and describe them in a prompt. Use the following for inspiration.
Prompt:
With reference to the photos, the woman is in a modern office with floor-to-ceiling windows and a city view. She’s wearing a light blouse and a denim shirt, seated at a minimalist desk, taking notes in a notebook while glancing at her laptop and smiling a little. Warm morning light fills the room, creating a calm, realistic atmosphere with soft acoustic music playing in the background.
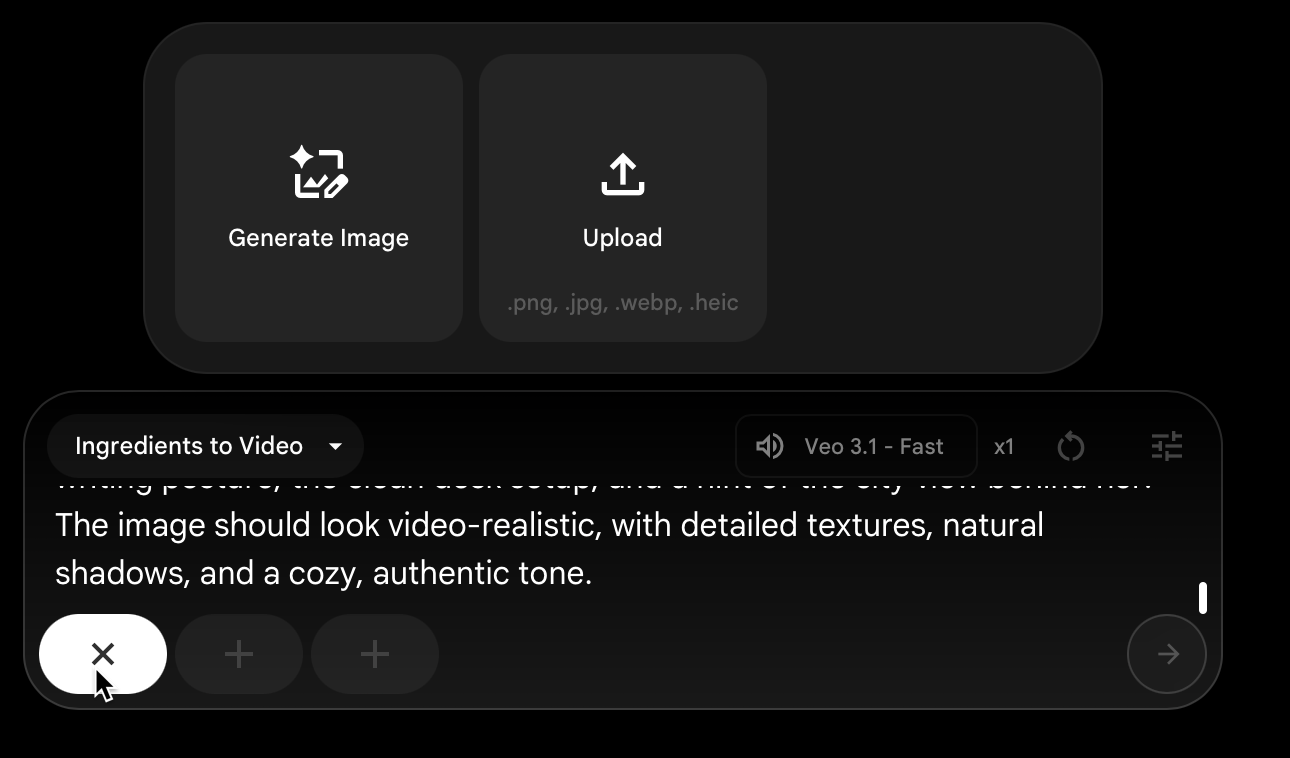
Upload both images you generated from a photo. Click the ‘+’ sign at the bottom of the prompt box and upload each photo one by one.
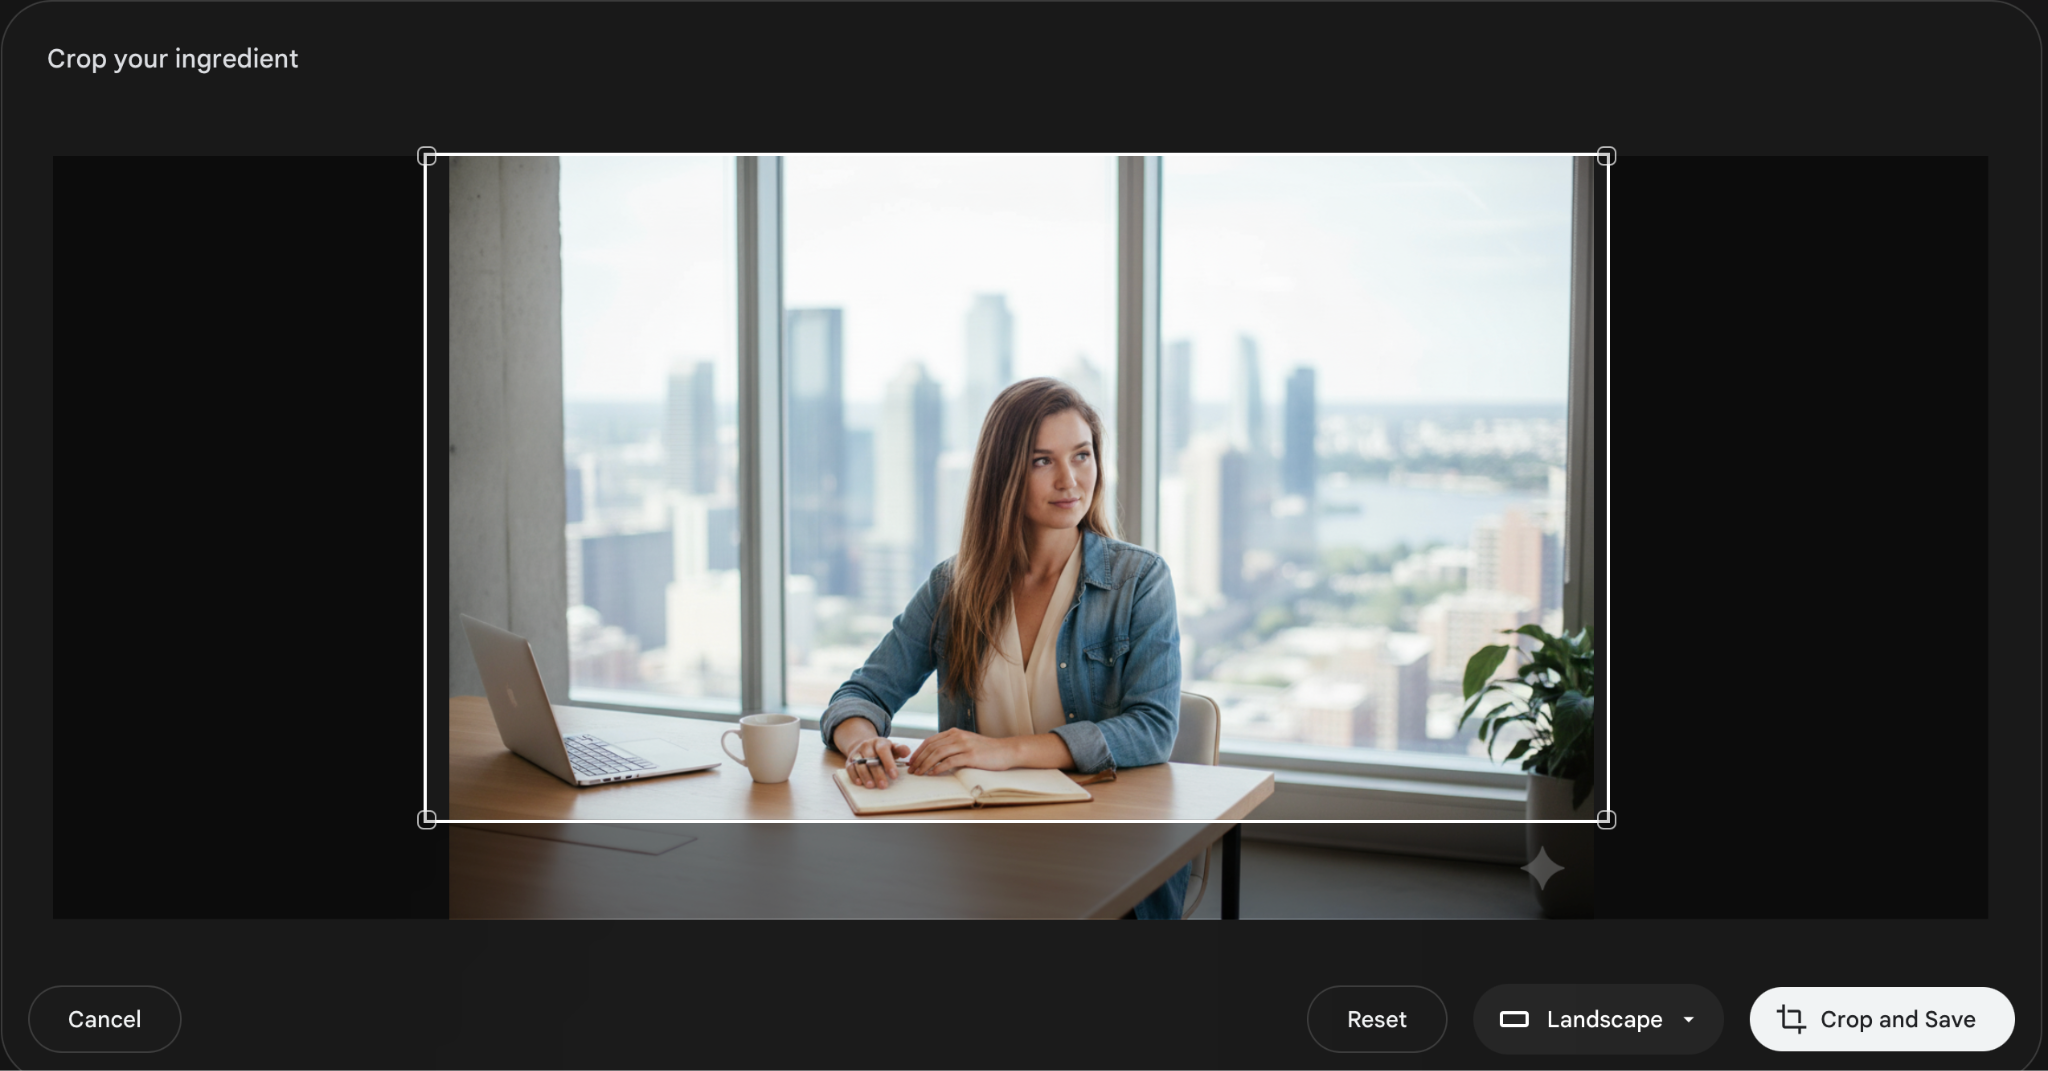
Crop the photo to fit the recommended size, and click ‘Crop and Save.’
Check the prompt and generate your first video.
That’s a fantastic video. The scene is crisp and clear, and the background music is on spot.
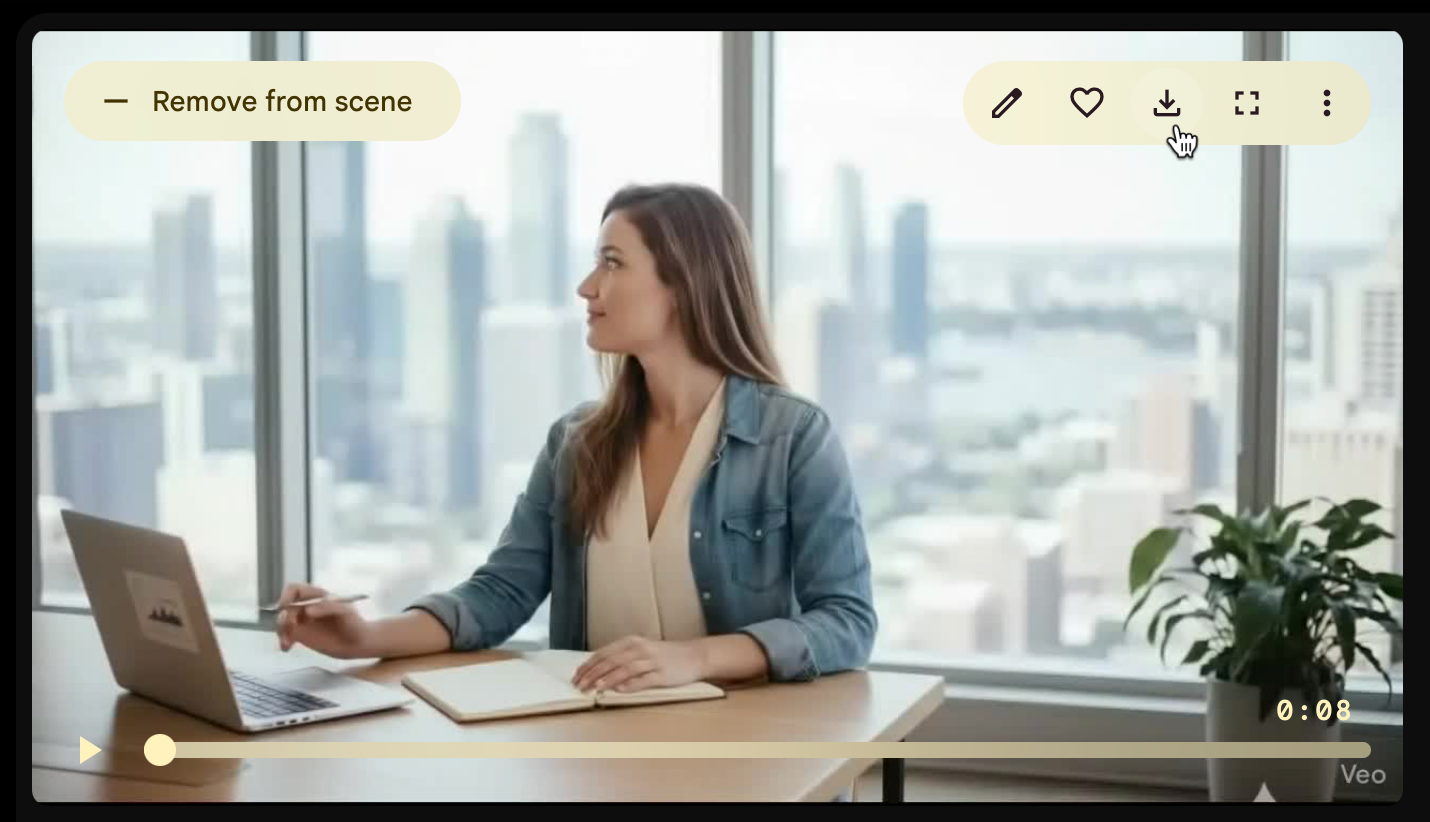
Step 4 - Review and edit your timeline
You can add the generated video as a scene of another video. That’s the beauty of Veo 3.1. Let’s say you want to add the coffee sipping action in your brand video or a call to action sequence at the end of the video. The add to scene feature will help you do that!
Click ‘Add to Scene.’
Now click the ‘+’ sign next to the added frame and extend the scene.

Prompt:
The woman finishes writing in a notebook, look at the camera and says 'Ready to collaborate? DM me!' Fade to text overlay with title.
Here’s the video Veo 3.1 generated.
The video turned out amazing. The scenes are crisp, and the sounds are clear.
Next, you can edit the video by selecting areas of the video that require improvement. Insert any objects within your video. This way, you can create product demo videos or training content without recording.

Select the area where you want to add an object. You can also select any object and delete it from the video. It’s as simple as that! Write a prompt and you are good to go!.
Step 5 - Download your video
After finalizing the clips, it’s time to download your first AI brand video. Just select the video and click the download button.
Google Flow asks you whether you want to download it in 720p or upscale to 1080p. Select 1080p because it doesn’t require any credits.

That’s it for this tutorial, AI video mavericks! The most crucial aspect of Veo 3.1 video creation is the prompt. The prompt should be crafted carefully. Resist the urge to use ChatGPT for the prompt. Google Flow and other AI services tend to generate better images and videos when you write the prompt and not the AI.

.png)

