.avif)

Meetings are a part of the daily grind for most professionals. Those who work in an office know that meetings eat up most of their precious time. For starters, most of the attendees have no idea what the meeting is about. The people initiating the meeting or leading a Scrum or Kanban stand-up have little or no knowledge of previous meetings. It’s all about shooting in the dark and waiting for someone to take a hit.
For some weird reason, companies block tools like Fireflies, Otter, Grain, Granola, etc. These tools record meetings and provide an AI notepad for back-to-back meetings. In this situation, ChatGPT's built-in recorder comes in handy. It records and summarizes the meetings directly in the ChatGPT desktop app—no need to juggle third-party tools or download obscure ones just to record meetings and take notes.
As you have guessed, this tutorial shows a step-by-step process for recording a meeting directly in ChatGPT and generating a transcript. You can use the transcript to identify critical points and interact with it by asking questions and getting precise answers. This tutorial will help you understand the key points and prepare you for the next meeting!
By the end of this tutorial, you’ll be able to:
- Get started with ChatGPT record mode
- Record your meeting, lecture or session
- Send the recording to ChatGPT and interact with the transcript
- Chat with your transcript
Let’s dive in!
Step 1 - Get started with ChatGPT record mode
Instead of using the web-based ChatGPT, download the desktop version by accessing the ChatGPT download page. This is useful for recording internal meetings or classes using the built-in recorder feature.
Download ChatGPT for your operating system. We are using a MacBook, so that we will download it for macOS. Double-click the installer, then drag the ChatGPT icon into the Applications folder.

There you have it. ChatGPT is installed. Launch the application and log in to your Plus or Pro account.
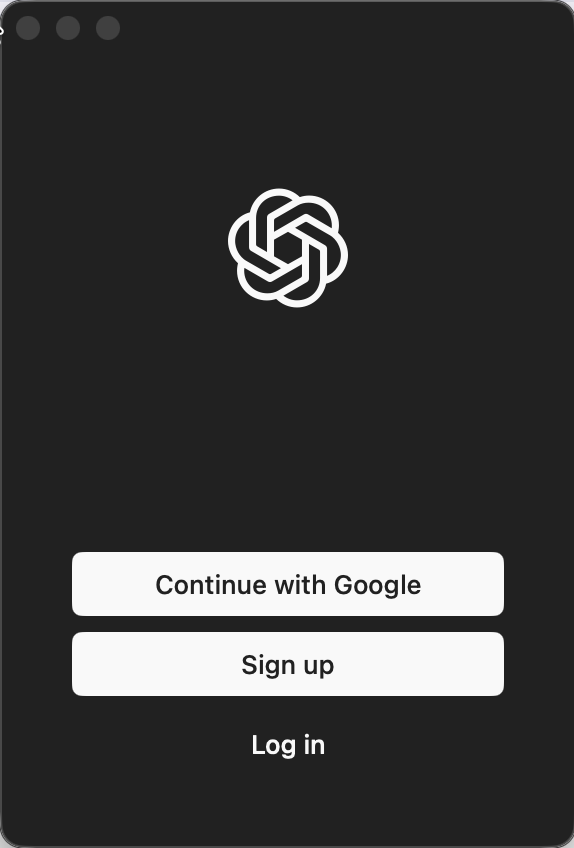
It’s important to have a paid account to use the built-in recorder feature. After logging in, you’ll be welcomed into a floating ChatGPT window.
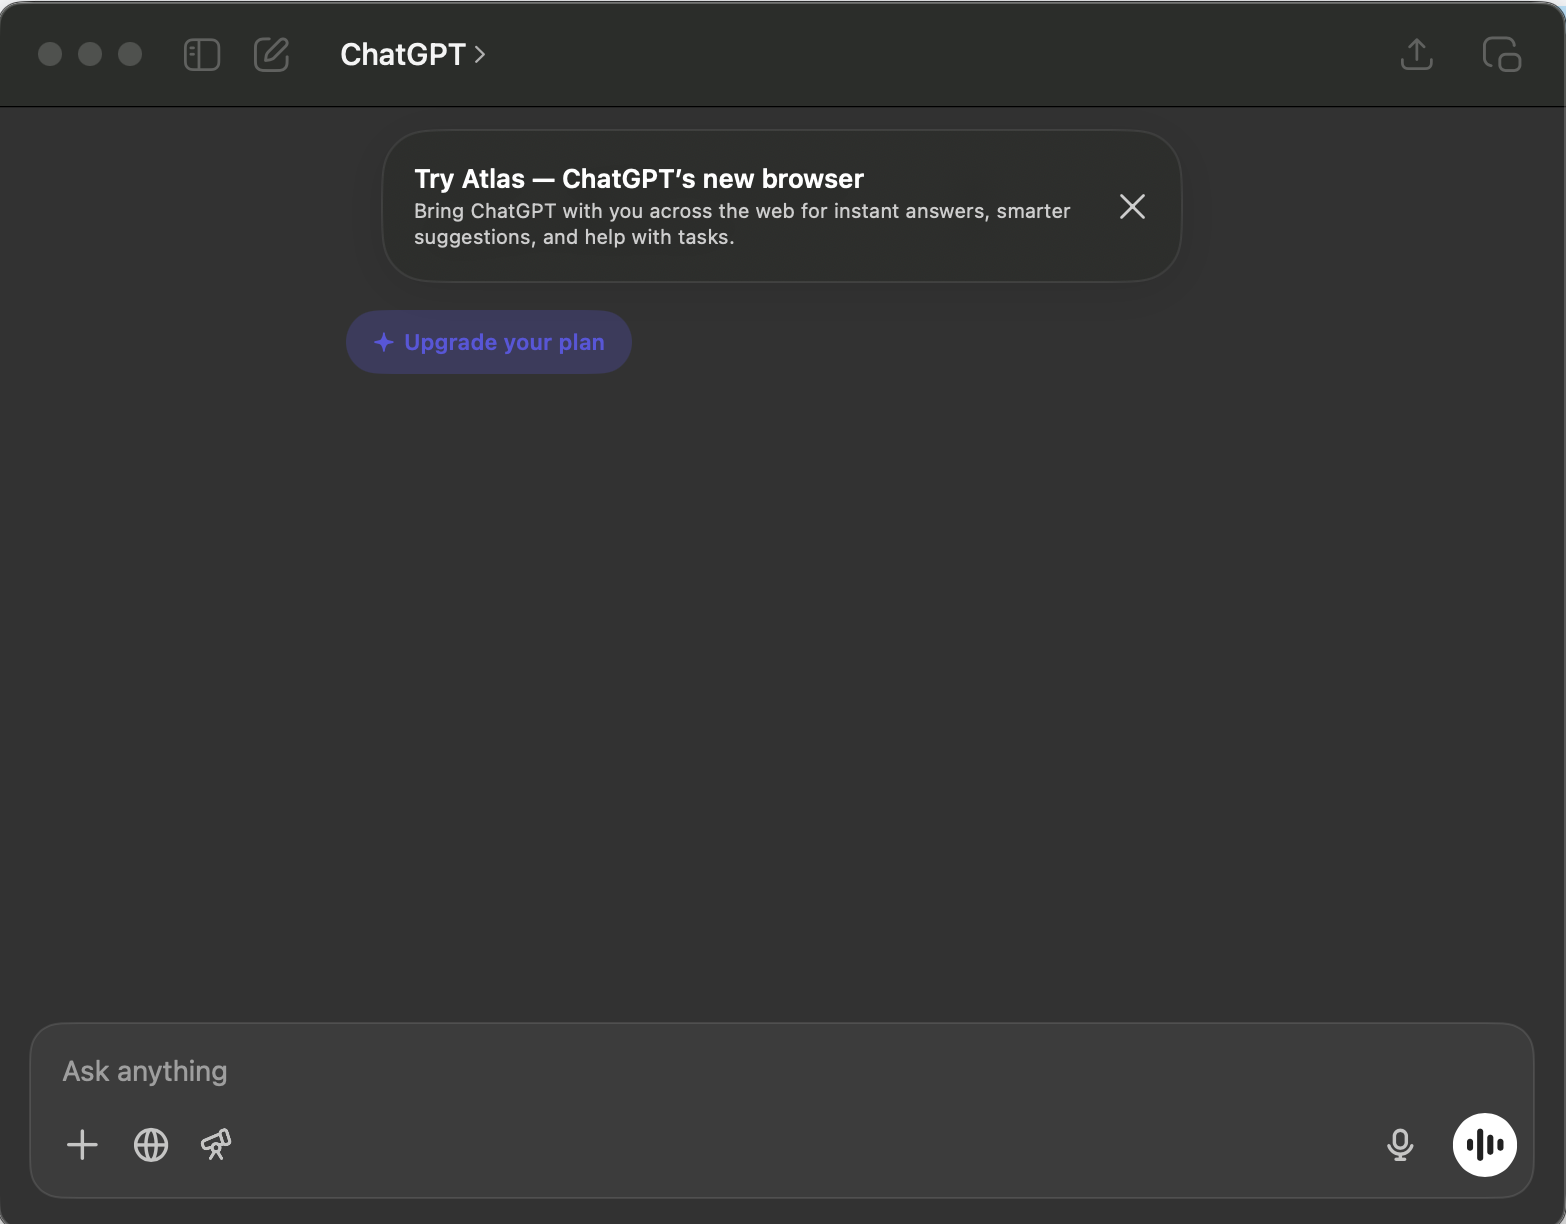
The built-in recorder feature can be accessed by clicking the mic icon in the chatbox.

Step 2 - Record your meeting, lecture or session
Click the “Record” button in the ChatGPT desktop app to start. It will start recording instantly. After that, you can forget about it and let it sit in the background while you pay attention to the meeting or lecture.

Note: if you are in a room with other people or on a call, make sure you ask before recording.
Where this actually comes in handy
- Work meetings, especially the repeat ones, where nobody ever checks the notes
- University lectures and small group seminars
- Internal trainings and workshops
- Solo brainstorm sessions where you talk through a problem so the AI gets solid context

Step 3 - Send the recording to ChatGPT and interact with the transcript
When you finish recording, it is time to turn that raw audio into something useful.
Hit “Stop” in the recording panel once the meeting or lecture wraps up.

Send the audio to ChatGPT. Let it run the first pass of analysis.
You will usually get a clear breakdown that includes:
- A simple overall summary
- The main ideas and key points
- Action items
- Open questions that came up
- Follow-up questions you can click or tweak as you like

Step 4 - Chat with your transcript
Next, turn the processed recording into a transcribed conversation. Review the output to ensure accuracy. Once you are satisfied, ask follow-up questions to find valuable insights.
Prompt:
Rewrite the summary in bullet points for a Slack update.

Prompt:
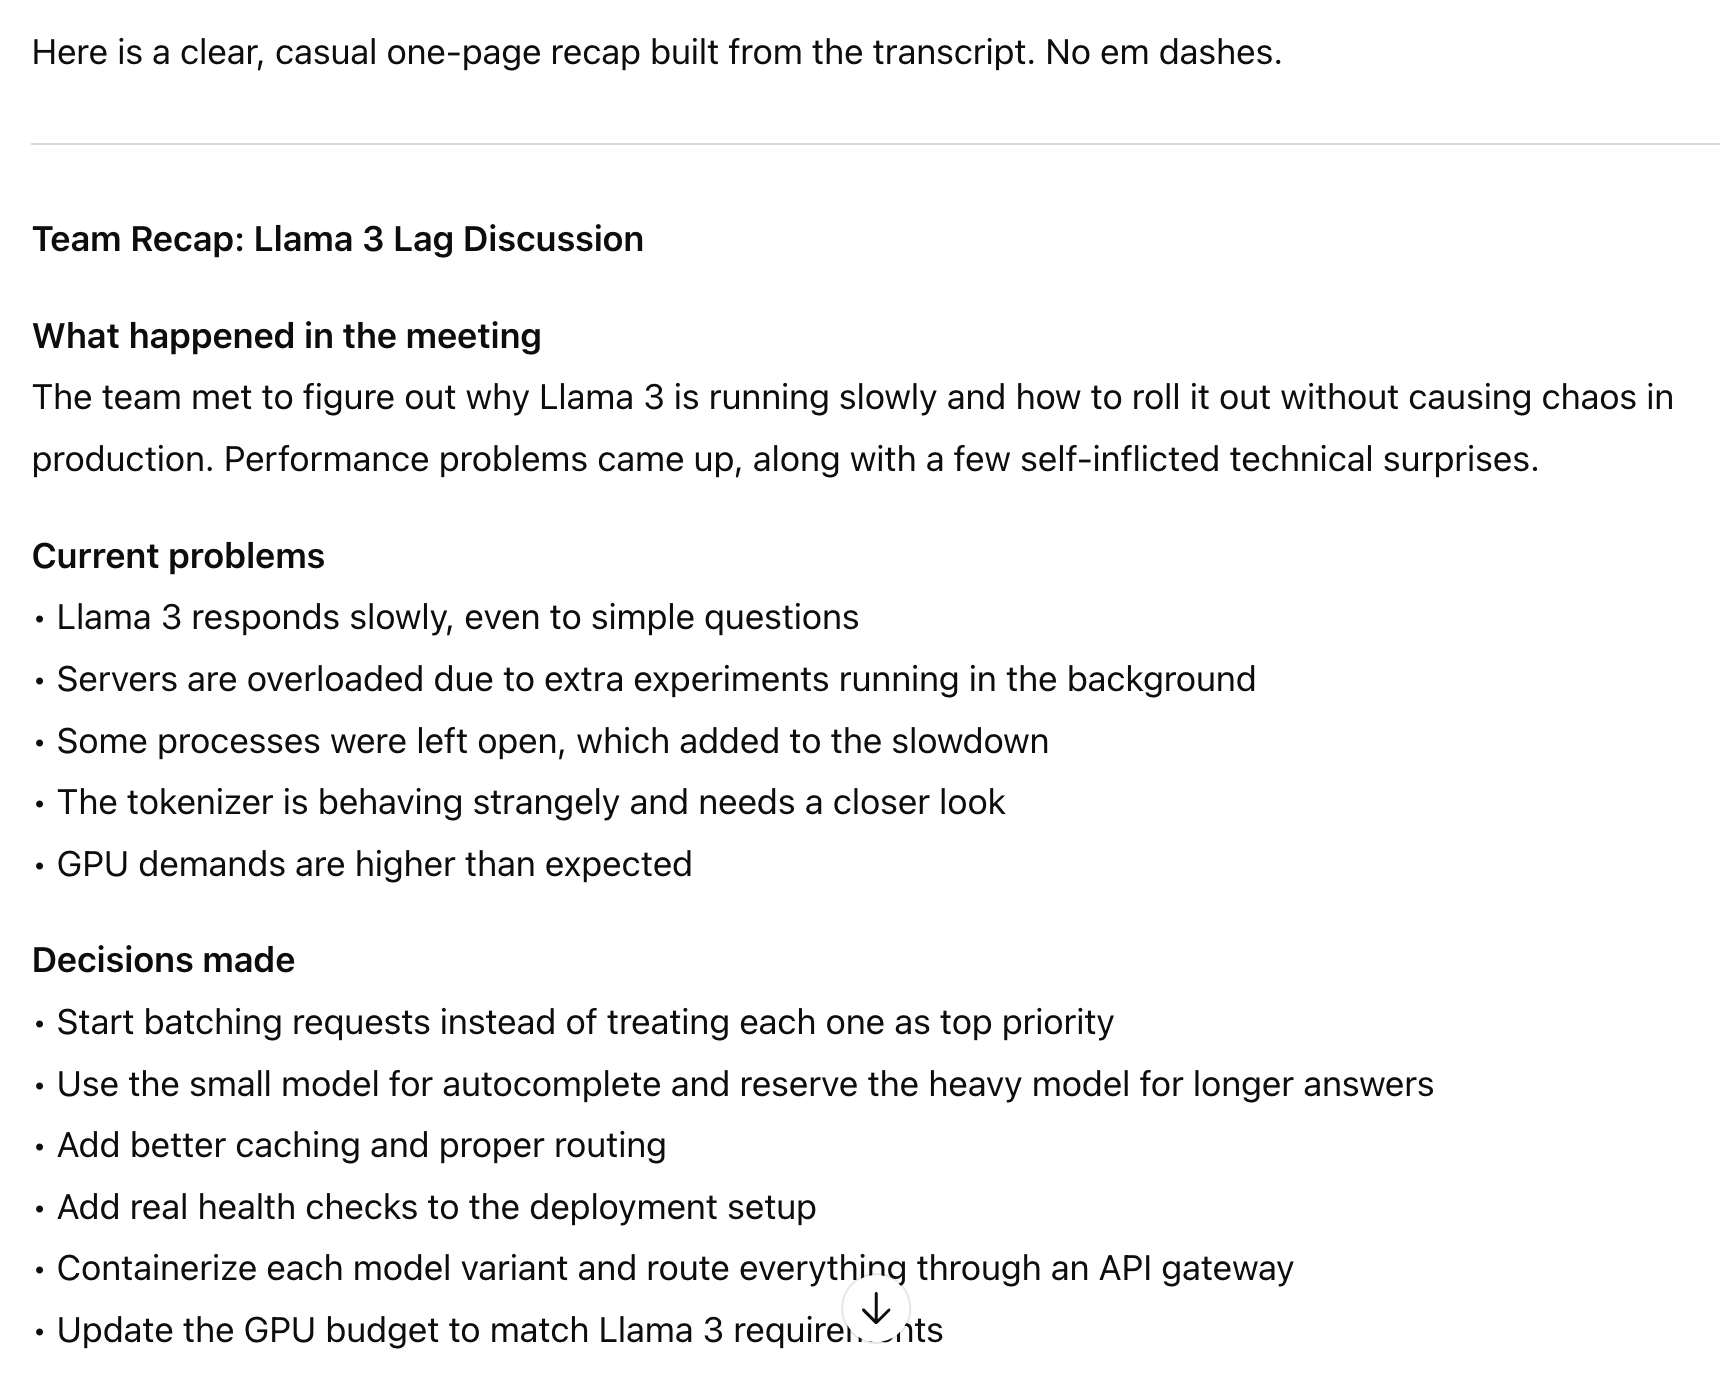
Create a one-page recap for people who missed the meeting.
Important note: One of the major downsides of the ChatGPT recorder is that it doesn’t figure out who said what. It just provides a summary of the recorded voices.
That’s it for this session, meeting mavericks! Using ChatGPT's desktop built-in recorder, you get the perks of tools like Fireflies or Otter without having to drag some awkward robot guest into all your Zoom calls.


