.avif)
AI is changing how developers write, debug, and build software. One standout tool leading this shift is Cursor AI, a next-generation code editor built to boost productivity. It is more than a VS Code add-on or a chat assistant because it brings AI directly into the core of your development workflow.
Cursor AI is an AI-native editor built on top of Visual Studio Code that makes writing and understanding code faster and more efficient. It pairs models like GPT-5 and Claude to help with editing, generating, refactoring, and explaining codebases in natural language.
The assistant connects deeply to your project. It does more than autocomplete or drop boilerplate. You can chat to explore the repo, refactor entire files based on intent, and fix bugs by following error traces.
In this tutorial, we’ll show you how to use the multiple agents feature in Cursor 2.0 to build exciting web applications faster than brewing a cup of coffee. The AI agents in Cursor 2.0 will work on separate parts of your project simultaneously.
By the end of this tutorial, you’ll learn how to:
- Create a project and open it in Cursor
- Map out a development plan using an agent
- Build the app in parallel using multiple agents
- Combine the elements of your app and run the application
Let’s get right into it!
Step 1 - Create a project and open it in Cursor
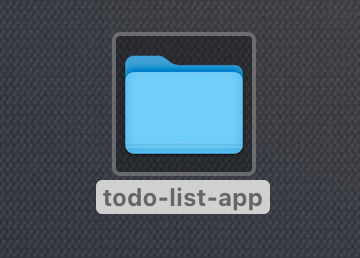
Let’s start by creating a new folder on your computer. Name the folder after your project. Let’s say you want to build a to-do list app. Name it ‘todo-list-app.’
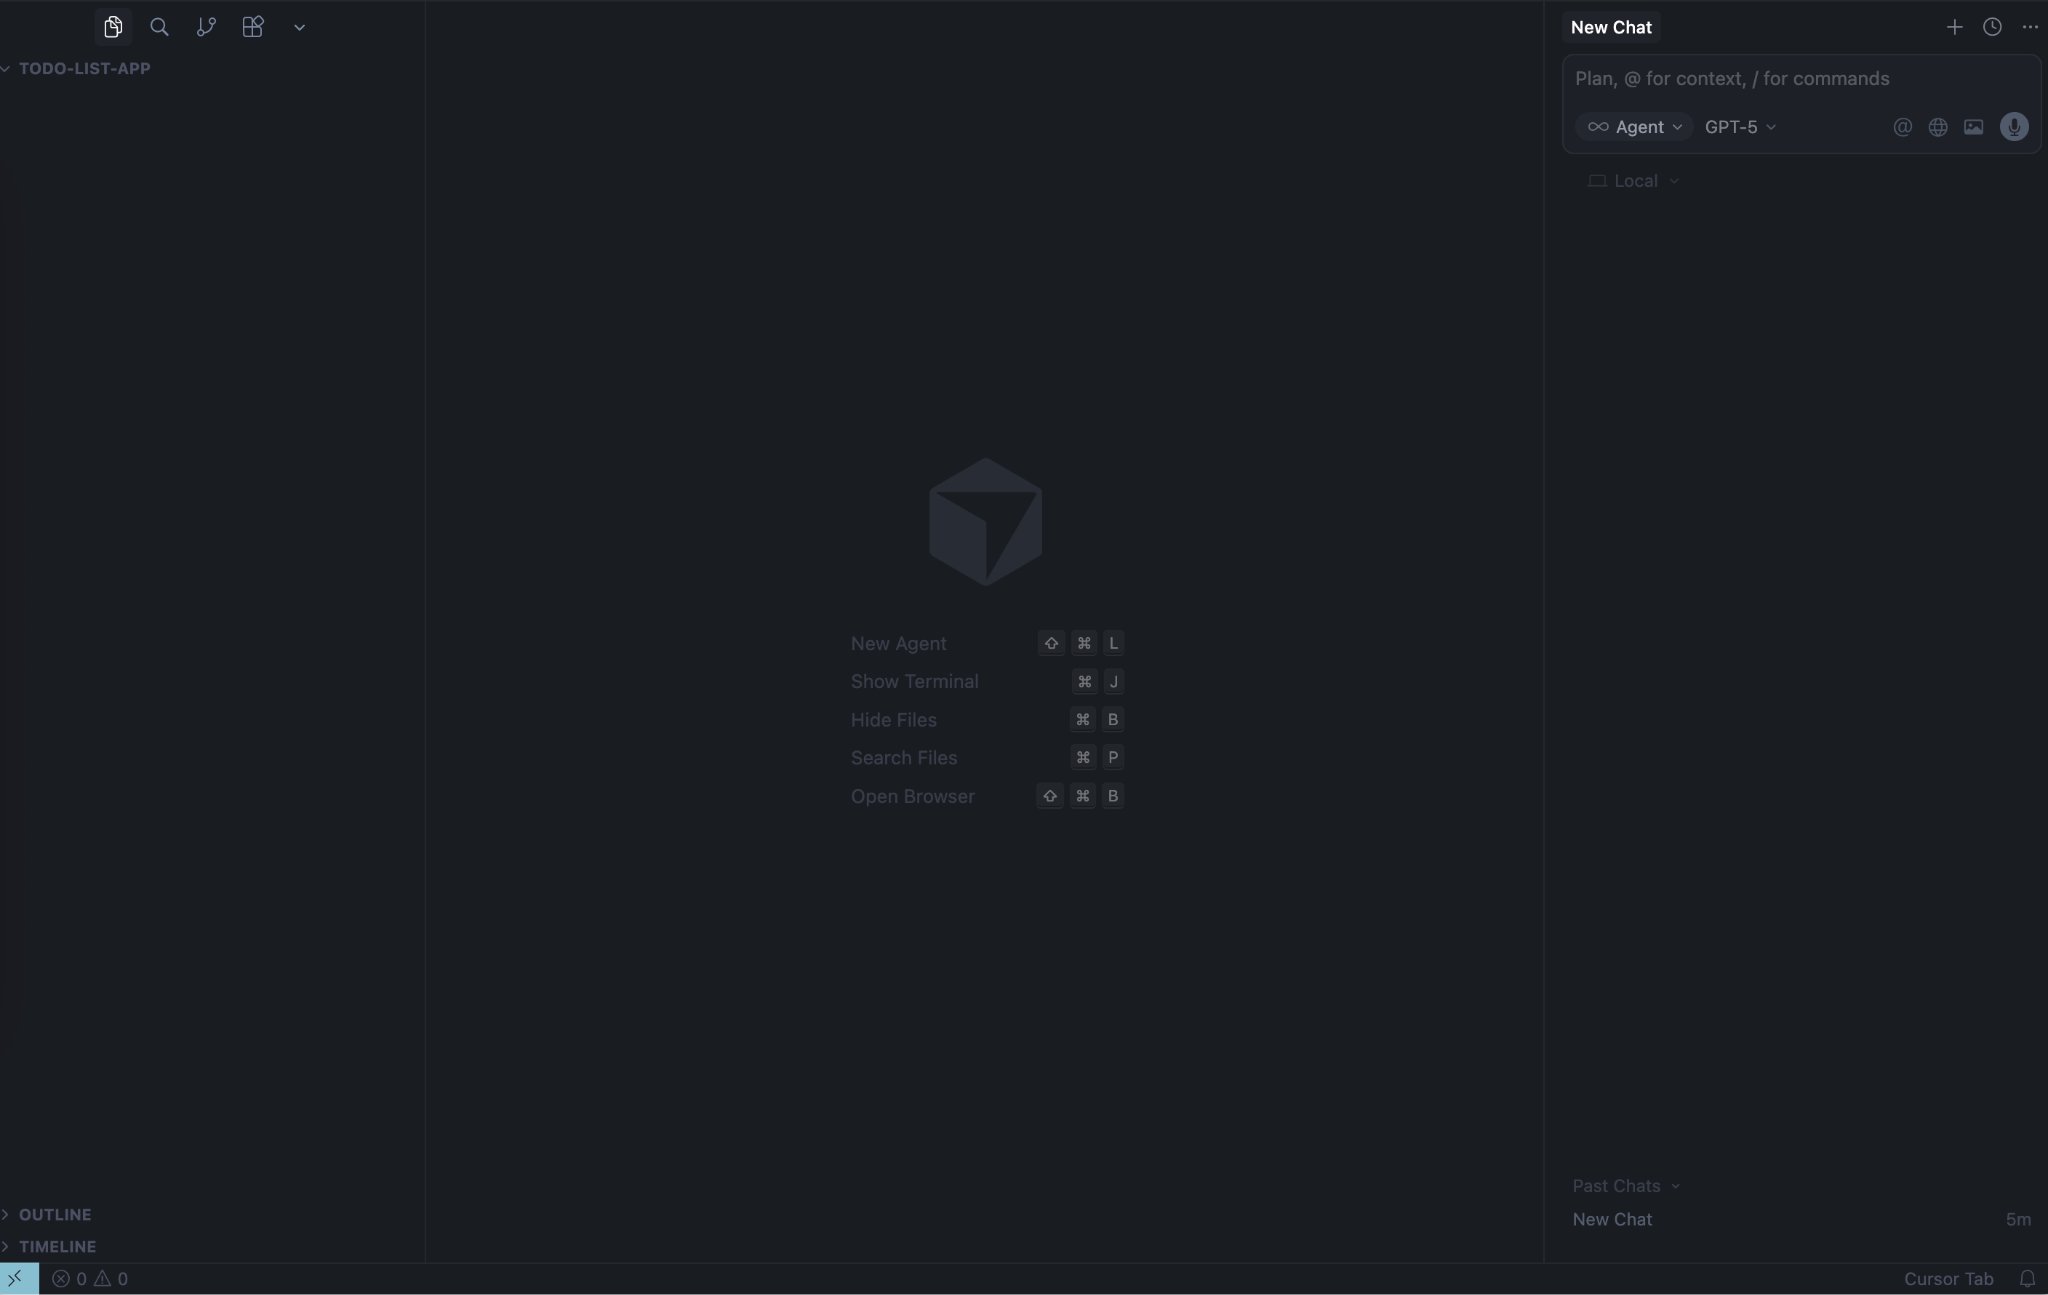
Access the Cursor application and open it. Click the ‘Open Project’ button and select the folder you created. The idea is to open the folder in the Cursor IDE. You can also drag & drop the project folder into the Cursor app.
The environment is ready for building the app.
Step 2 - Map out a development plan using an agent
Planning a new project can feel messy when you’re trying to piece everything together. An AI agent makes it simple by turning your ideas into a clear development plan. It helps you set goals, map milestones, and organize your next steps so you can focus on building instead of getting stuck in planning.
So the first thing to do is to map out a development plan for the app. Click the ‘Agents’ button in the top-left corner of the Cursor IDE.
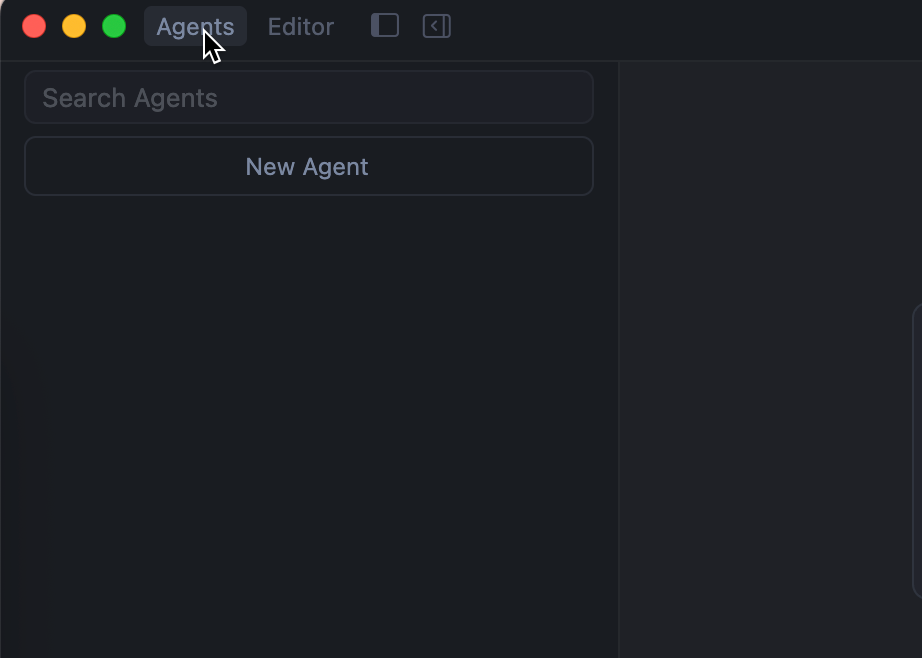
Click ‘New Agent’ to get started on the development plan.

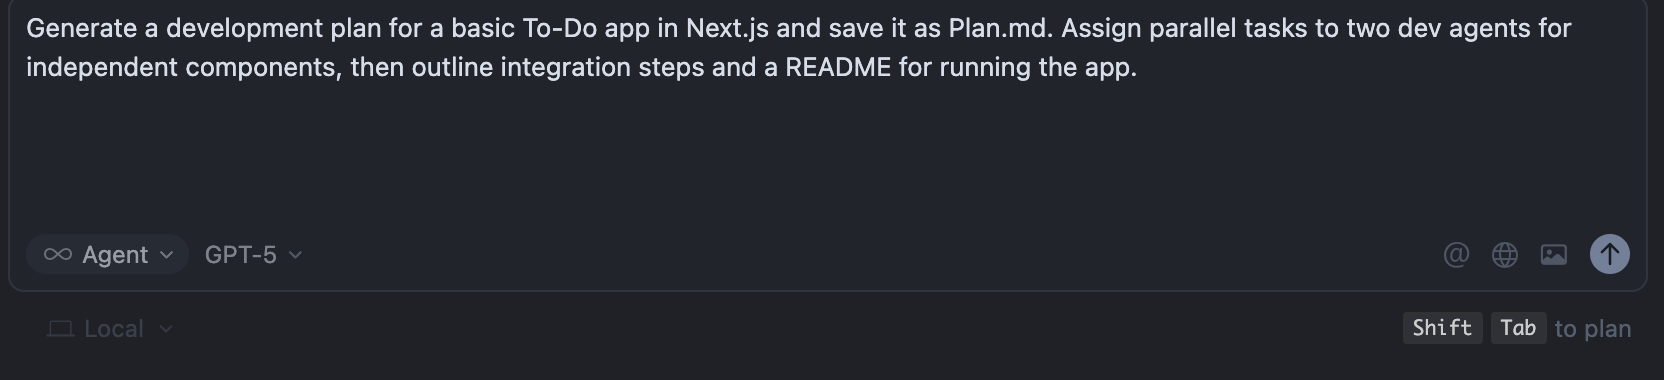
Write a prompt to create a development plan for your app. Use the following prompt to get started.
Prompt:
Generate a development plan for a basic To-Do app in Next.js and save it as Plan.md. Assign parallel tasks to two dev agents for independent components, then outline integration steps and a README for running the app.
Keep the settings selection on default. Make sure the agent mode is selected.
The cursor will ask clarifying questions about your choice of tech stack. Reply, based on your preference.
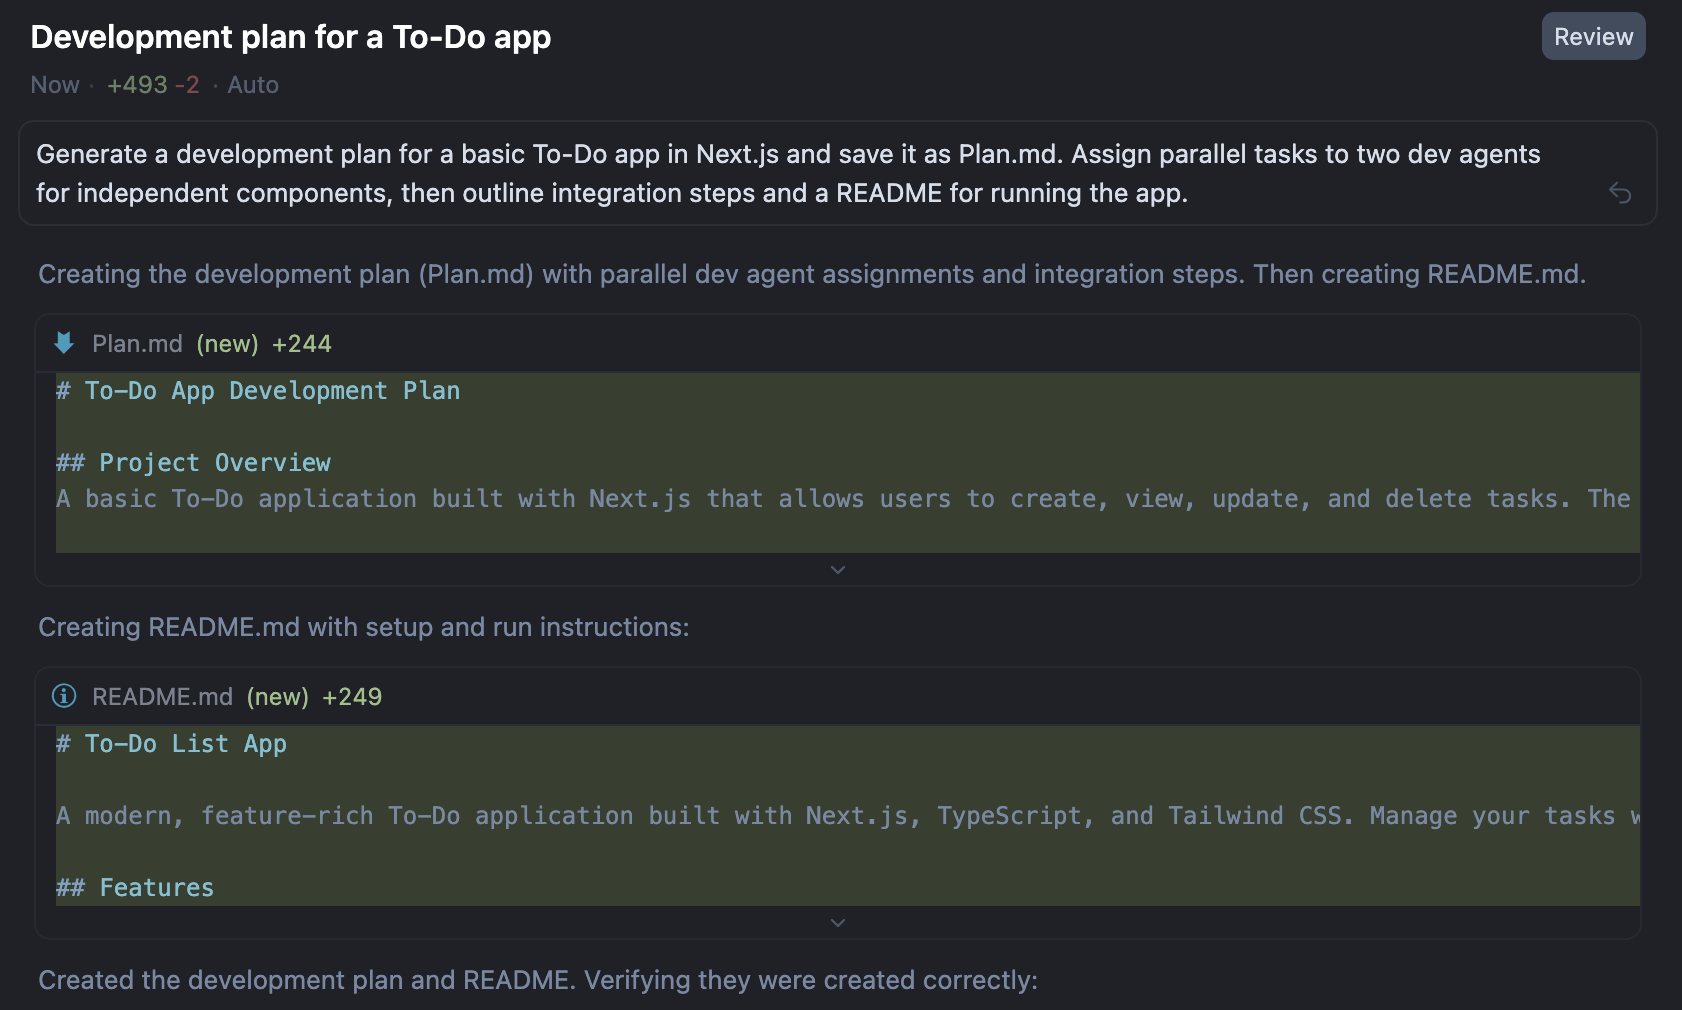
Once the agent completes the task, it will present a Plan.md file and a README.md file with a complete development strategy divided between two agents.

Step 3 - Build the app in parallel using multiple agents
Now’s the time to build the app. The idea is to use two agents in parallel to build the app.
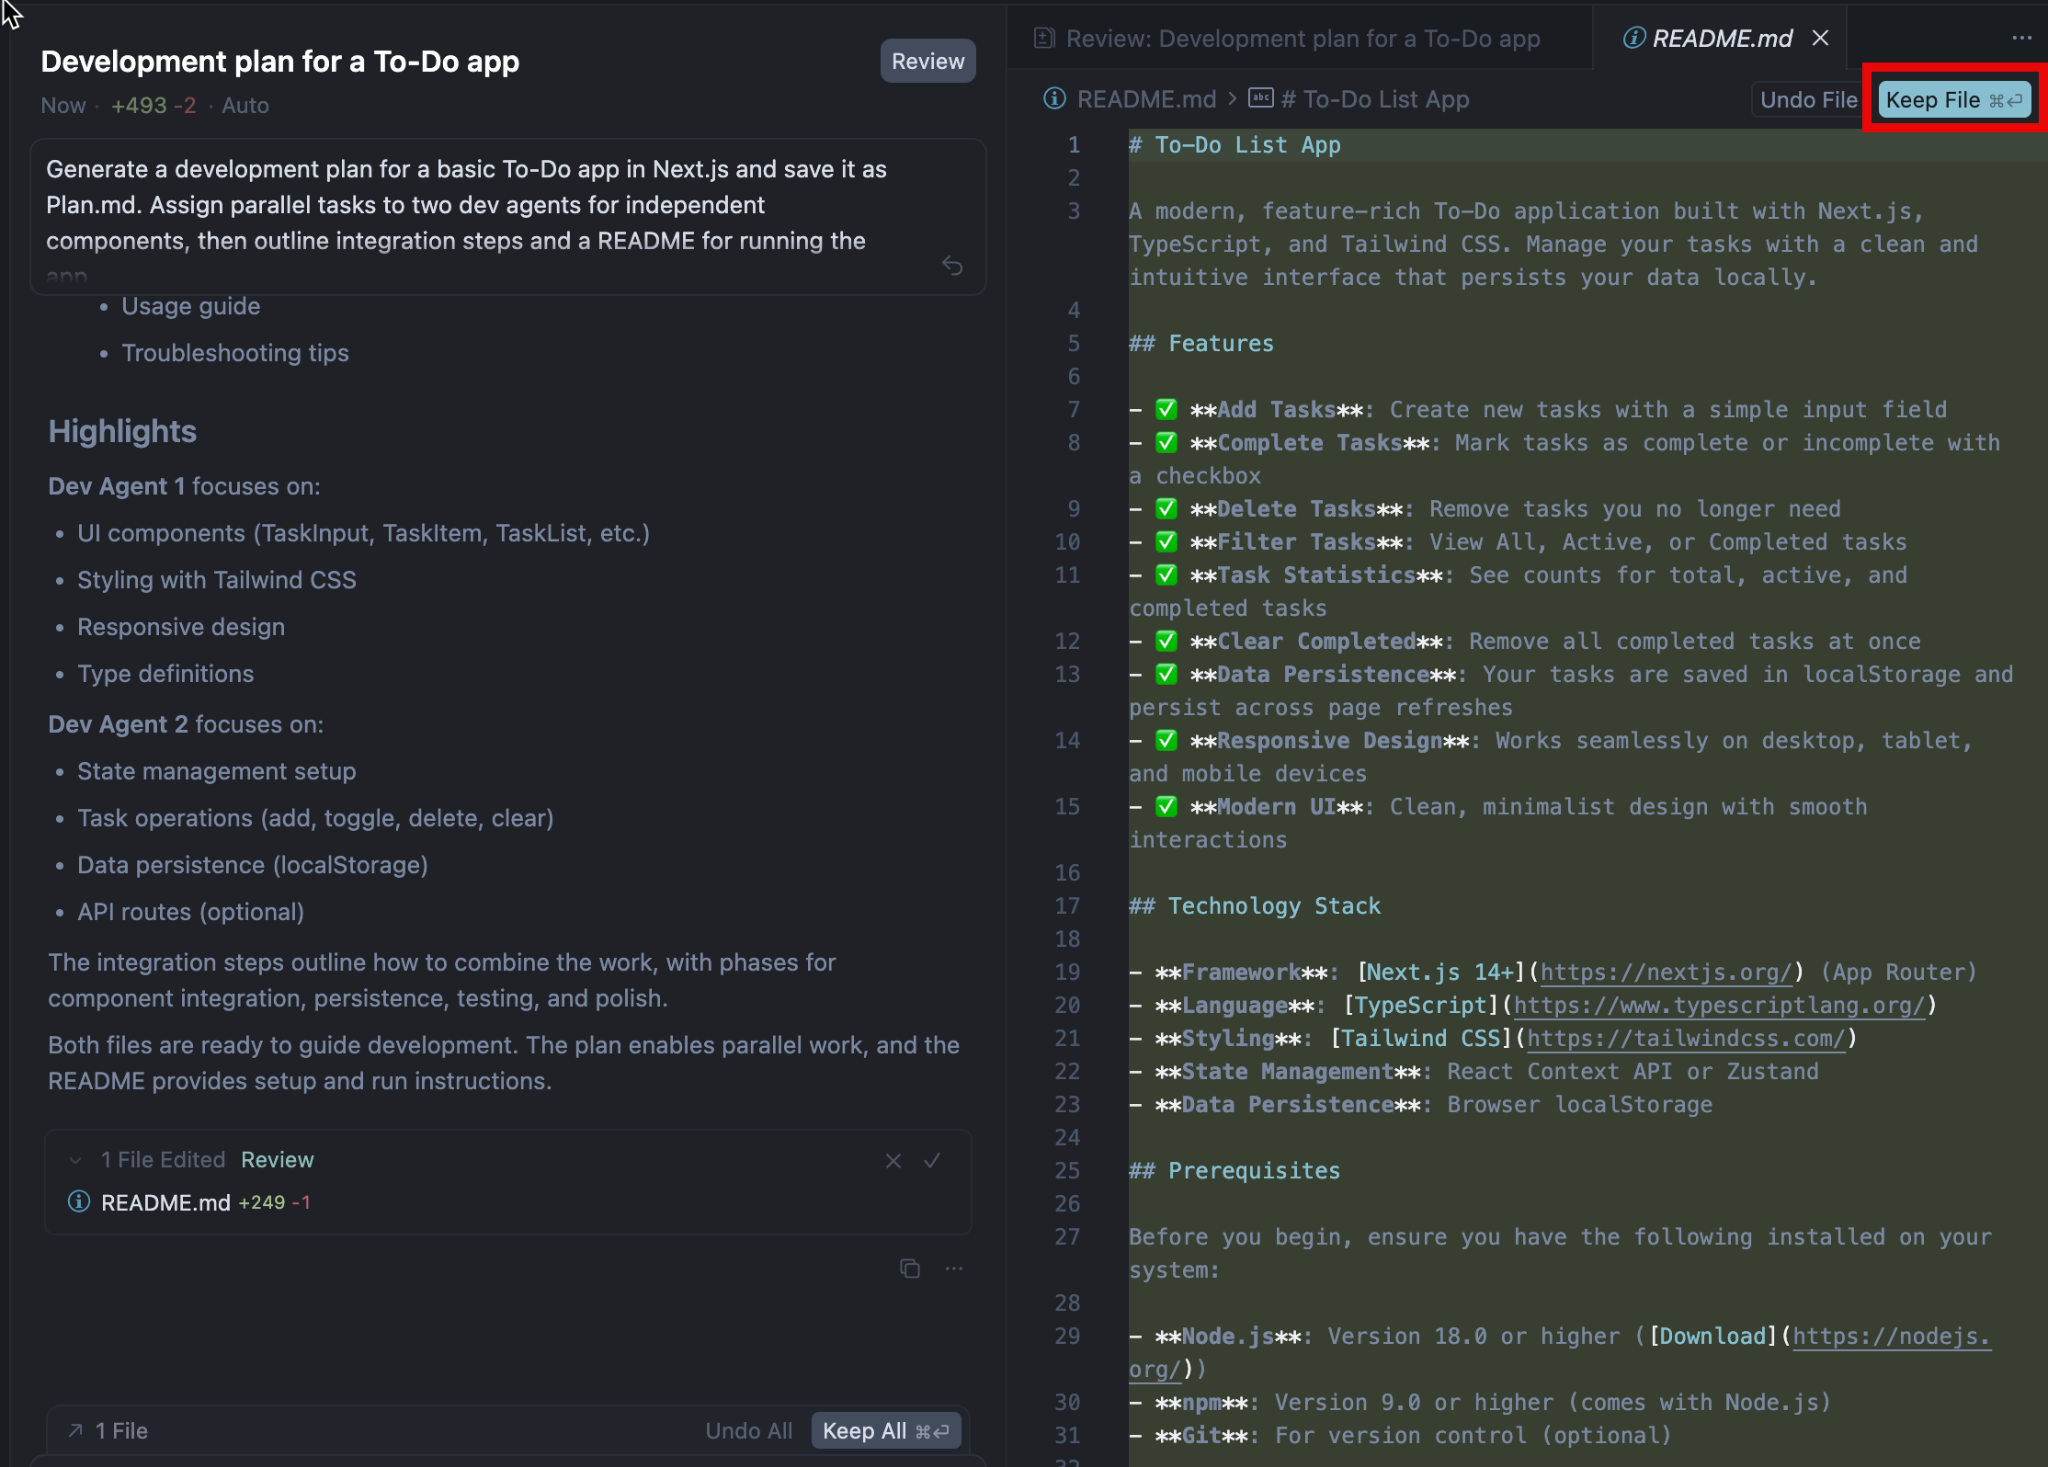
Open Plan.md and review the file. You can make changes to the file. Once satisfied, accept the changes and click ‘Keep file.’
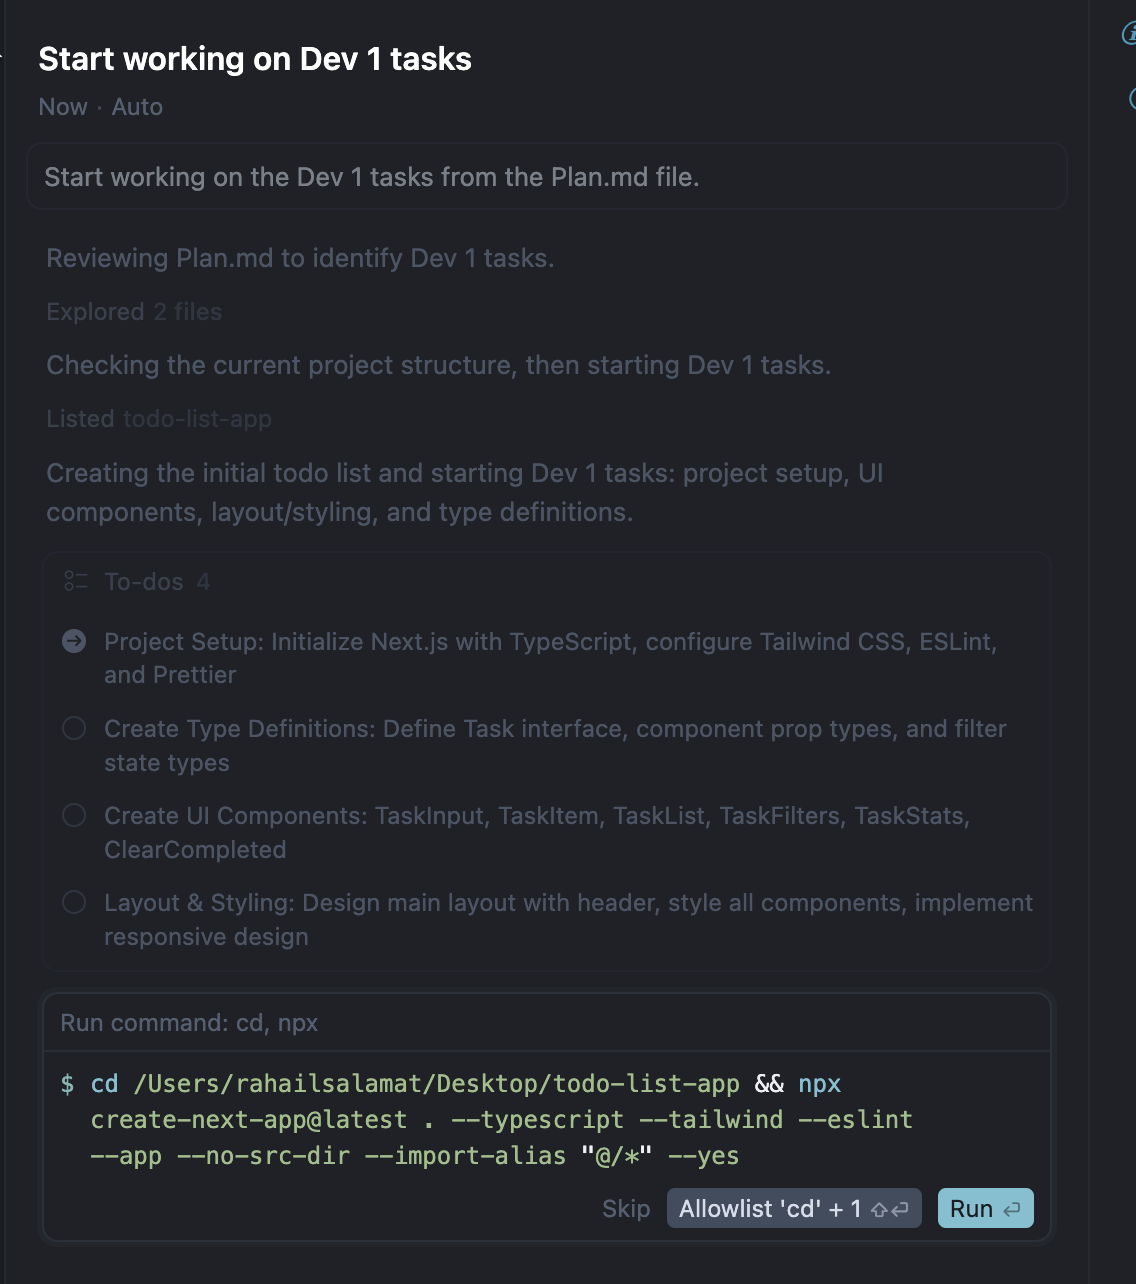
Next, click the ‘New Agent' button to launch the first developer agent and give it the prompt:
Prompt:
Start working on the Dev 1 tasks from the Plan.md file.

When the agent asks you to run the command, click ‘Run.’
Now, click New Agent again to create the second developer agent and prompt with the following.
Prompt:
Start working on the Dev 2 tasks from the Plan.md file.
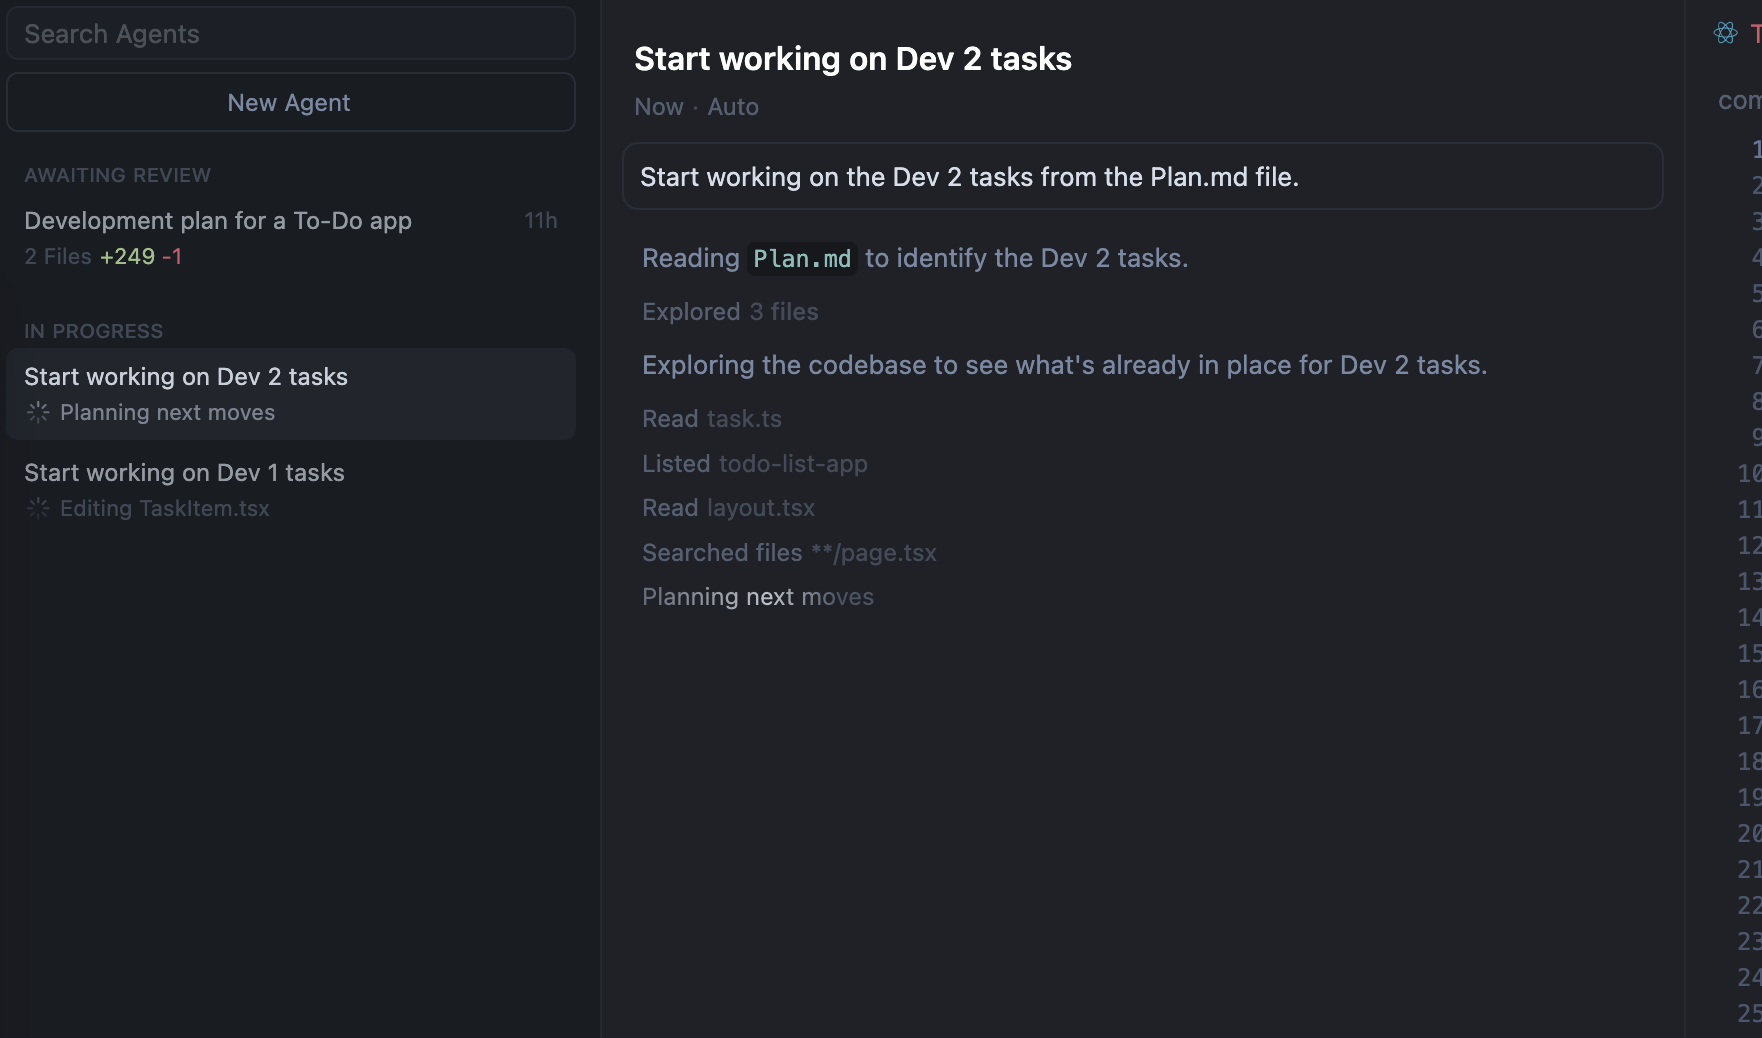
Both agents will now work in parallel on different parts of the app.
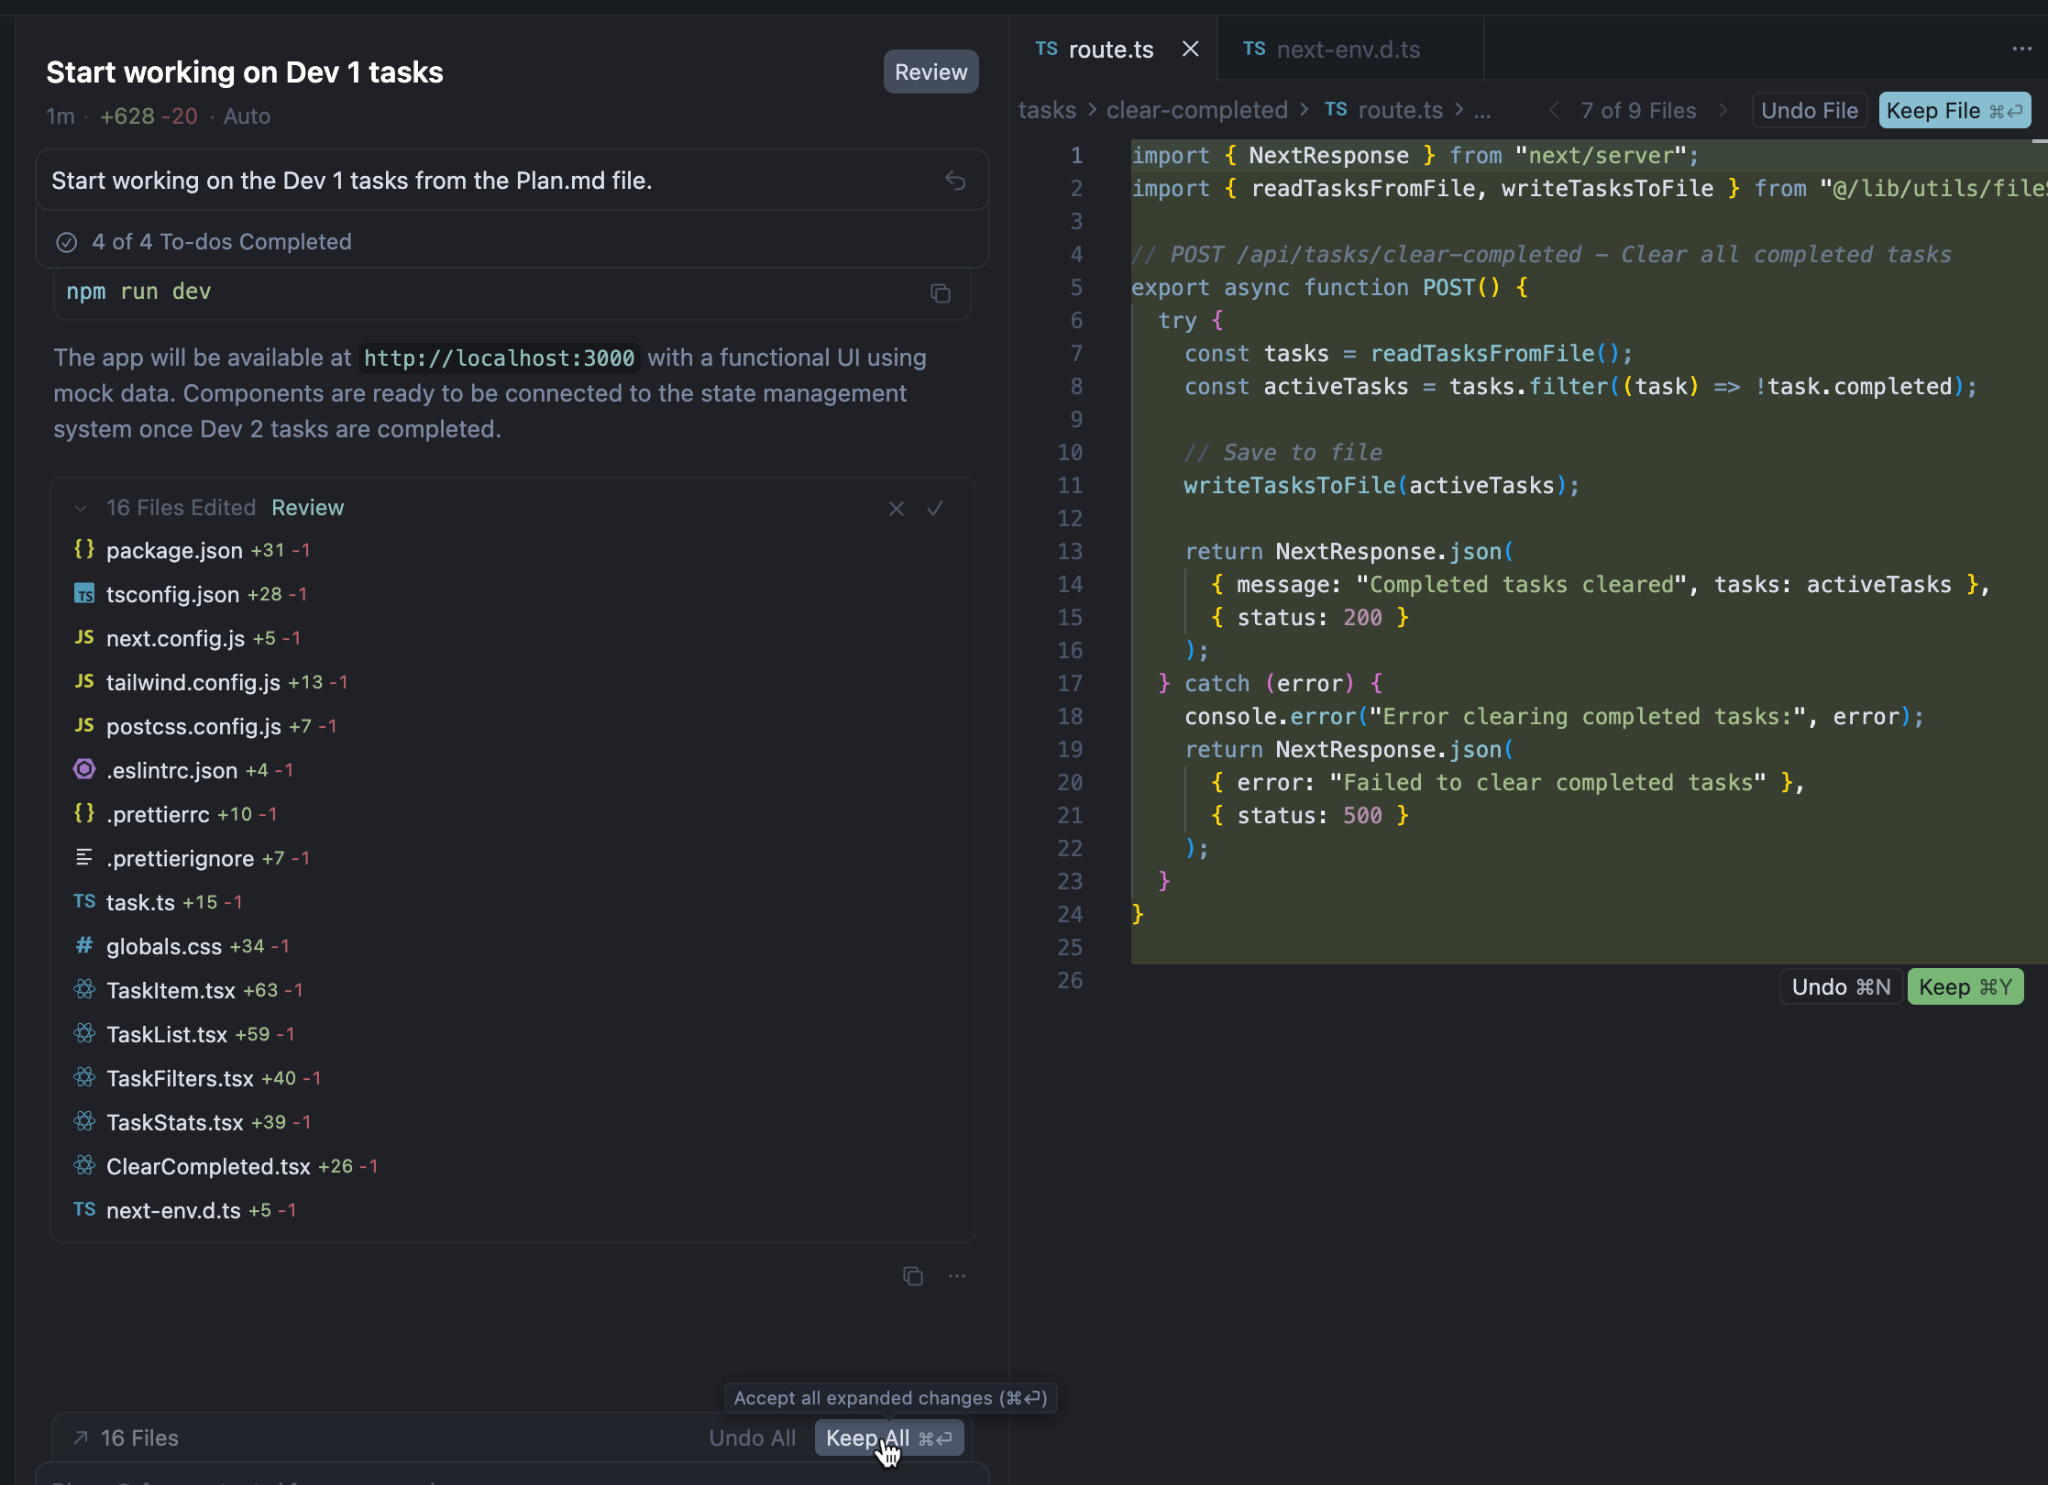
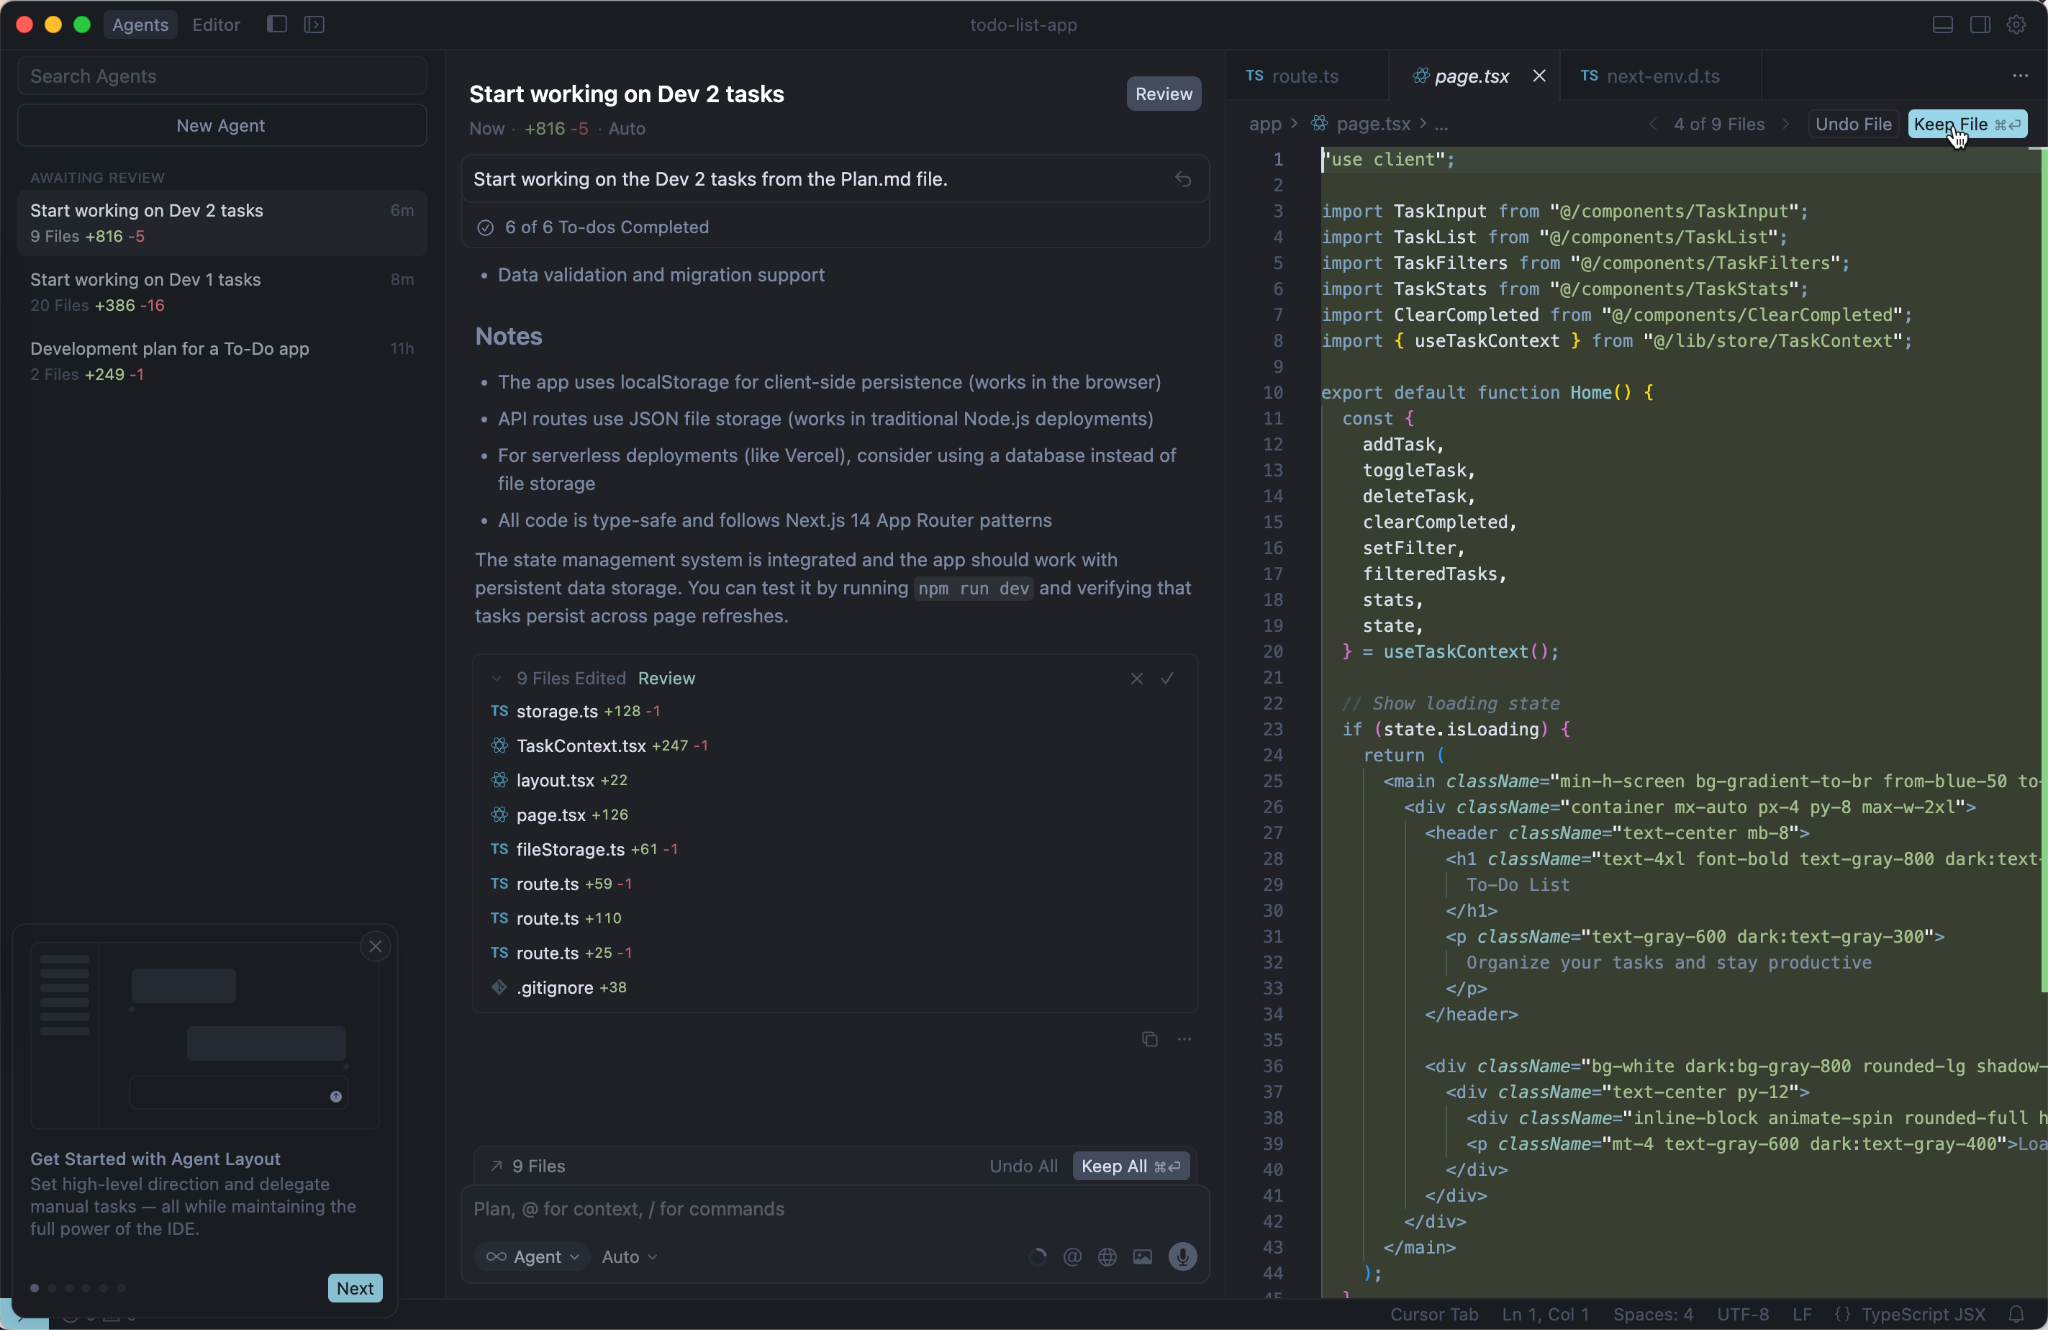
When they’re done, hit Review for each one to check their updates. Approve the changes from Dev 1 first, then from Dev 2.
Step 4 - Combine the elements of your app and run the application.
Let’s combine all the elements of our app and finalize the application. Ask an agent to complete the final integration by using the following prompt.
Prompt:
Complete the integration steps from the Plan.MD file and update the README with instructions to run the application.

Now, before checking the application on the localhost, open the terminal (Command+J in Mac or Ctrl+J in Windows) in the Cursor and run the following commands one after the other.
Command:
npm install
This command installs the necessary dependencies to run the application on your system.
Now run the following command.
Command:
npm run dev
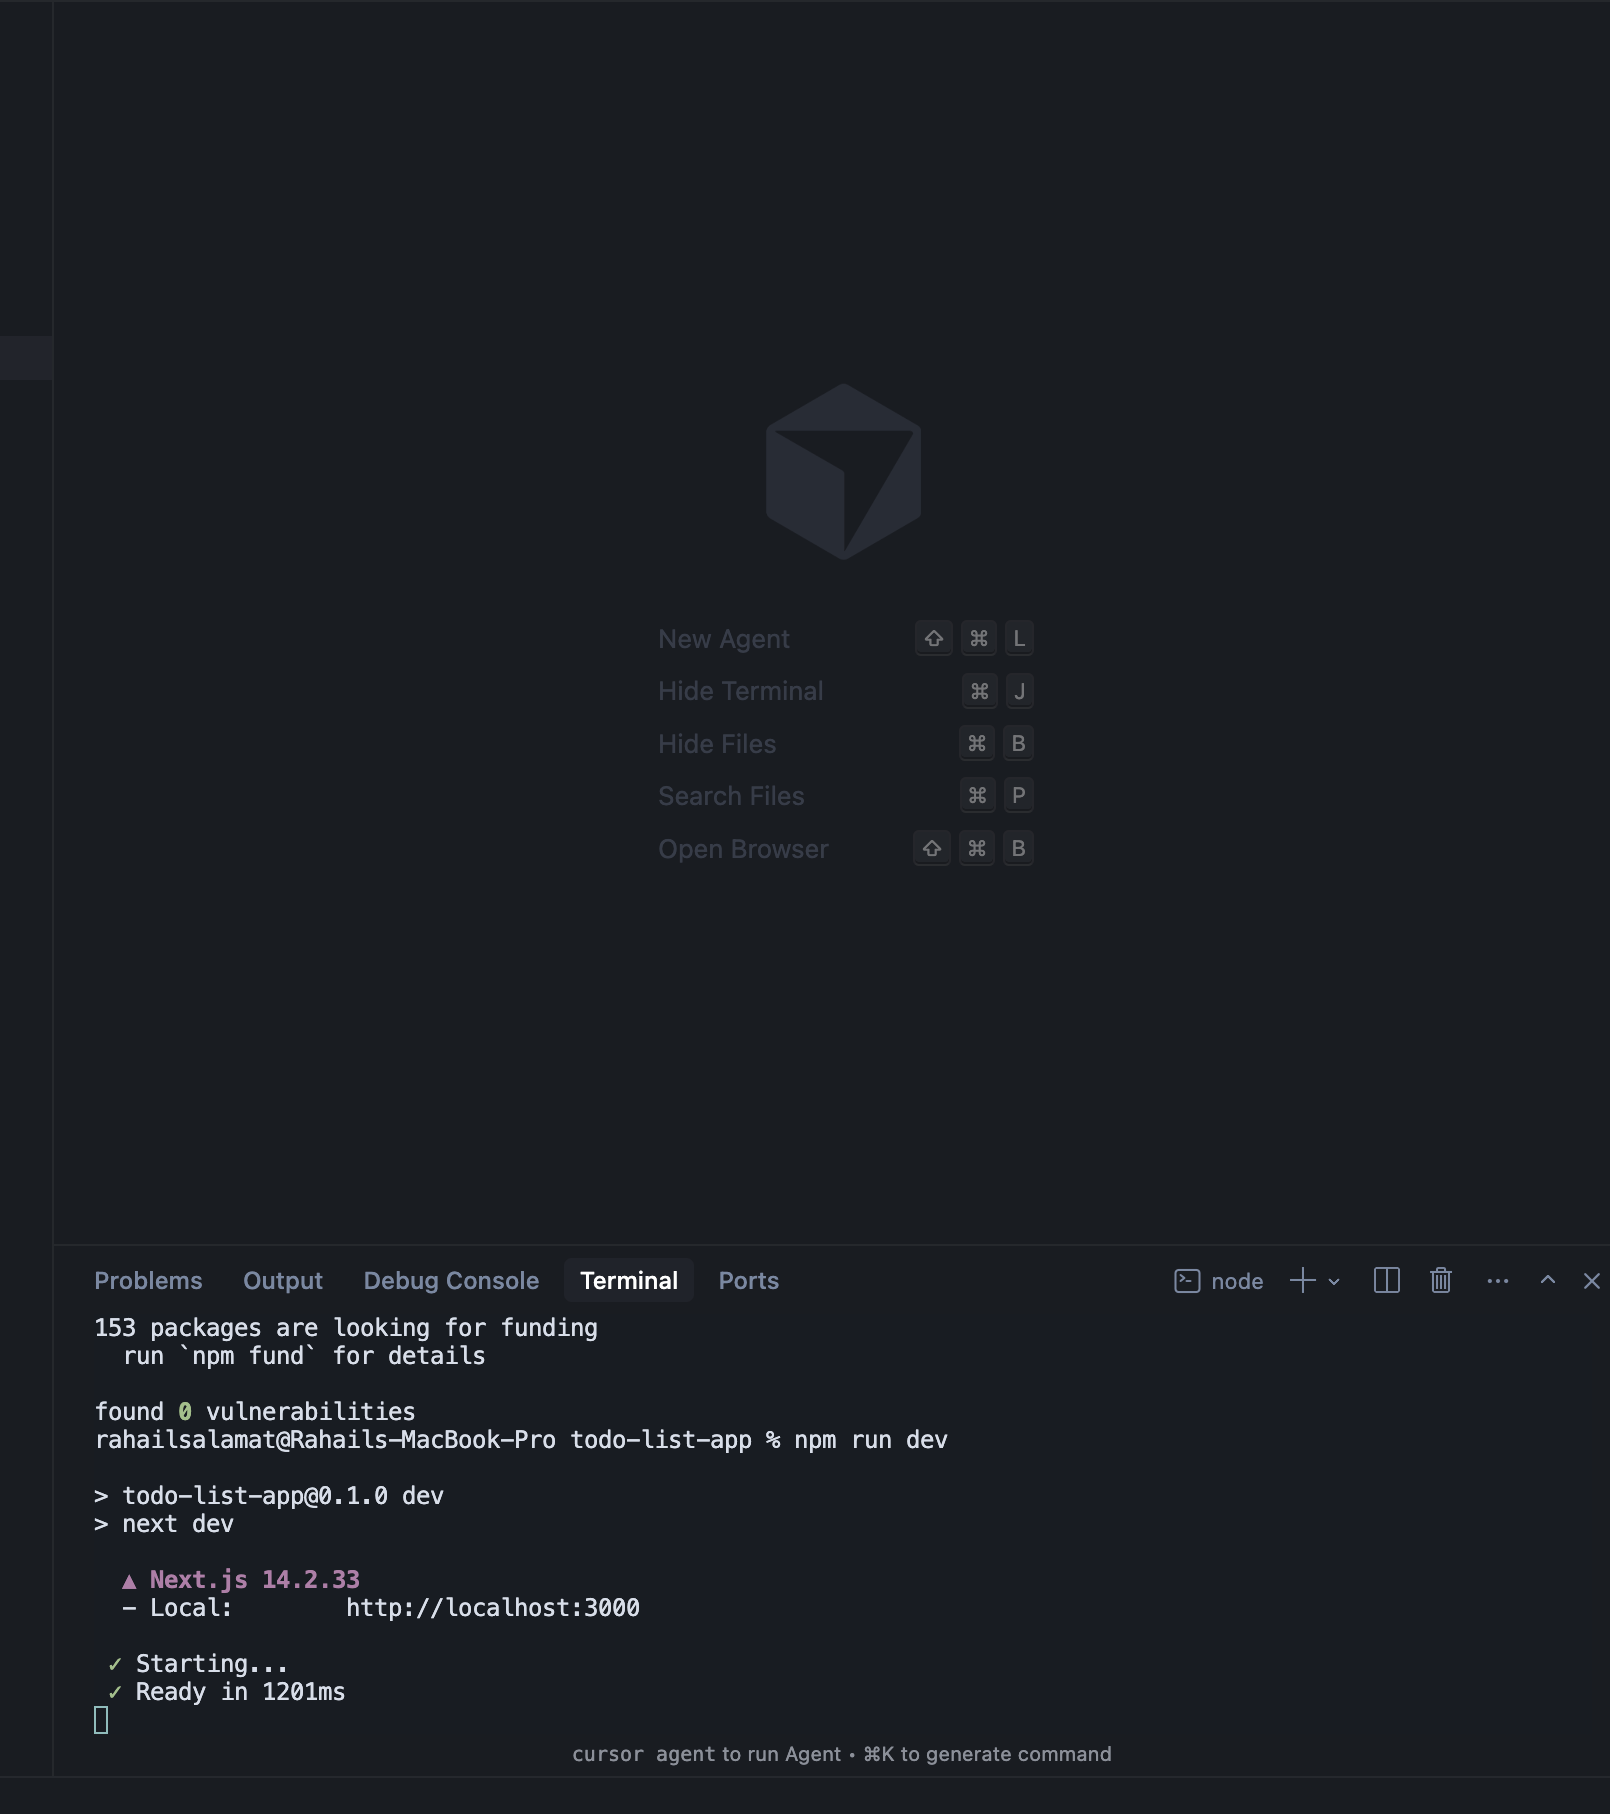
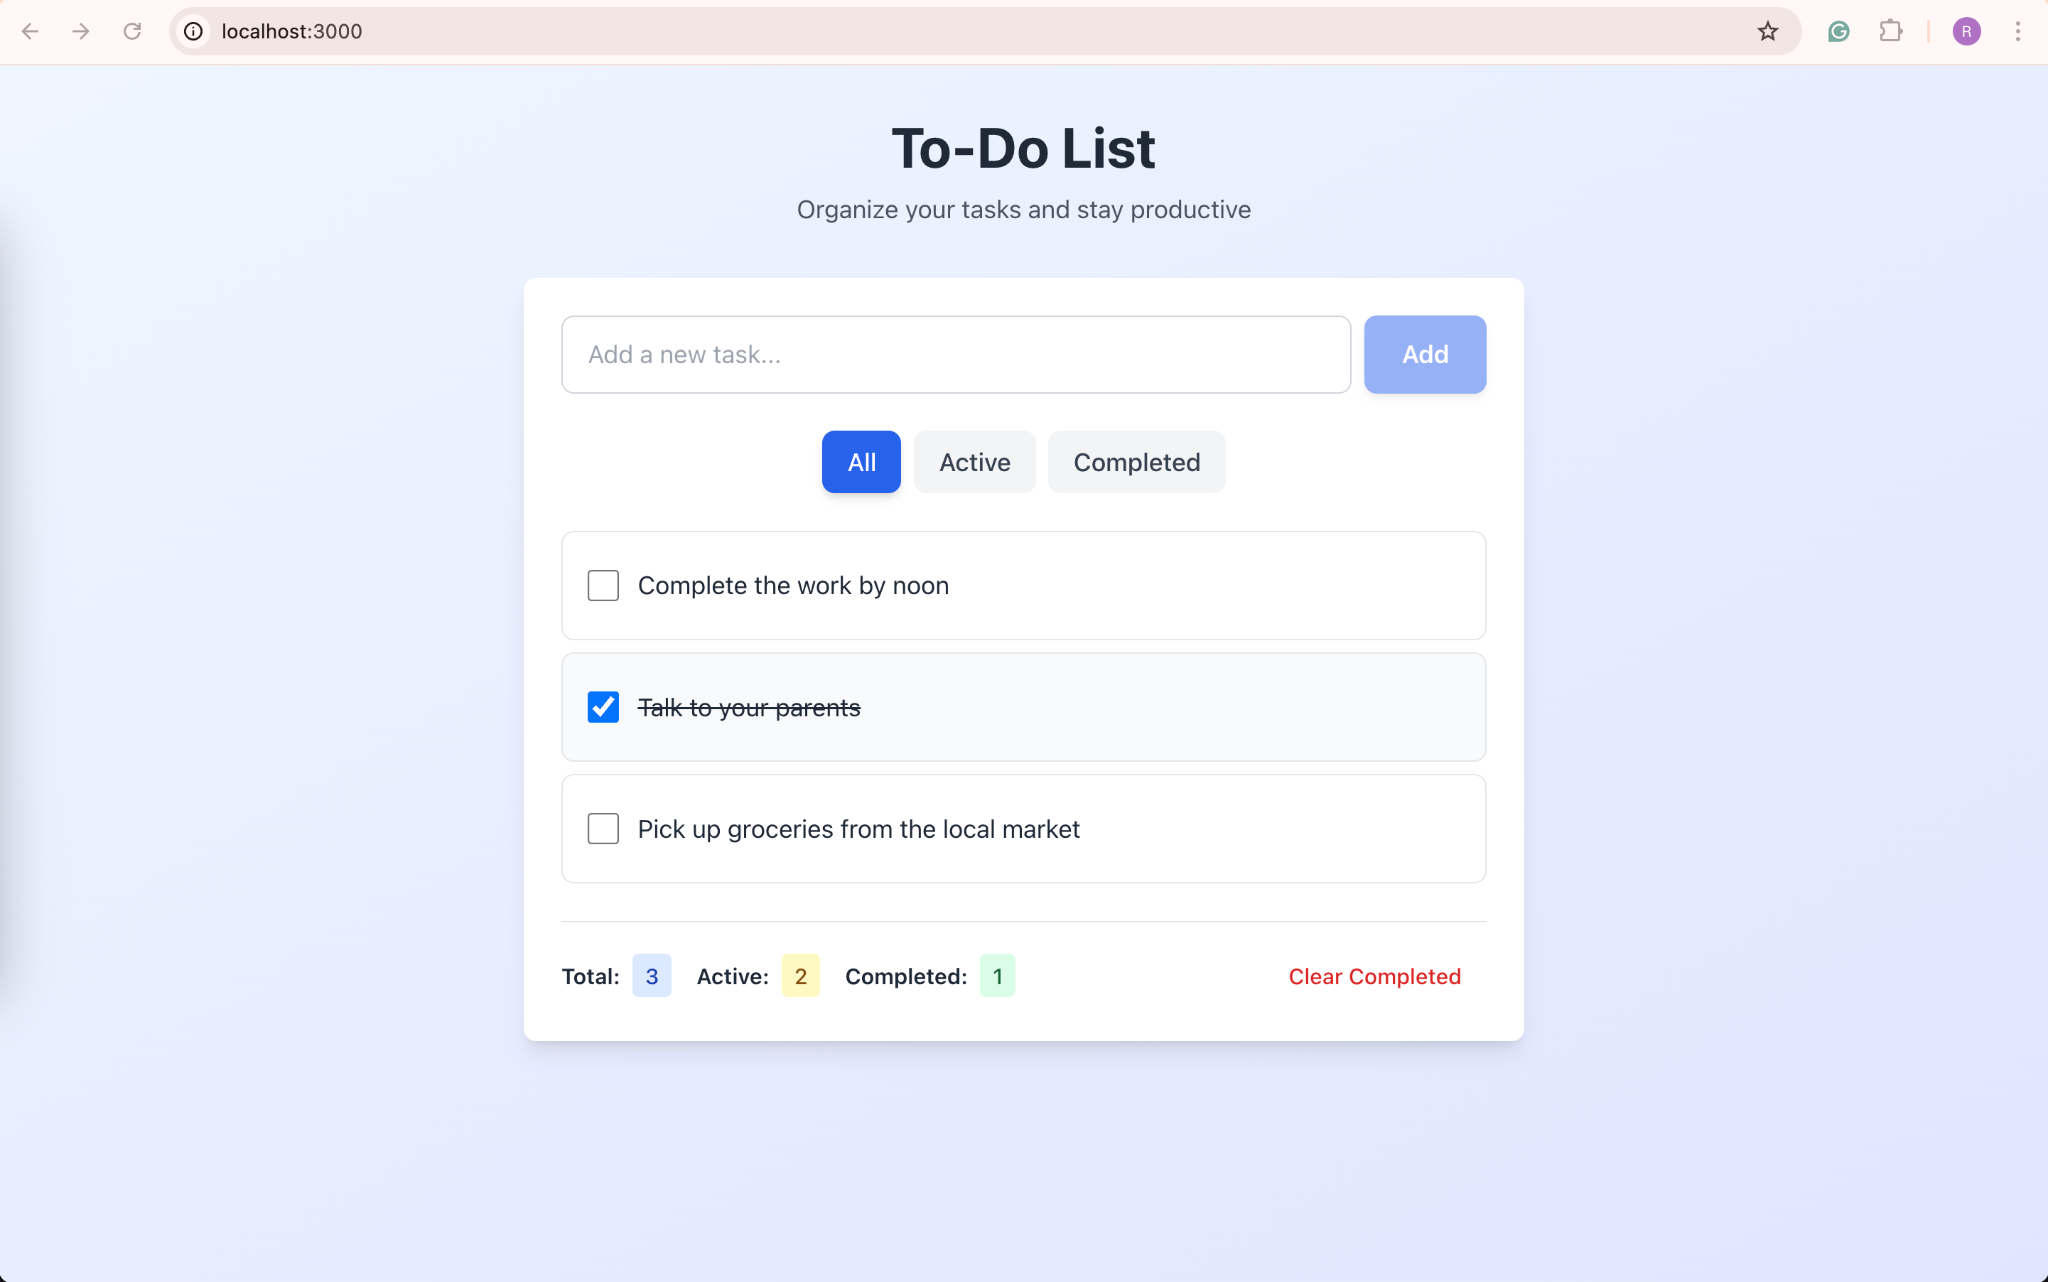
Your To-Do app will launch locally at http://localhost:3000. You’ve just built a full application powered by multiple AI agents working together in real time.
You can also tap the Voice button in the prompt bar to give commands hands-free. Simply say your prompt and finish with “submit” to send it.
That’s it for this tutorial, AI coding wizards! Review the files and make necessary changes. You can prompt the AI to make changes for you if you have trouble reading and analyzing the code. Once you get the hang of it, you might never want to go back to regular coding sessions!
.avif)


