.avif)

AI is getting increasingly efficient in coding applications. With good AI copywriting and image generation, you can create an application in minutes rather than weeks or months. What once required a team of developers and designers can now be done by one person, from building interfaces to generating on-brand content and visuals, all powered by intelligent automation.
In this tutorial, you will learn how to build a complete email campaign generator using Google AI Studio's Build Mode, where you can turn a simple idea into a working web app with AI copywriting and image generation.
By the end of this tutorial, you’ll be able to:
- Plan the email generator with AI assistance
- Build the email campaign app
- Refine the output
- Share and publish your app.
Let’s dive in!
Step 1 - Plan the email generator with AI assistance
The first step is to plan the email campaign generator app. Planning gives AI a roadmap that it can use to generate the app with minimal issues.
Go to Google AI Studio and log in to an account.

Click the Chat link in the sidebar and select Gemini 2.5 pro as the preferred AI model.
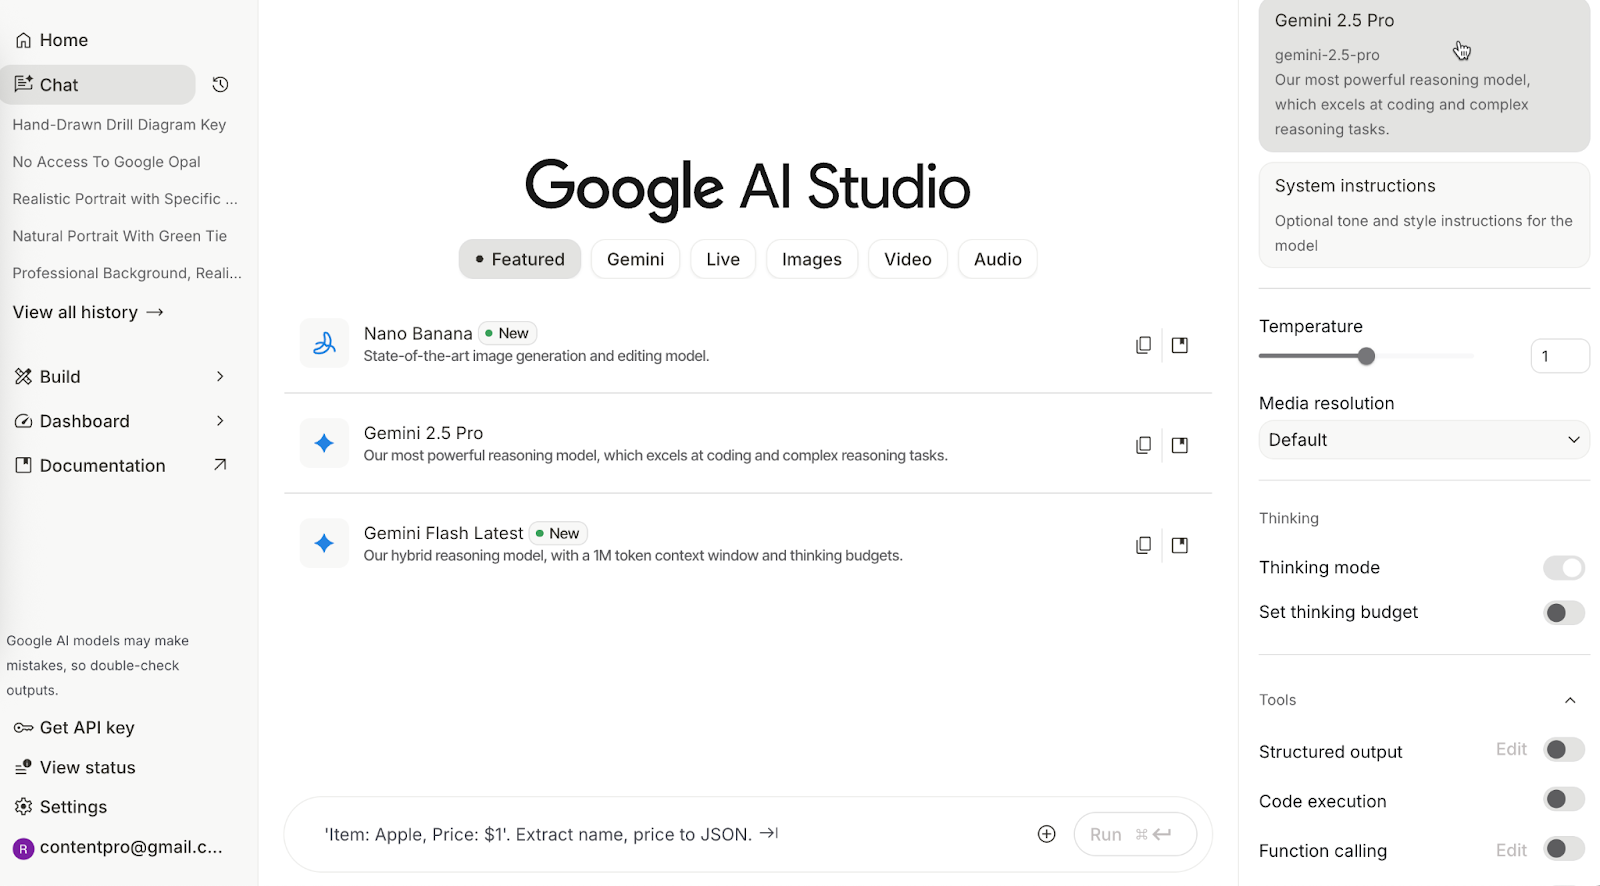
In the prompt box below, type the following prompt to create a product requirement document (PRD) of the email campaign generator app.
Prompt:
Create a product requirements doc for an email campaign generator tool. List key features, user flow in bullet points under 100 words.
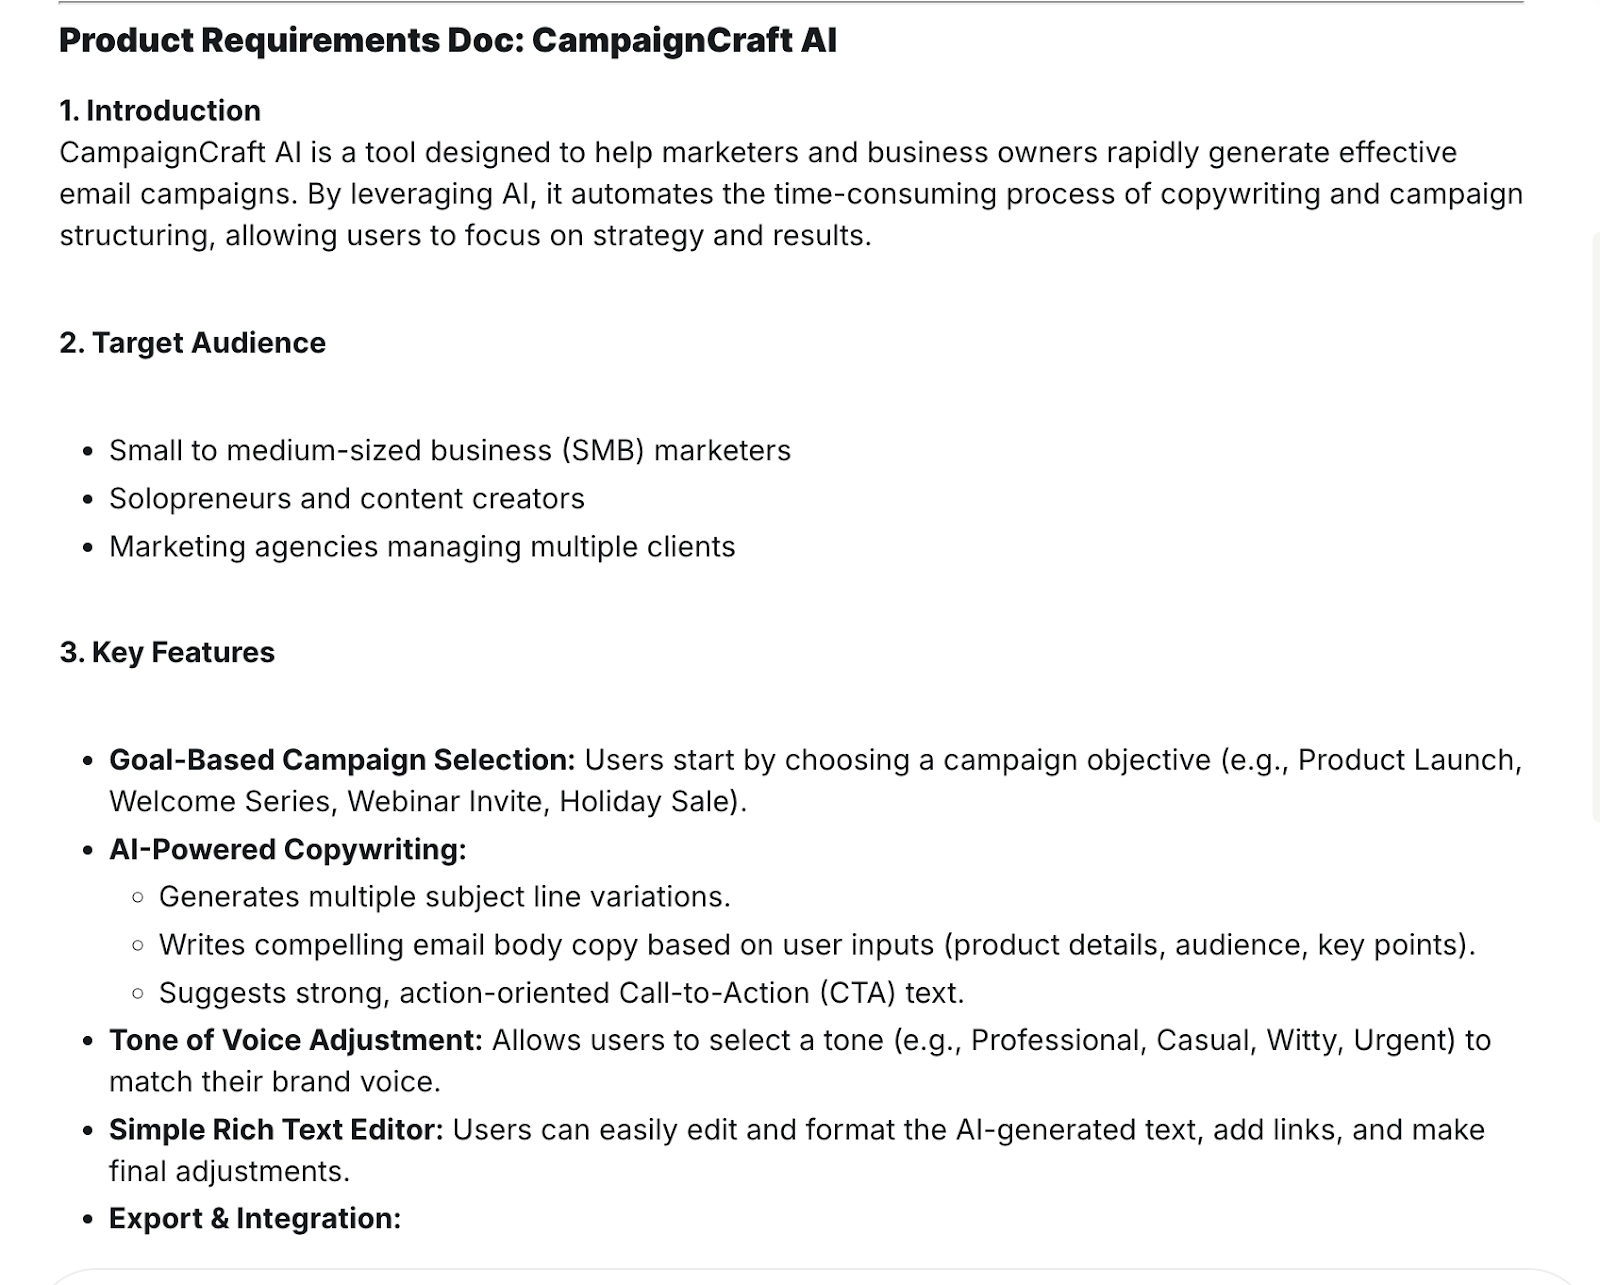
Copy this PRD into a text document. This document will be used to build the app in the ‘Build’ mode of AI Studio.
Step 2 - Build the email campaign app
Once the PRD is complete, it’s time to build the app. But before that, you must use the copied PRD to construct a system prompt.
Click the ‘Build’ link in the sidebar.

Click the selected model in the chatbox and paste the following system prompt in the ‘System Instructions.’
Prompt:
You are an expert software manager and developer. Create apps that reflect real-world scenarios. Always ask clarifying questions before proceeding with a step. Could you make sure you create a world-class app that can be marketed and sold to the masses?

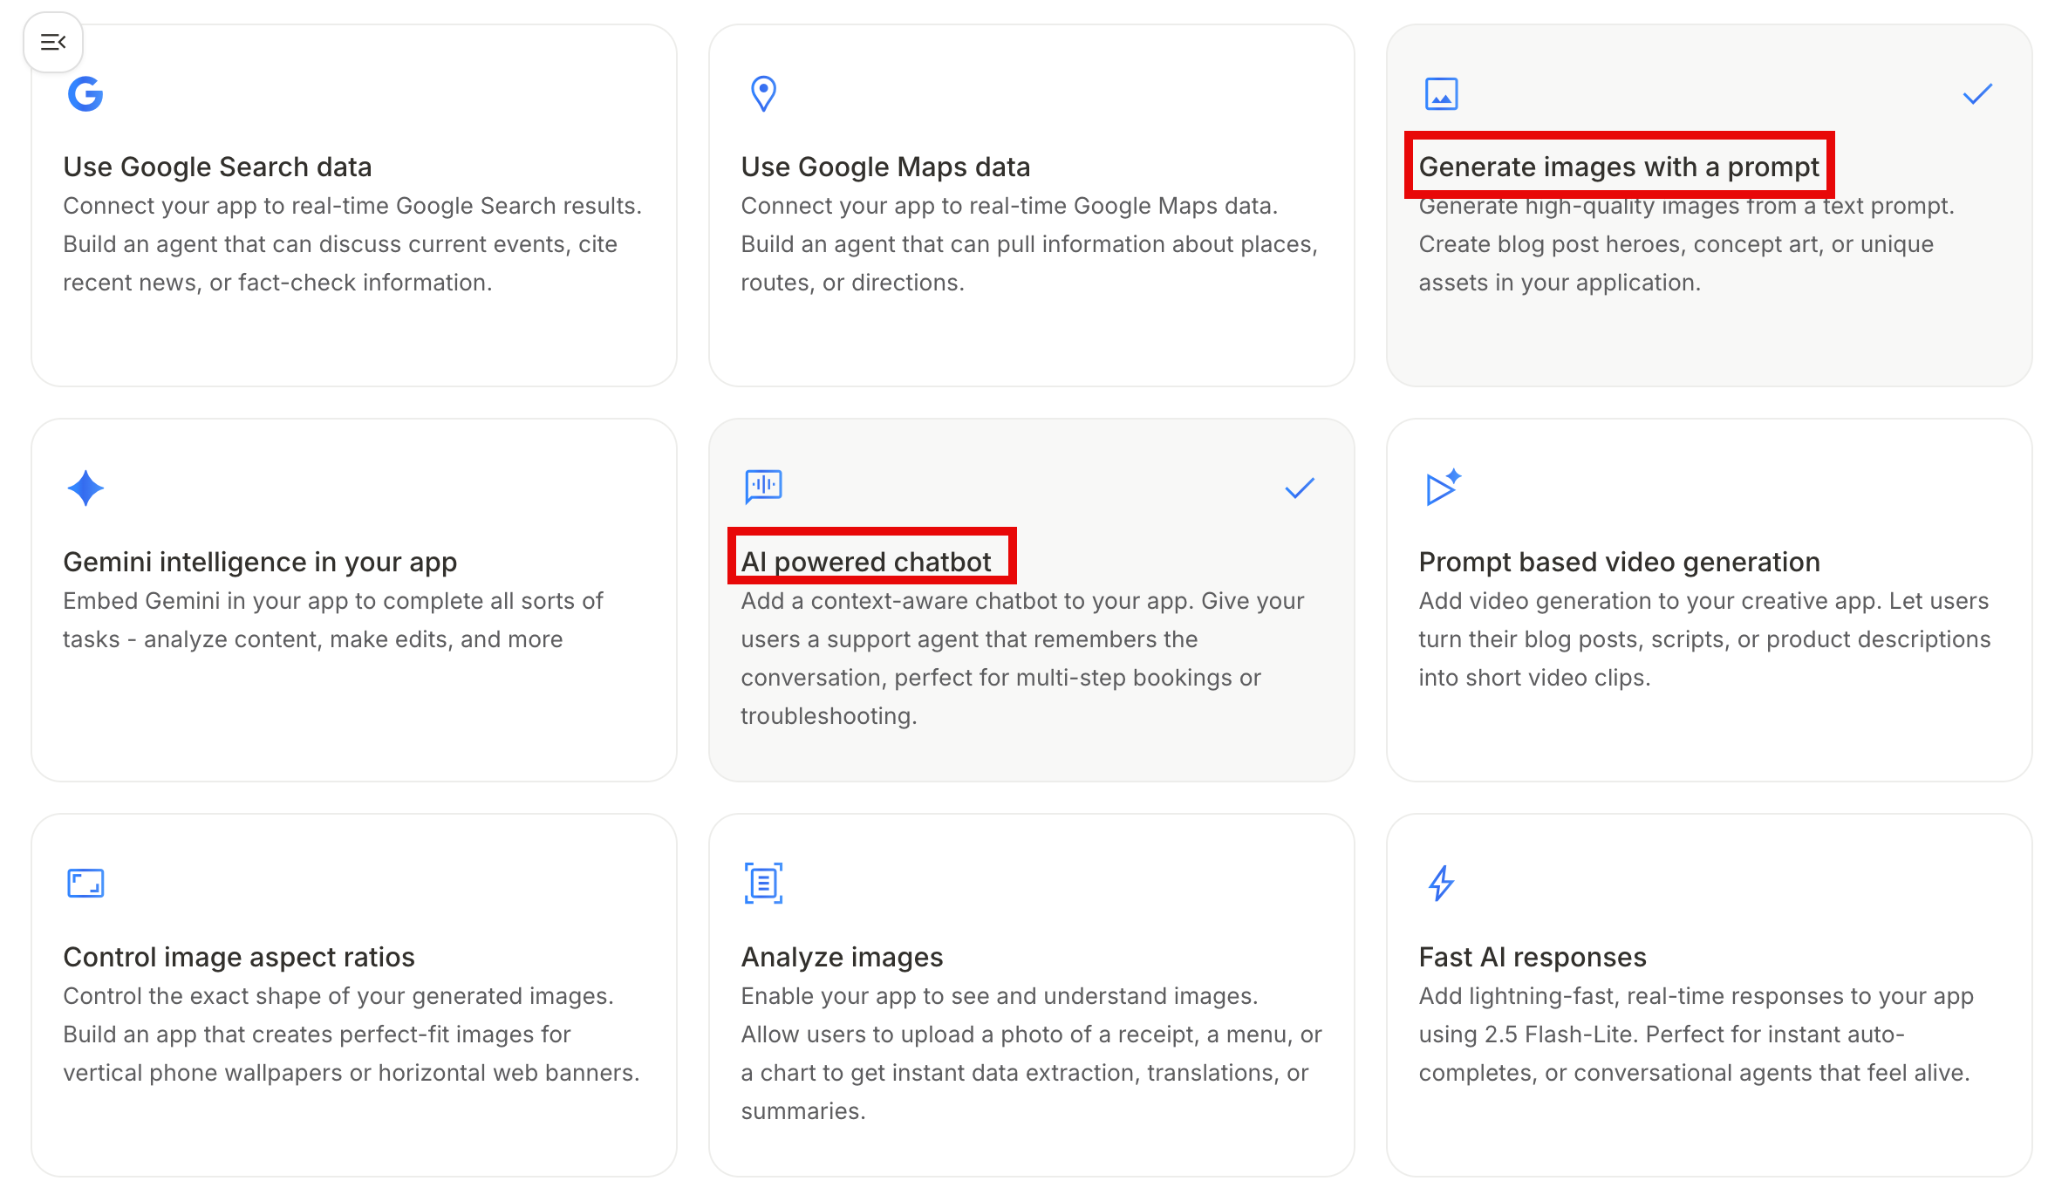
Go back to the main ‘Build’ page and scroll down to enable ‘AI Powered Chatbot’ and ‘Generate Images with a Prompt.
Use this prompt to build an email campaign generator. Copy the PRD you saved in a document and paste it in the brackets. Make sure that the selected model is Gemini 2.5 Pro.
Prompt:
Build an email campaign generator based on this PRD: [your PRD]. Include a chatbot for copy refinements and image generation for 3 campaign visuals.
Click ‘Build’ and wait 1 to 2 minutes.
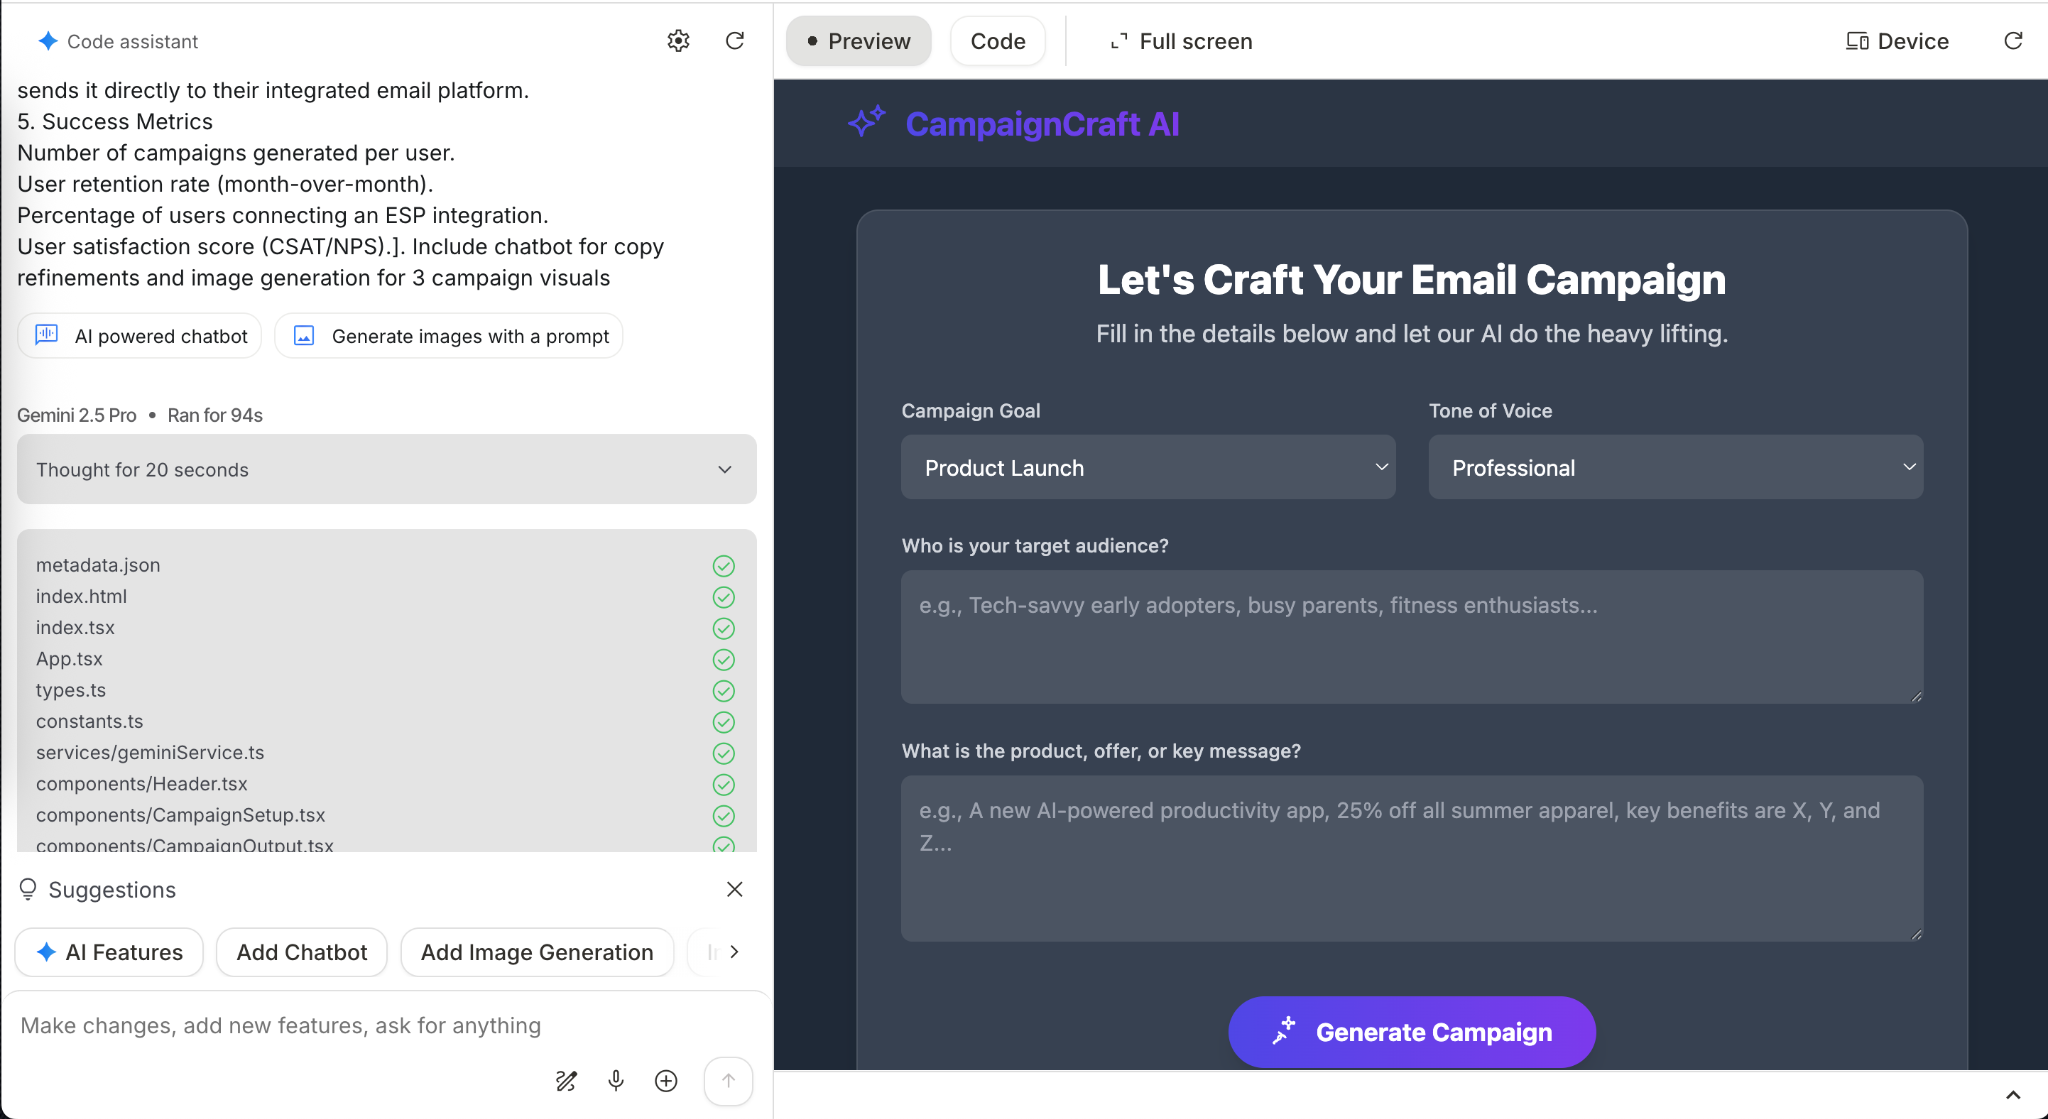
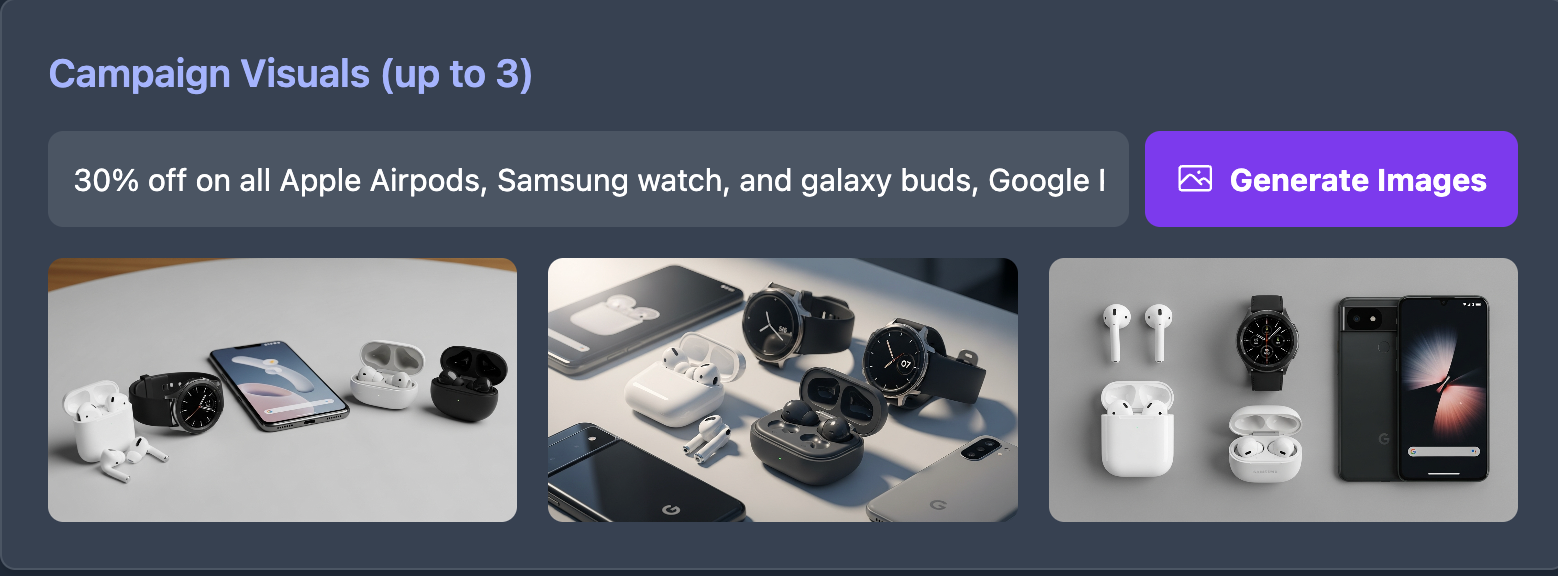
Now test with inputs like ‘Holiday gadget sale.’ Verify that it generates 3 subject-linked HTML email body and 3 banner images.
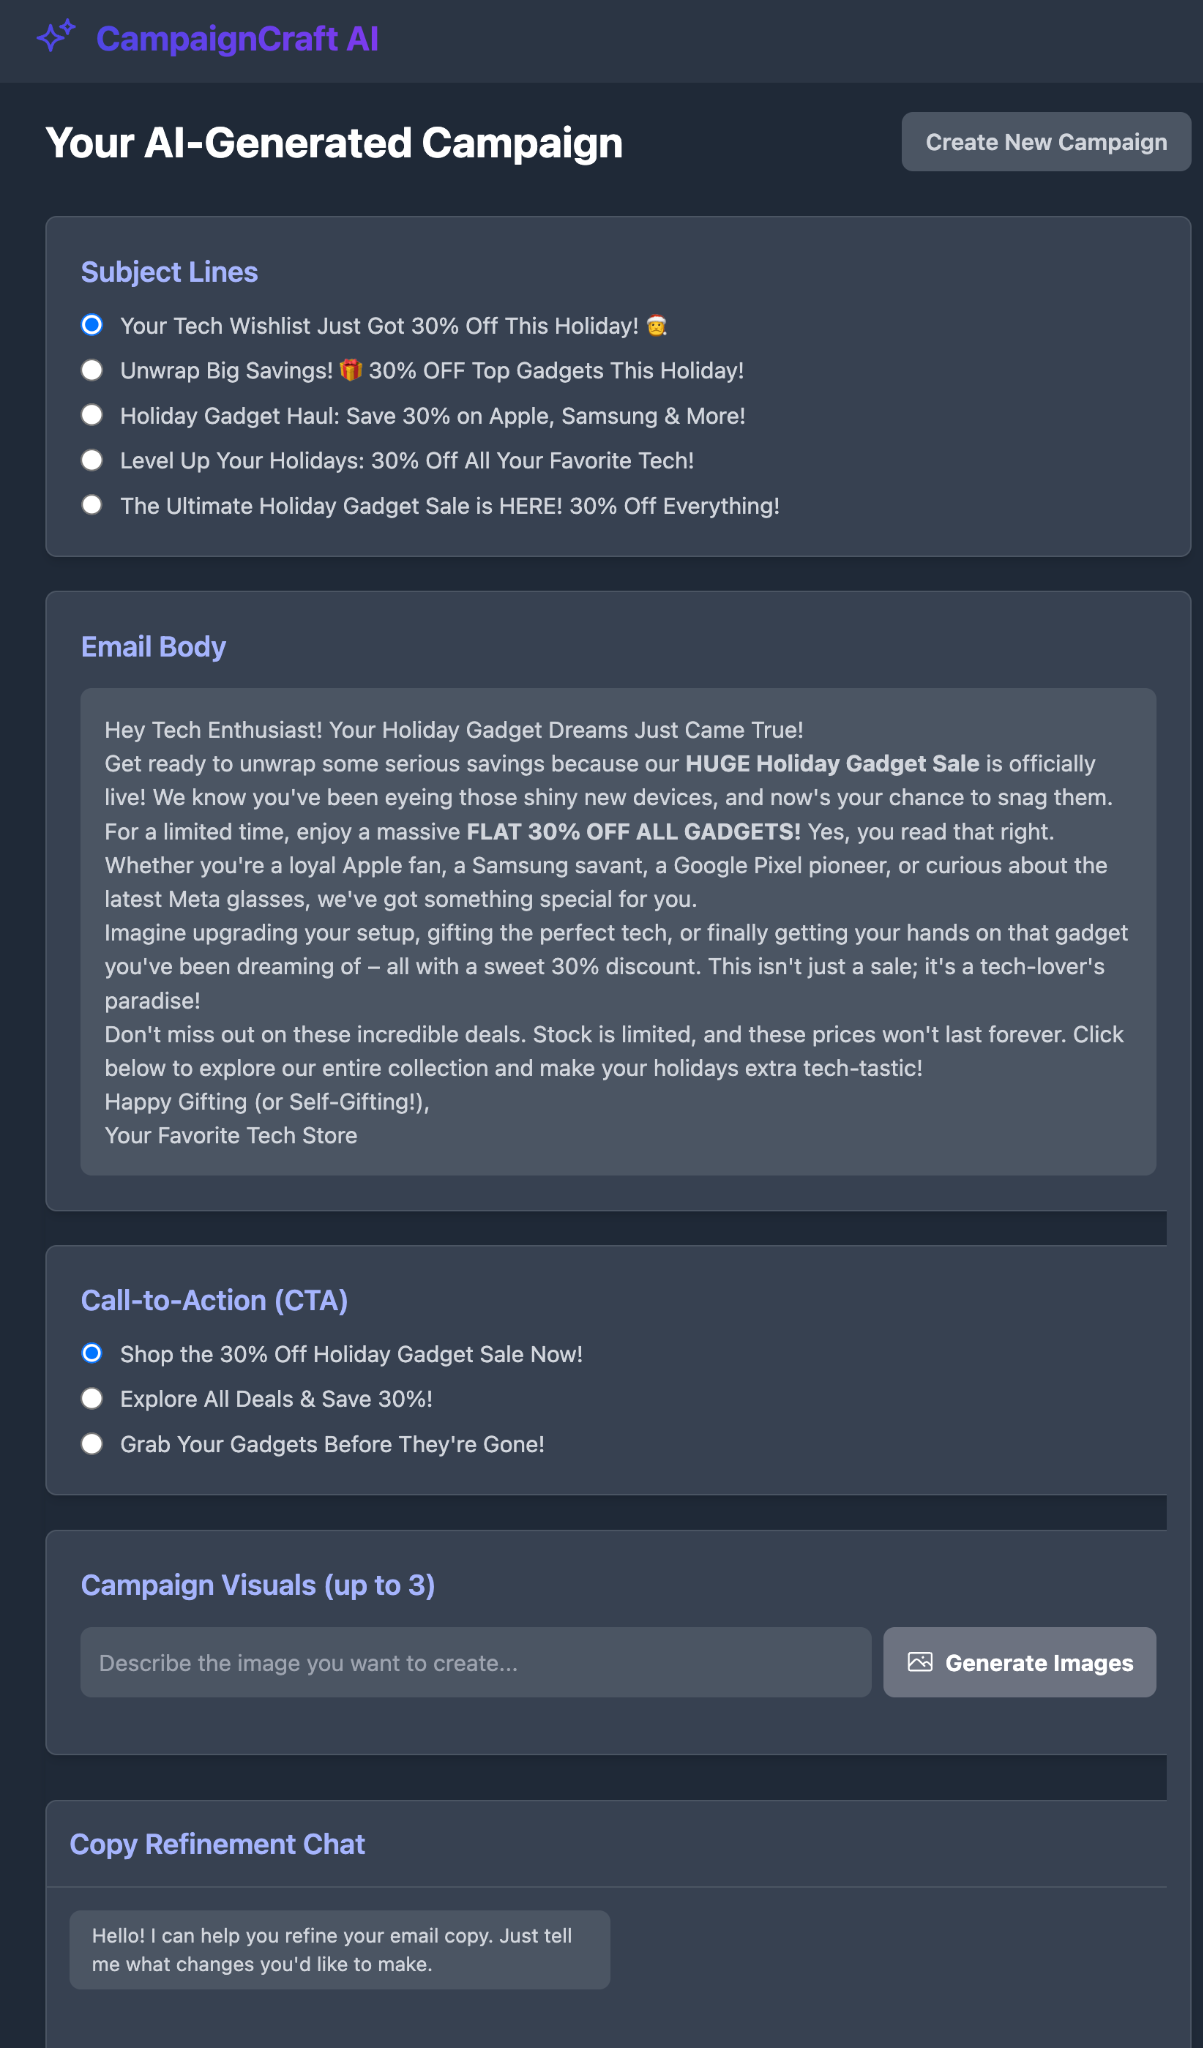
Describe campaign visuals and click ‘Generate Images.’
Google Build created a fantastic app with a single prompt. No follow-up prompts were used in this step.
Step 3 - Refine the output
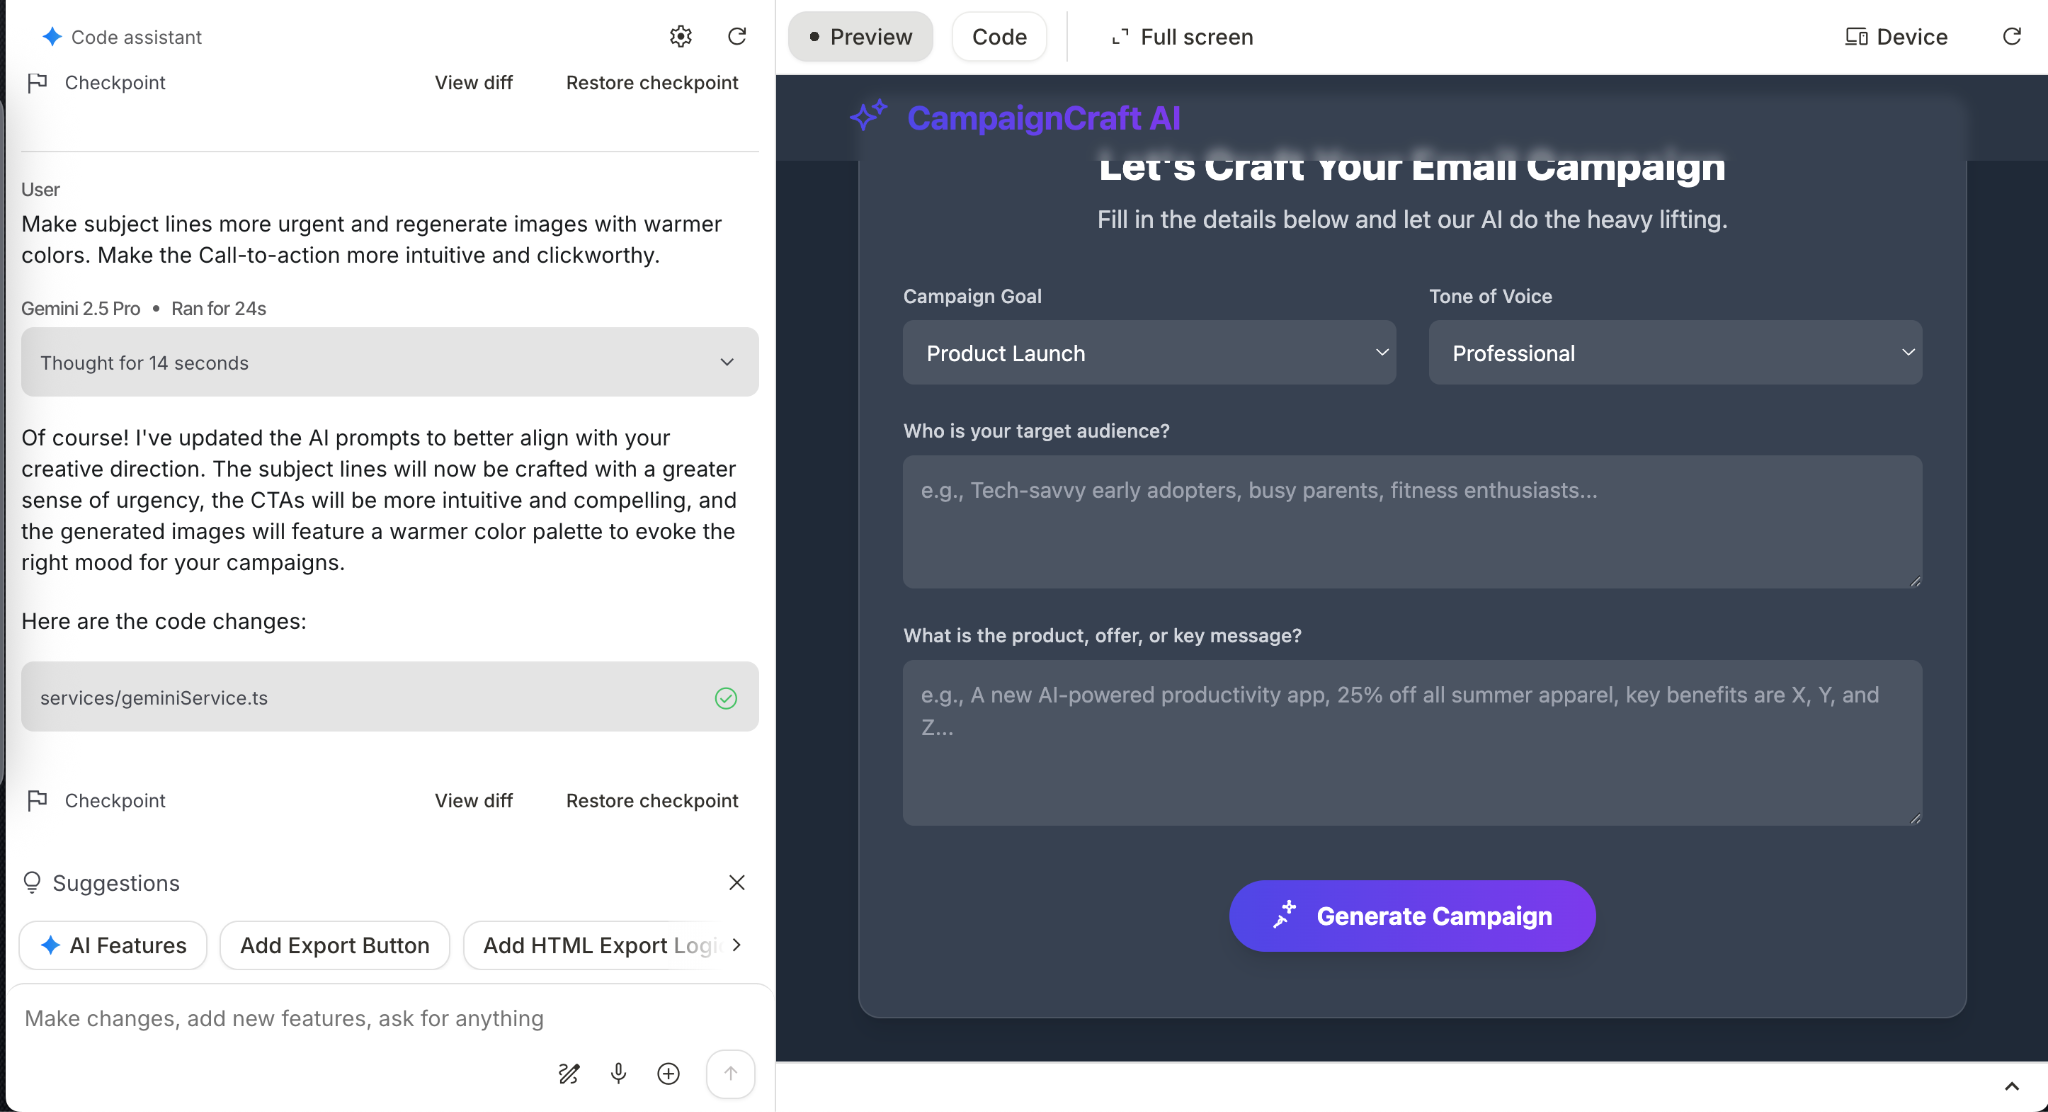
Review the app. Test it extensively and make a list of improvements or changes you want in the app. Let’s say you want to make subject lines more urgent or regenerate images with warmer colors.
In the Google build chatbot, use this prompt to refine the output.
Prompt:
Make subject lines more urgent and regenerate images with warmer colors. Make the Call-to-action more intuitive and clickworthy.
Note: You can change device orientation by clicking the ‘Device’ link at the top of the output window.
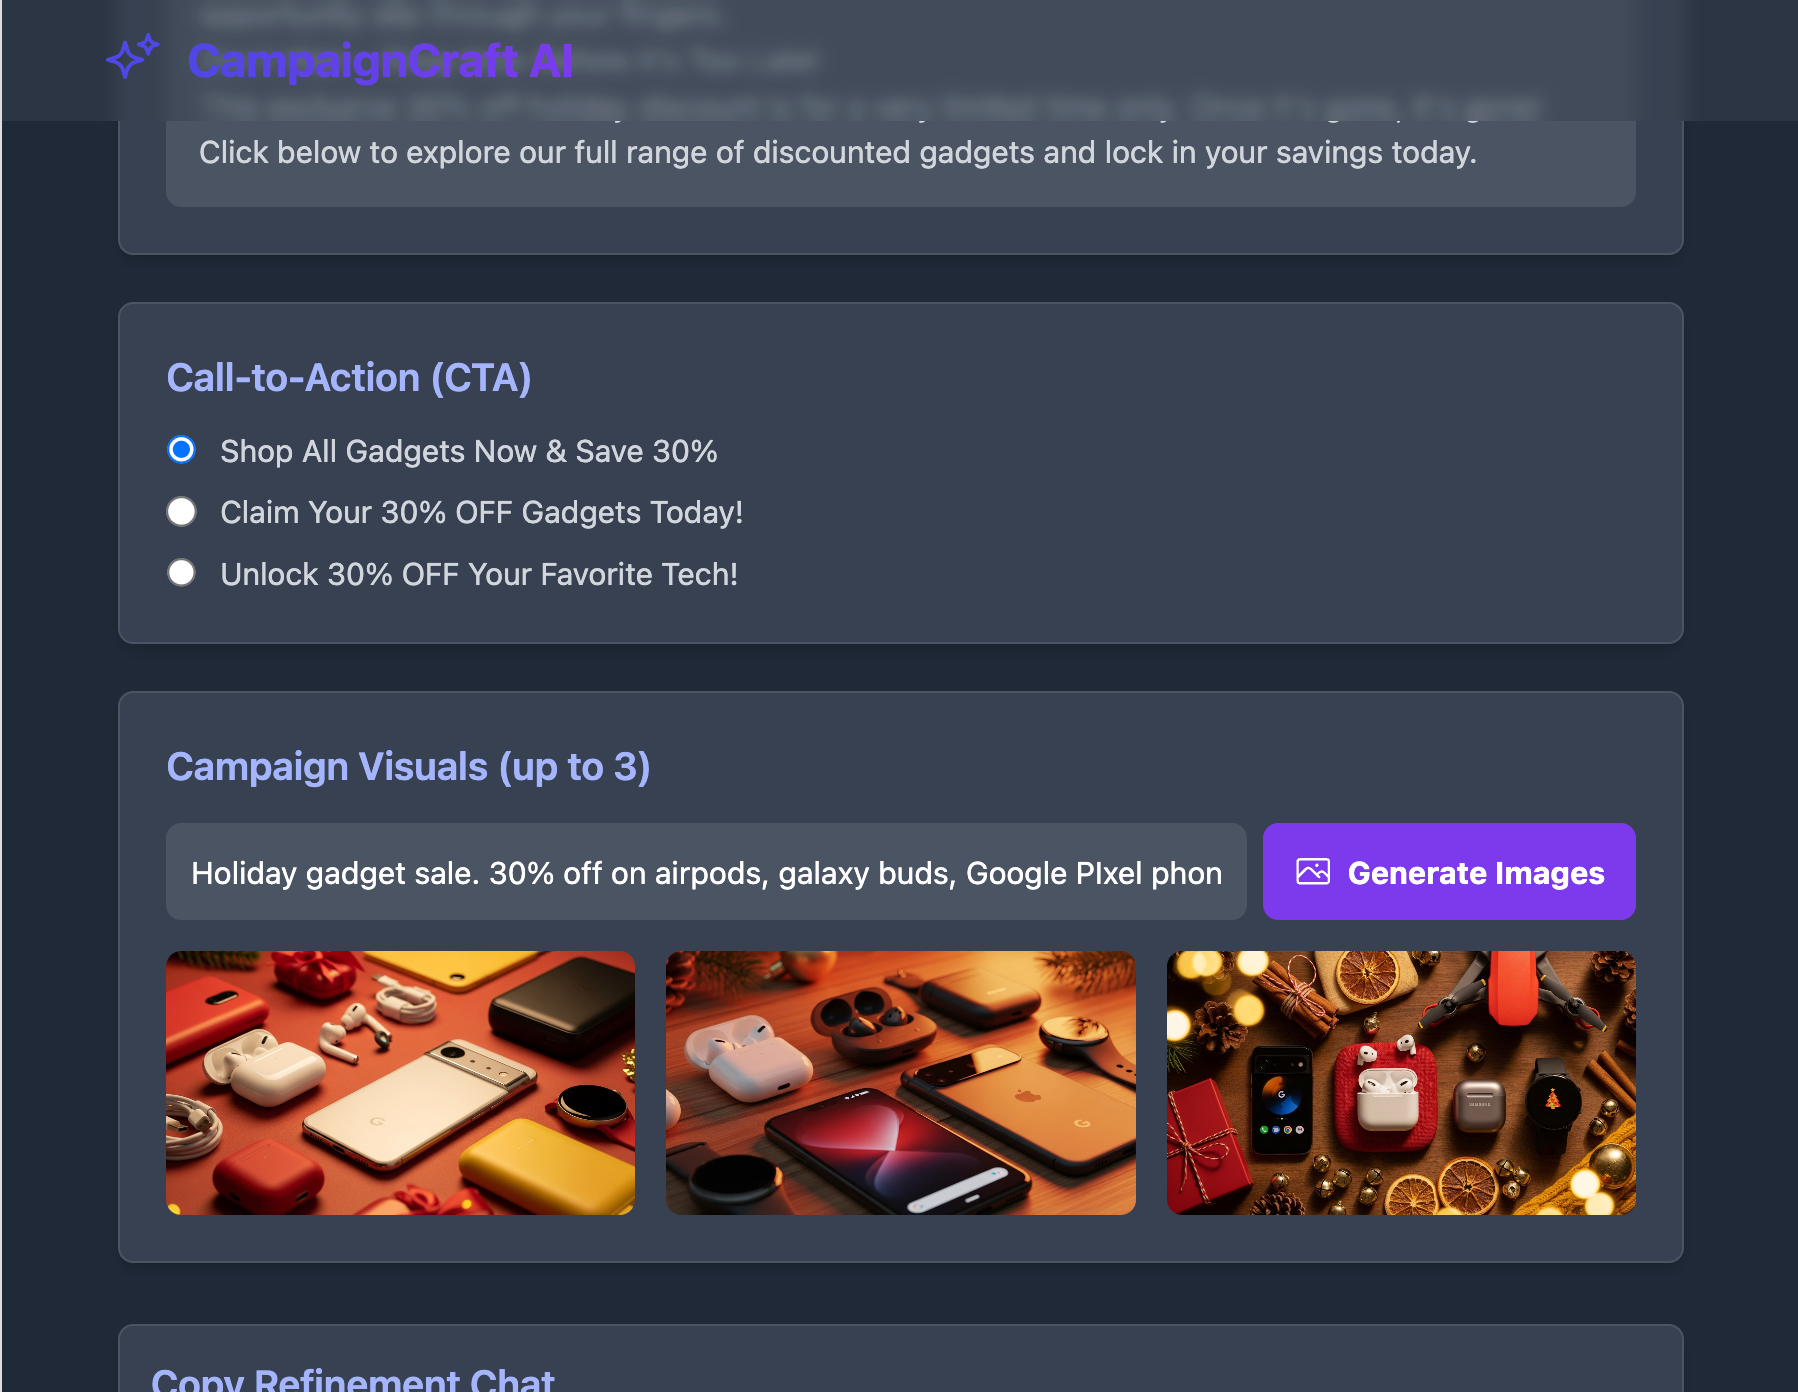
Google Build updated the app. The images have warmer colors, and the CTA is more action-oriented and clickworthy.
Step 4 - Share and publish your app
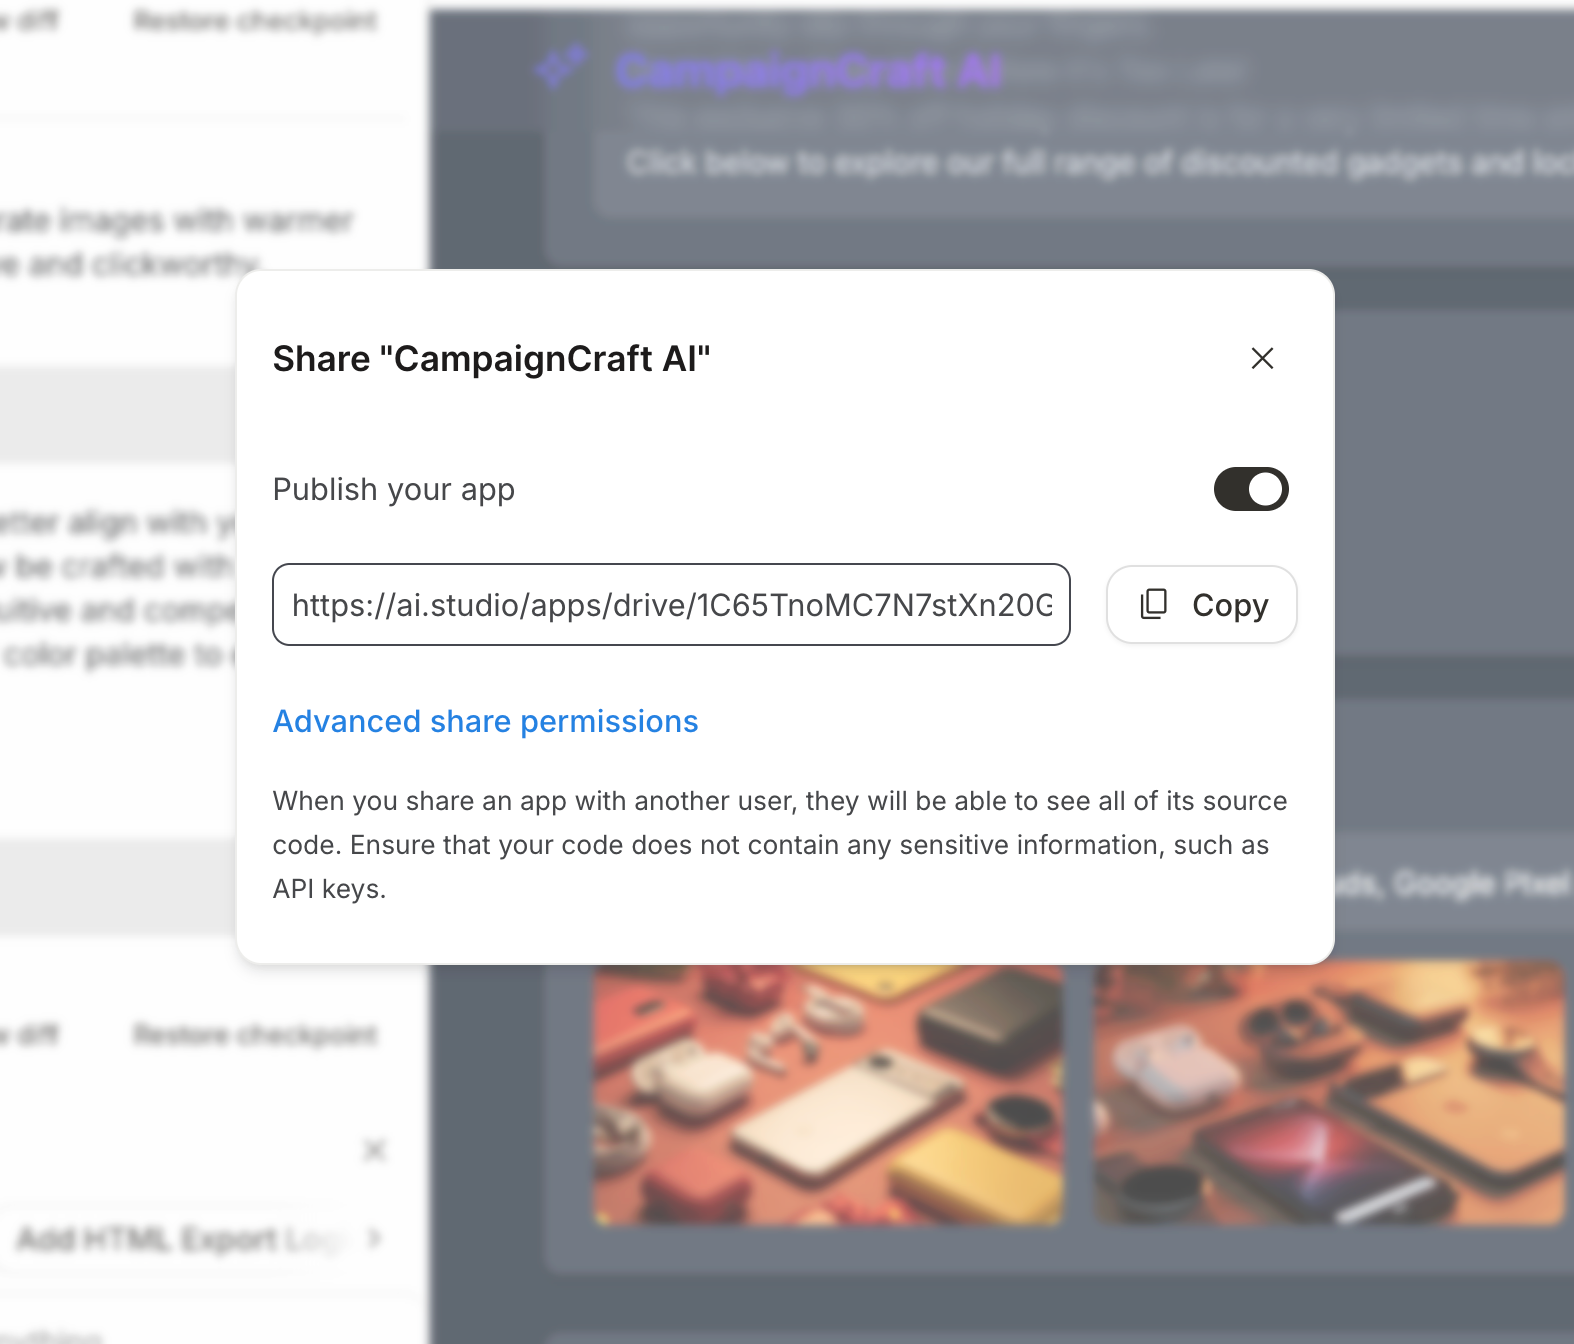
Google AI Studio provides an impressive way to share and publish your app. Click the ‘Share’ icon in the top right corner of the ‘Build’ screen. Toggle ‘Publish your App’ and copy the link to share with your team.
Apart from sharing the app, you can download the whole codebase for the app. Click ‘Download app.. ’ Google will download the codebase in a zip format.

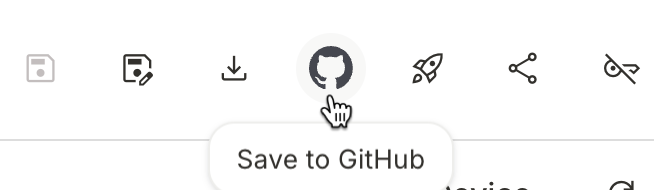
You can also save the app in GitHub by clicking the ‘GitHub’ icon next to the download button.
Not only this, you can deploy the app on Google Cloud. Click the deploy app button and select the Google Cloud project. Click ‘Deploy app.’
That’s it for this tutorial, vibe coders! You can easily reuse this setup for other marketing projects by switching the PRD to a social media caption maker, blog outline creator, or ad copy idea generator. The same approach works for almost any content tool you want to build.
.png)

