.avif)
.png)
Claude is emerging as a leading tool for code generation and workflow automation. It has gained significant traction among developers by delivering clear, reliable, and production-ready code, particularly for complex applications and web services. Its approach emphasizes structure, reasoning clarity, and practical implementation, setting a high standard in this space.
The momentum does not stop with code generation. Claude recently introduced a Chrome extension focused on browser-level automation. This extension allows users to automate repetitive tasks such as copying data between tabs, interacting with web forms, and running basic UI tests. By reducing manual effort in everyday workflows, it offers tangible productivity gains for professionals who spend much of their time working in the browser.
In this tutorial, we are going to show you how to install the Claude Chrome extension, quickly create a simple services webpage using the extension, and automate basic UI tests, such as filling in the inquiry form on the webpage.
By the end of this tutorial, you’ll be able to
- Install Claude Chrome Extension
- Build the HTML webpage
- Check the output and suggest edits
- Test the inquiry form on the webpage using Claude Chrome recording
Let’s dive right into it!
Step 1 - Install Claude Chrome Extension
Claude Chrome browser extension allows Claude to see what you see and actually do stuff in your browser, like clicking buttons, filling forms, and navigating pages. Think of it as a capable assistant sitting in your side panel, ready to handle tedious browser tasks on command. And the killer feature is that you can record yourself doing something once, save it as a shortcut, and Claude will repeat that exact workflow whenever you need it.
The only downside is that it comes with the paid plan. You must subscribe to the Pro or Max plan to avail this fantastic feature.
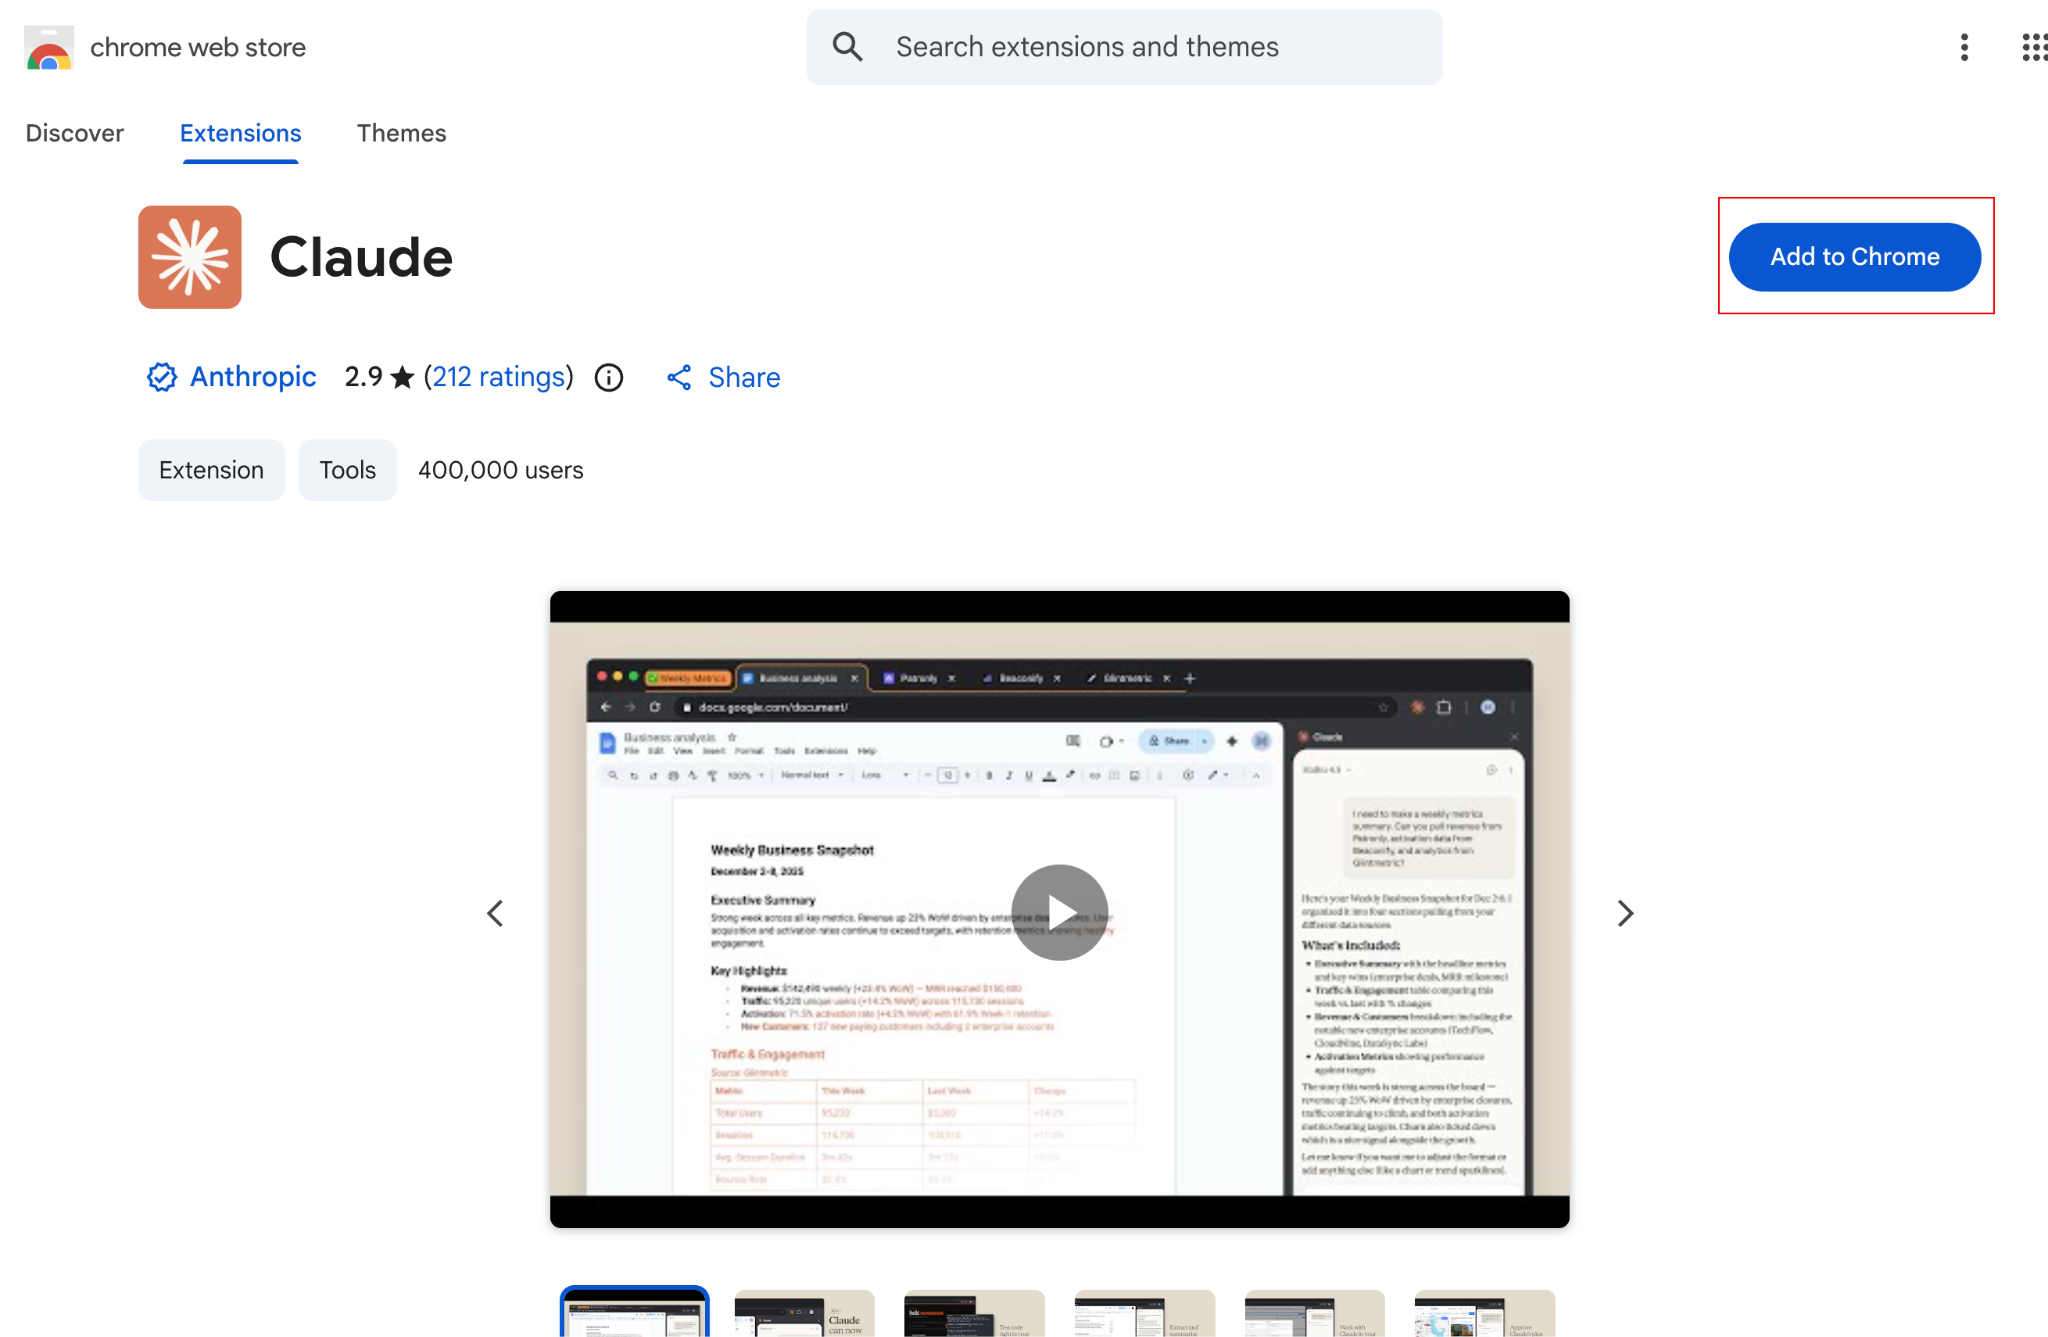
To install Claude Chrome, go to the Chrome Web Store and search for Claude (published by Anthropic).
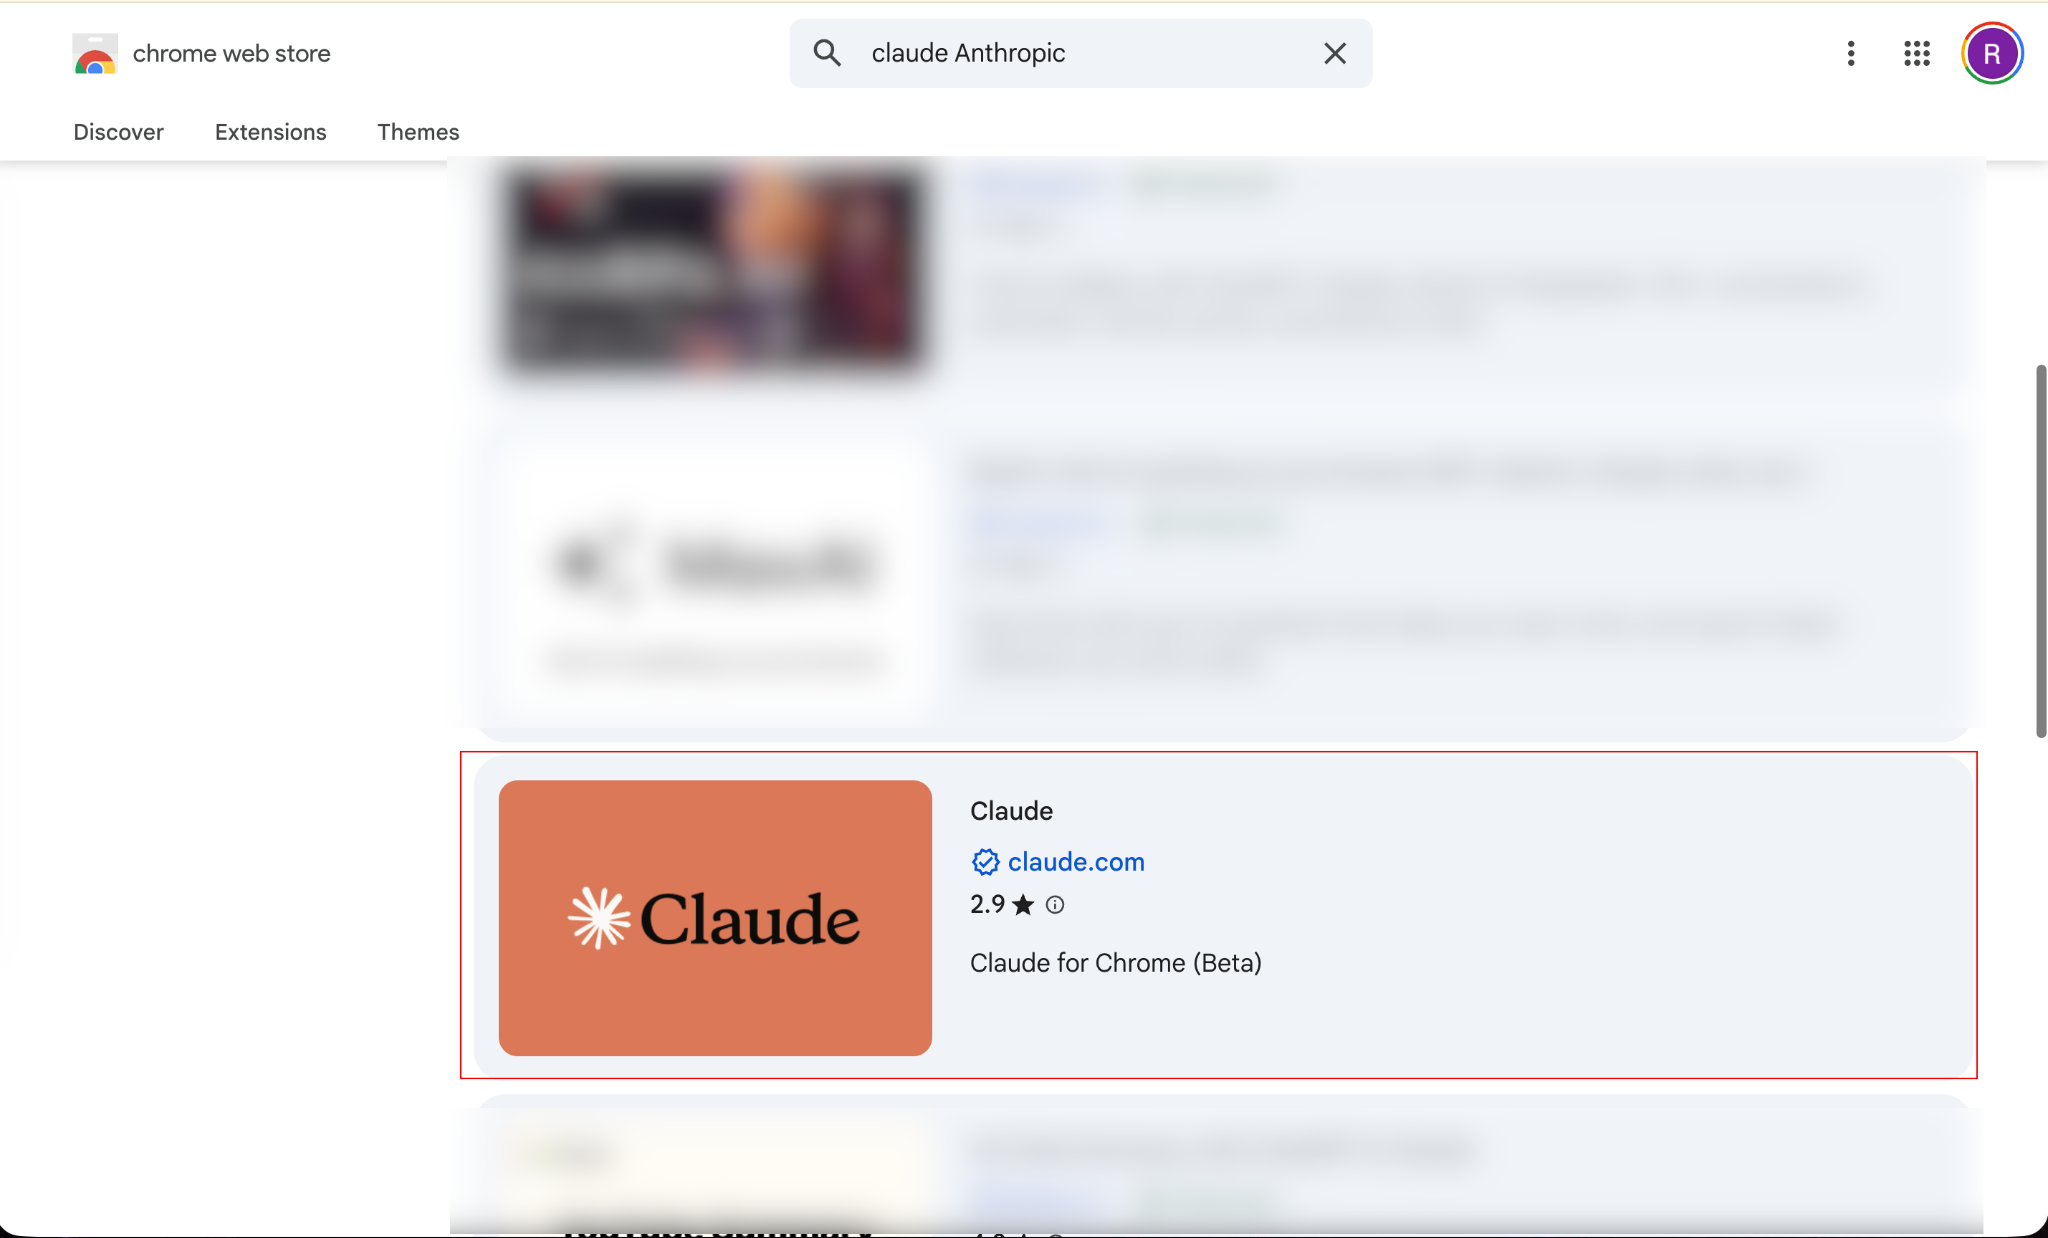
Click the Claude extension in the search results and click ‘Add to Chrome.’
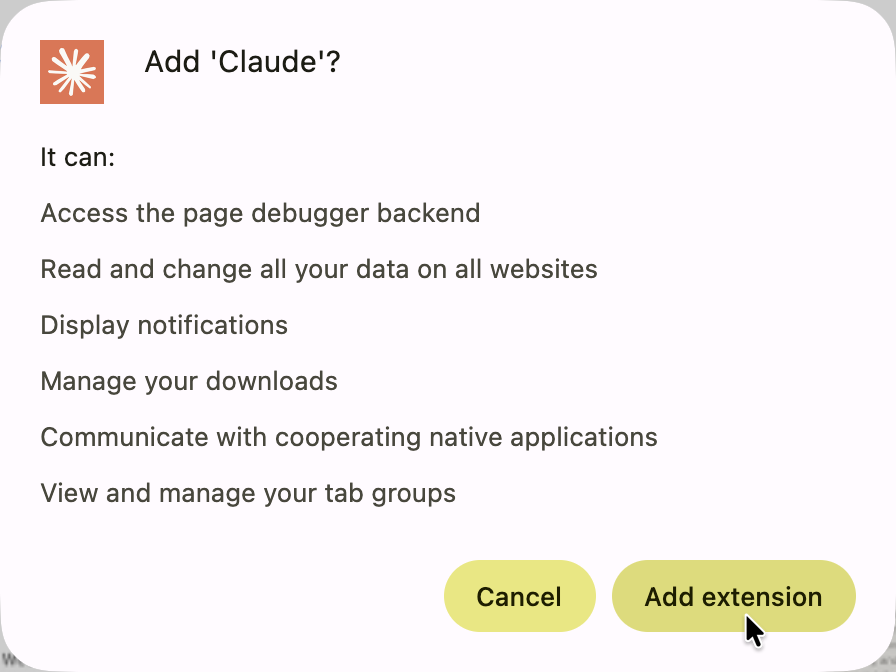
Click ‘Add Extension.’
Next, click ‘Authorize’ in the newly opened tab when the extension installation completes.

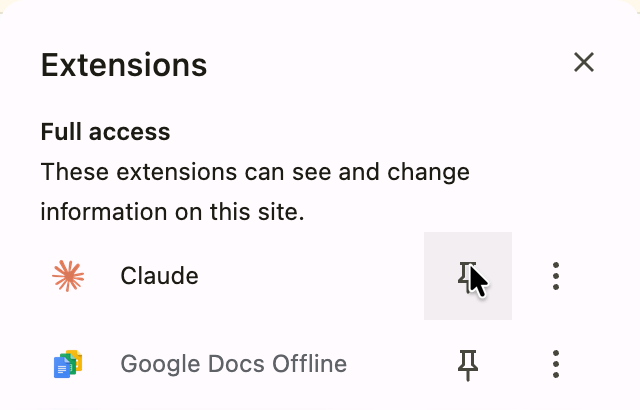
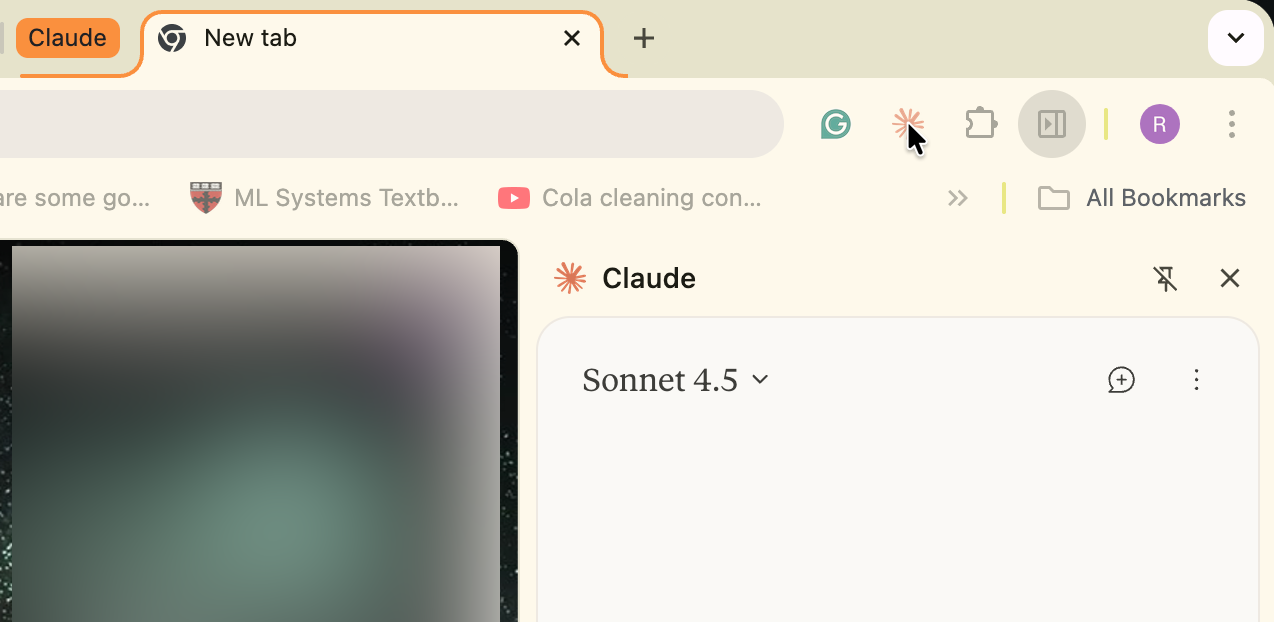
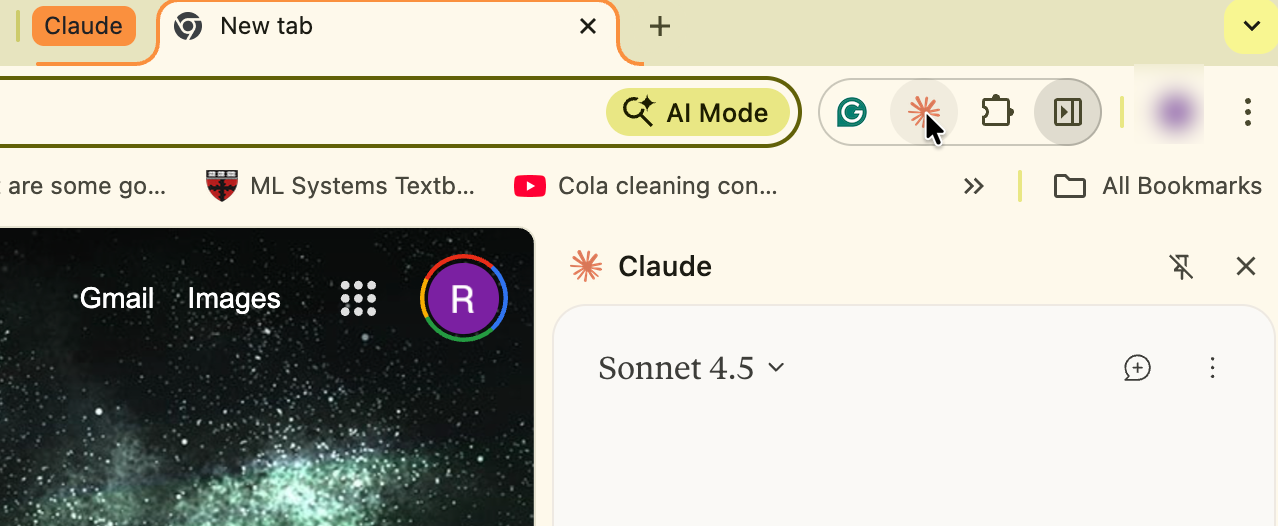
That’s it. You’ve successfully installed the Claude Chrome extension. Click the puzzle icon in your Chrome browser and pin the ‘Claude.’
When you initiate the Claude extension, it can create a tab group in your Chrome browser.
Step 2 - Build the HTML webpage
You can do anything with Claude Chrome. The best use case might be the repetitive tasks that eat up your time, such as data entry or simple web element bug testing. However, you can build anything. All you need to do is prompt Claude, and it will start creating stuff for you. Let’s say you want to build a simple static HTML webpage. Use the following prompt for inspiration or write your own to get started.
Click to open a new tab in your Chrome browser and click the Claude extension.
Continue by writing a prompt.
Prompt:
Create a service webpage for a network manager offering network installation and configuration, hardware and software management, network monitoring, troubleshooting and support and automation. Create a static HTML webpage with a hero section and the services display card right below it. The hero section should have an SVG graphic and a killer headline that hooks the readers. Access an HTML5 editor that supports SVG graphics. Use icons wherever possible. Ensure that the HTML webpage has appropriate text to go with the services. Create a footer with links and the logo. The name of the webpage is Networktracker.
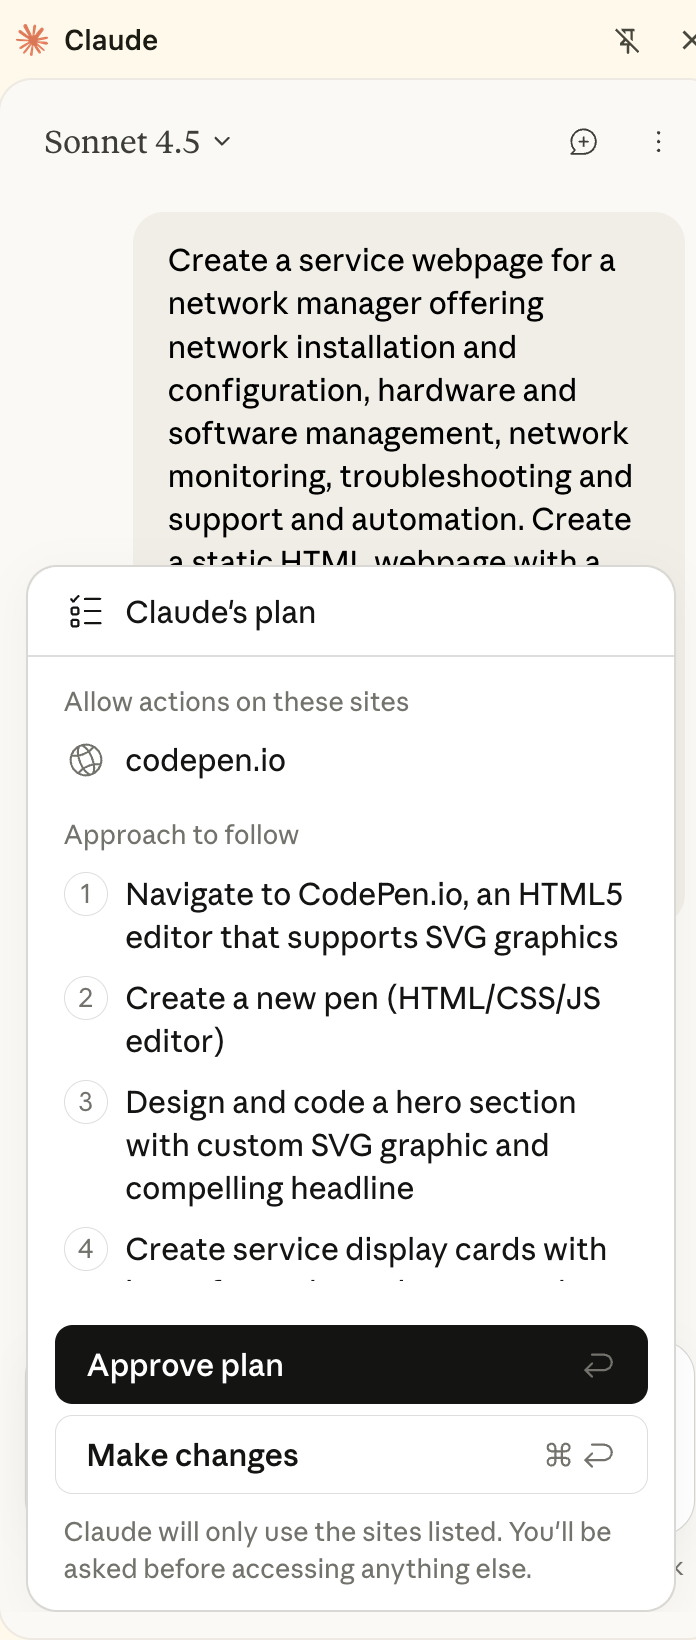
Review Claude’s proposed plan. Click to approve it or make changes. Let’s say you want to make a few changes. Click ‘Make Changes.’
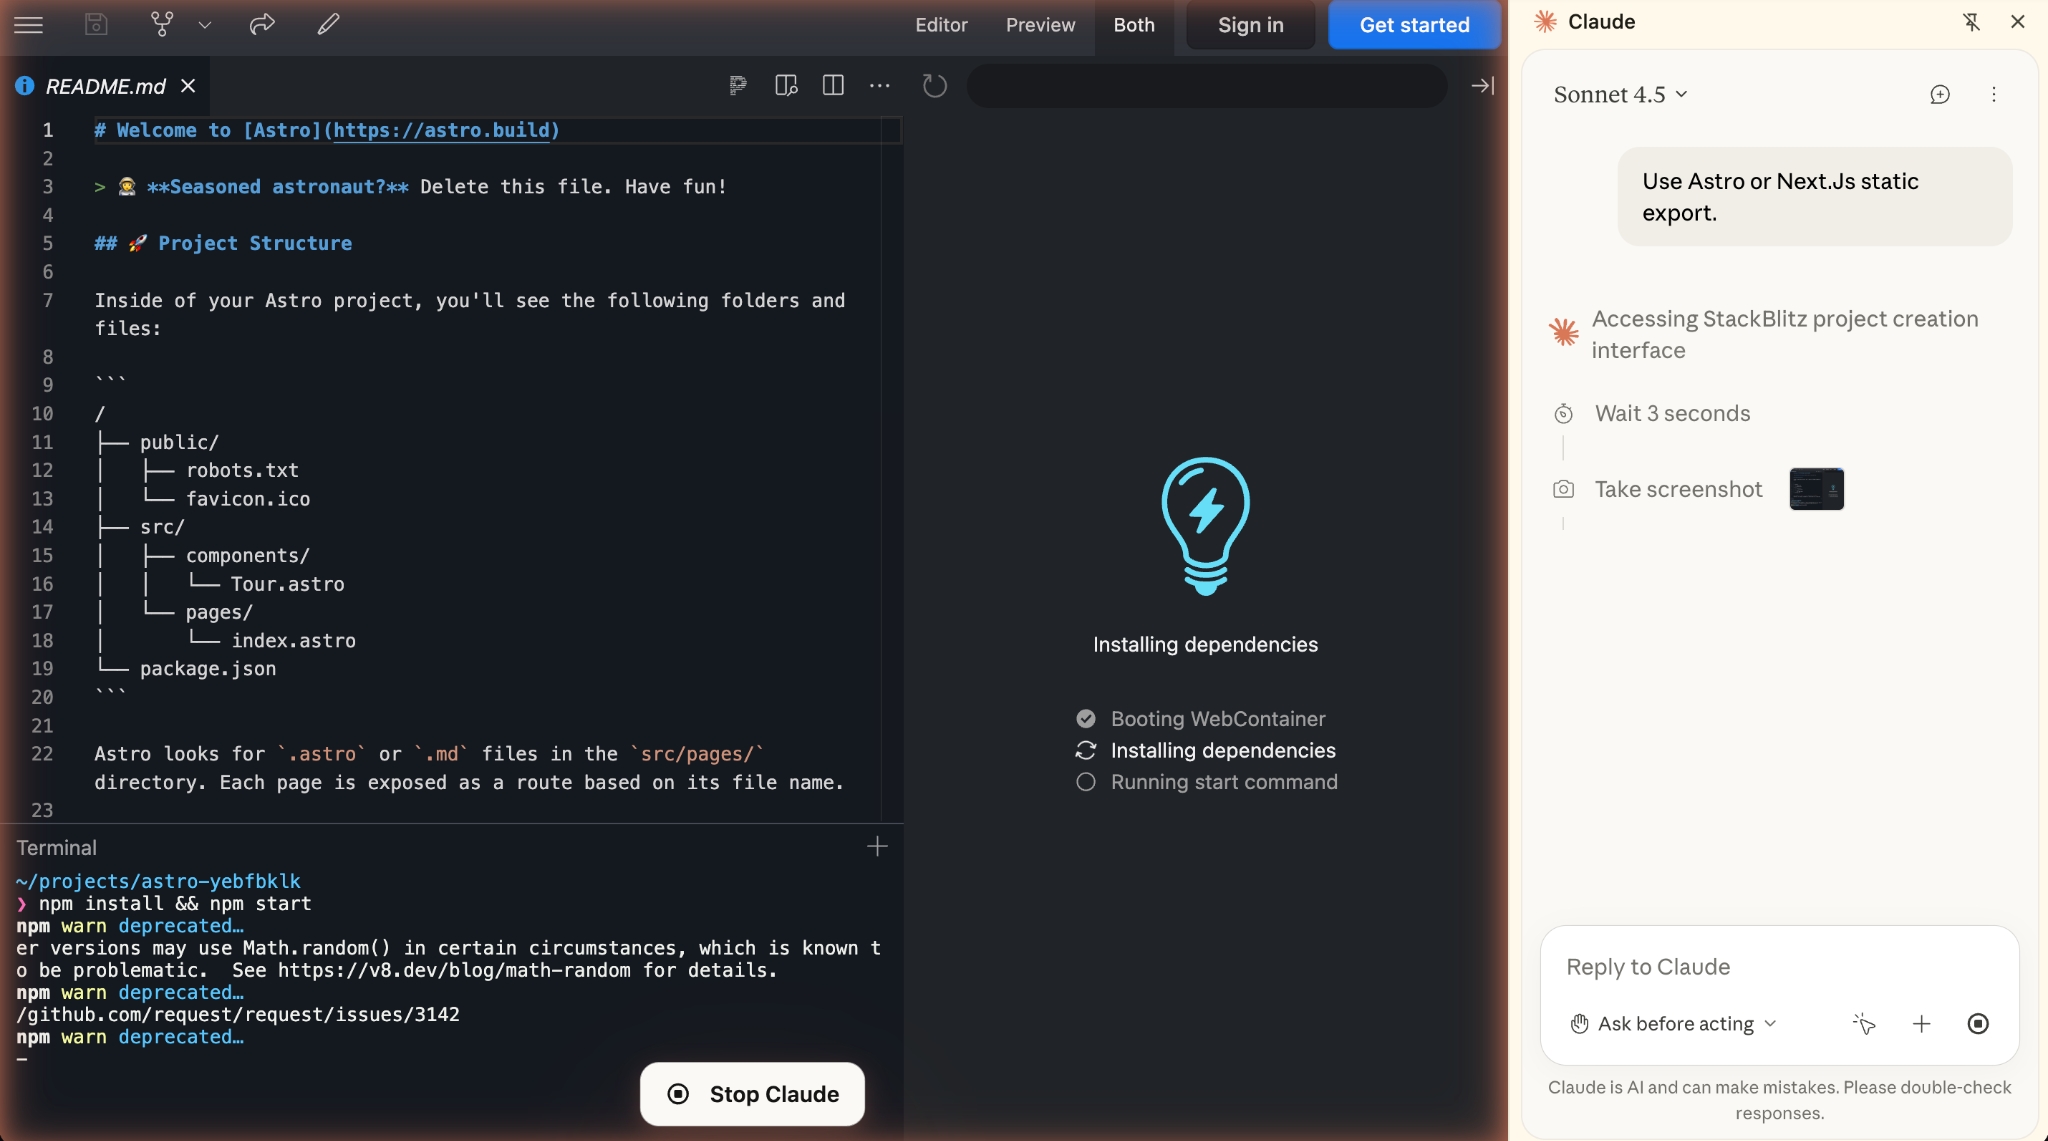
Prompt:
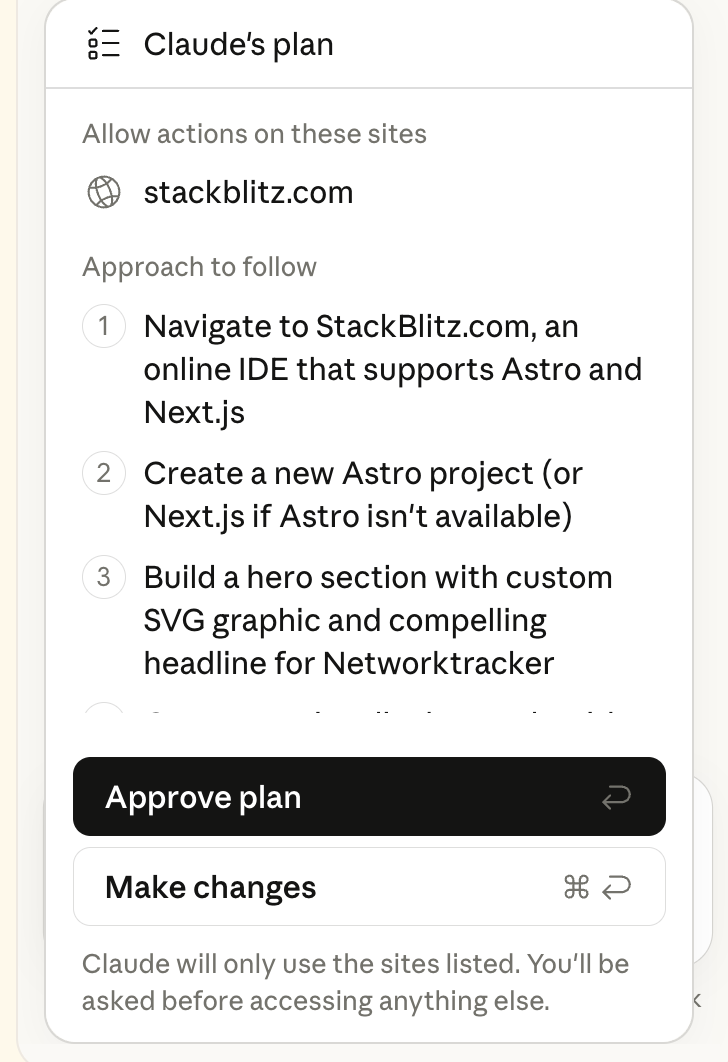
Use Astro or Next.js static export.
Click ‘Approve Changes’ if you are satisfied with the plan, or continue making changes.
Claude will start creating the webpage using the suggested development stack.
It will take some time. Once the webpage is ready, you can view it in the preview pane.
Step 3 - Check the output and suggest edits
Depending on the complexity of the task, Claude might take time to complete it. Once completed, you can check the output and suggest edits.

That’s a really professional webpage to start with. Of course, you can continue prompting Claude to suggest edits or add more sections to the page. Copy the HTML and CSS and paste them into an HTML page. You can upload it to GitHub or anywhere else to view the entire page.
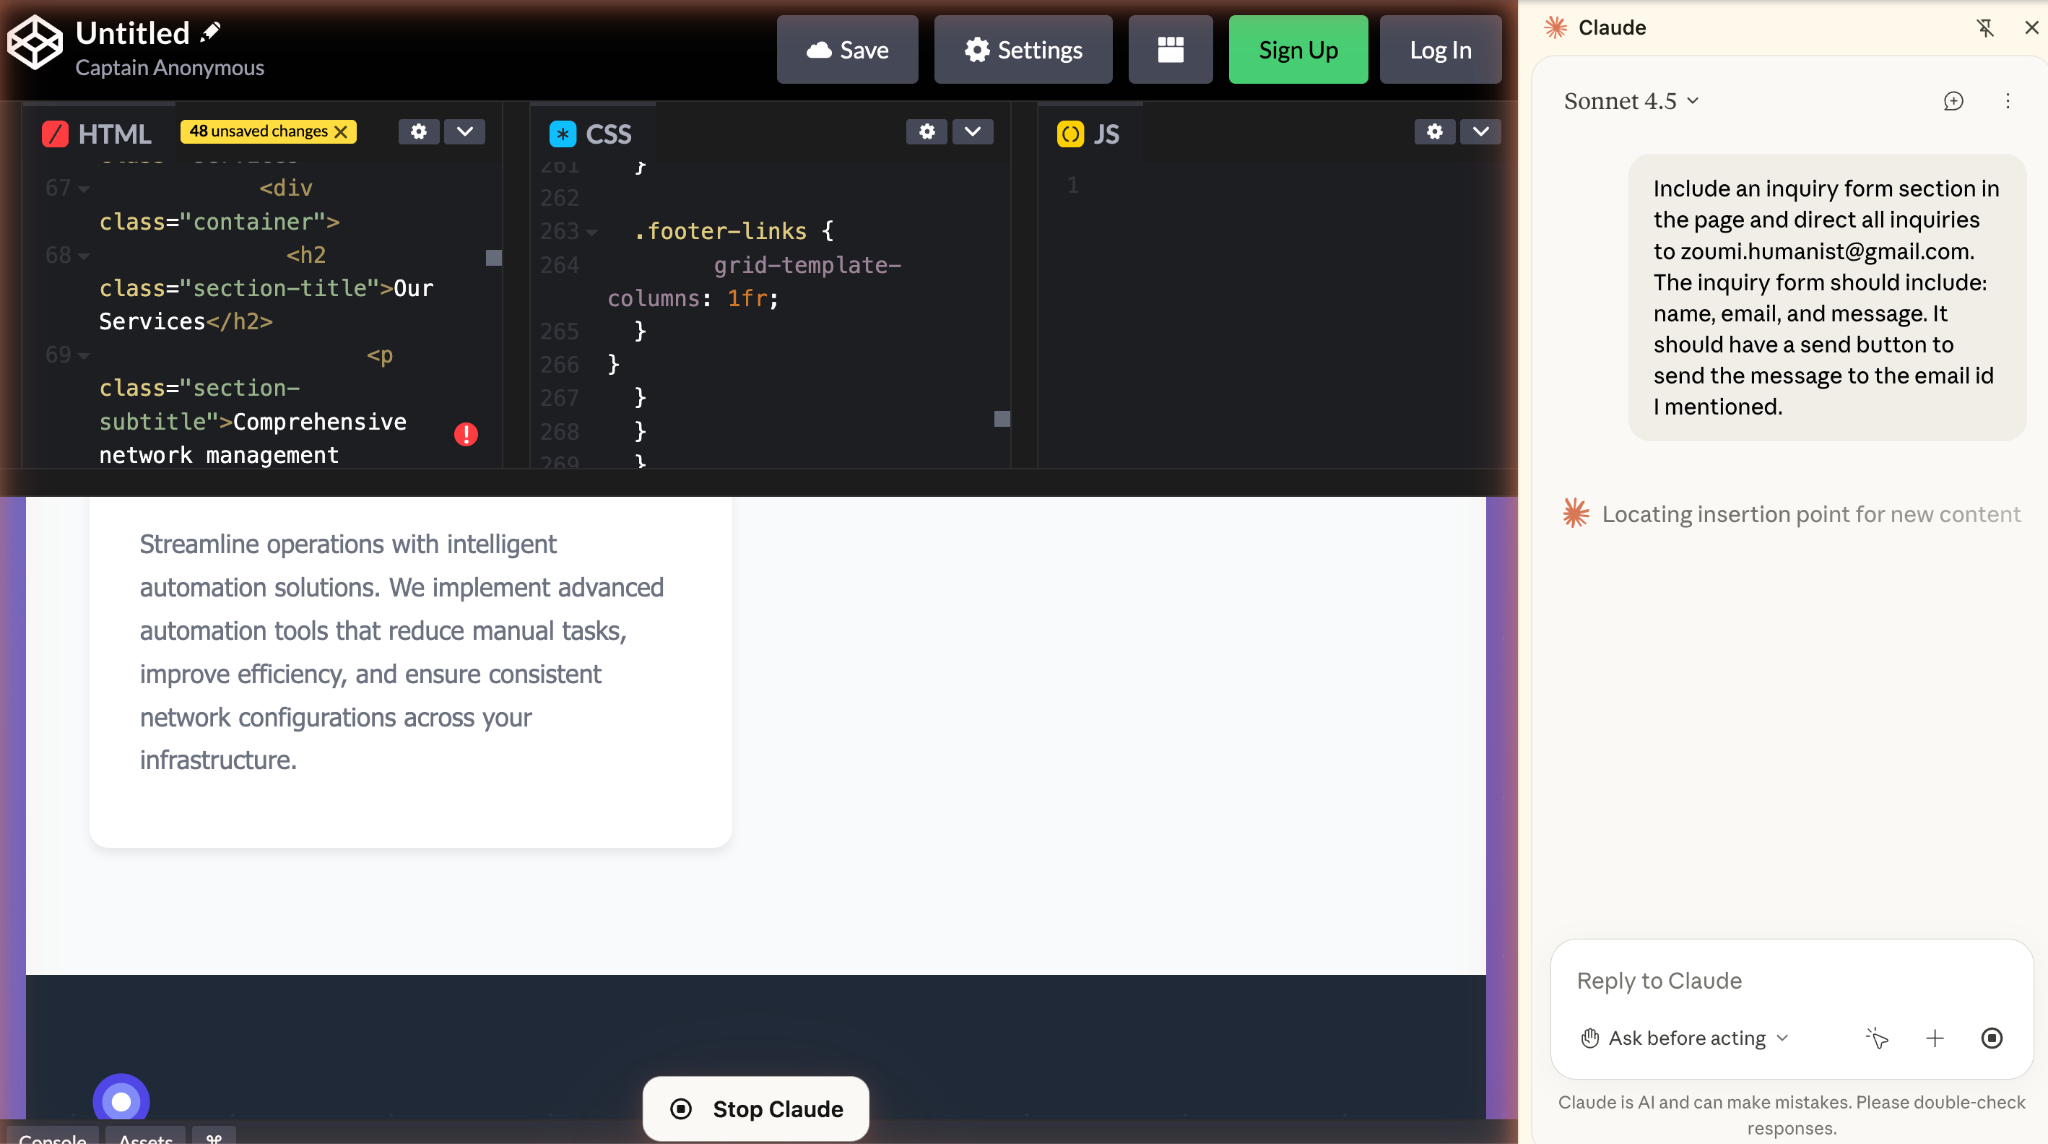
Let’s assume you want to add an inquiry form to the webpage. Use the following prompt to add it.
Prompt:
Include an inquiry form section in the page and direct all inquiries to youremail@outlook.com. The inquiry form should include: name, email, and message. It should have a send button to send the message to the email ID I mentioned.
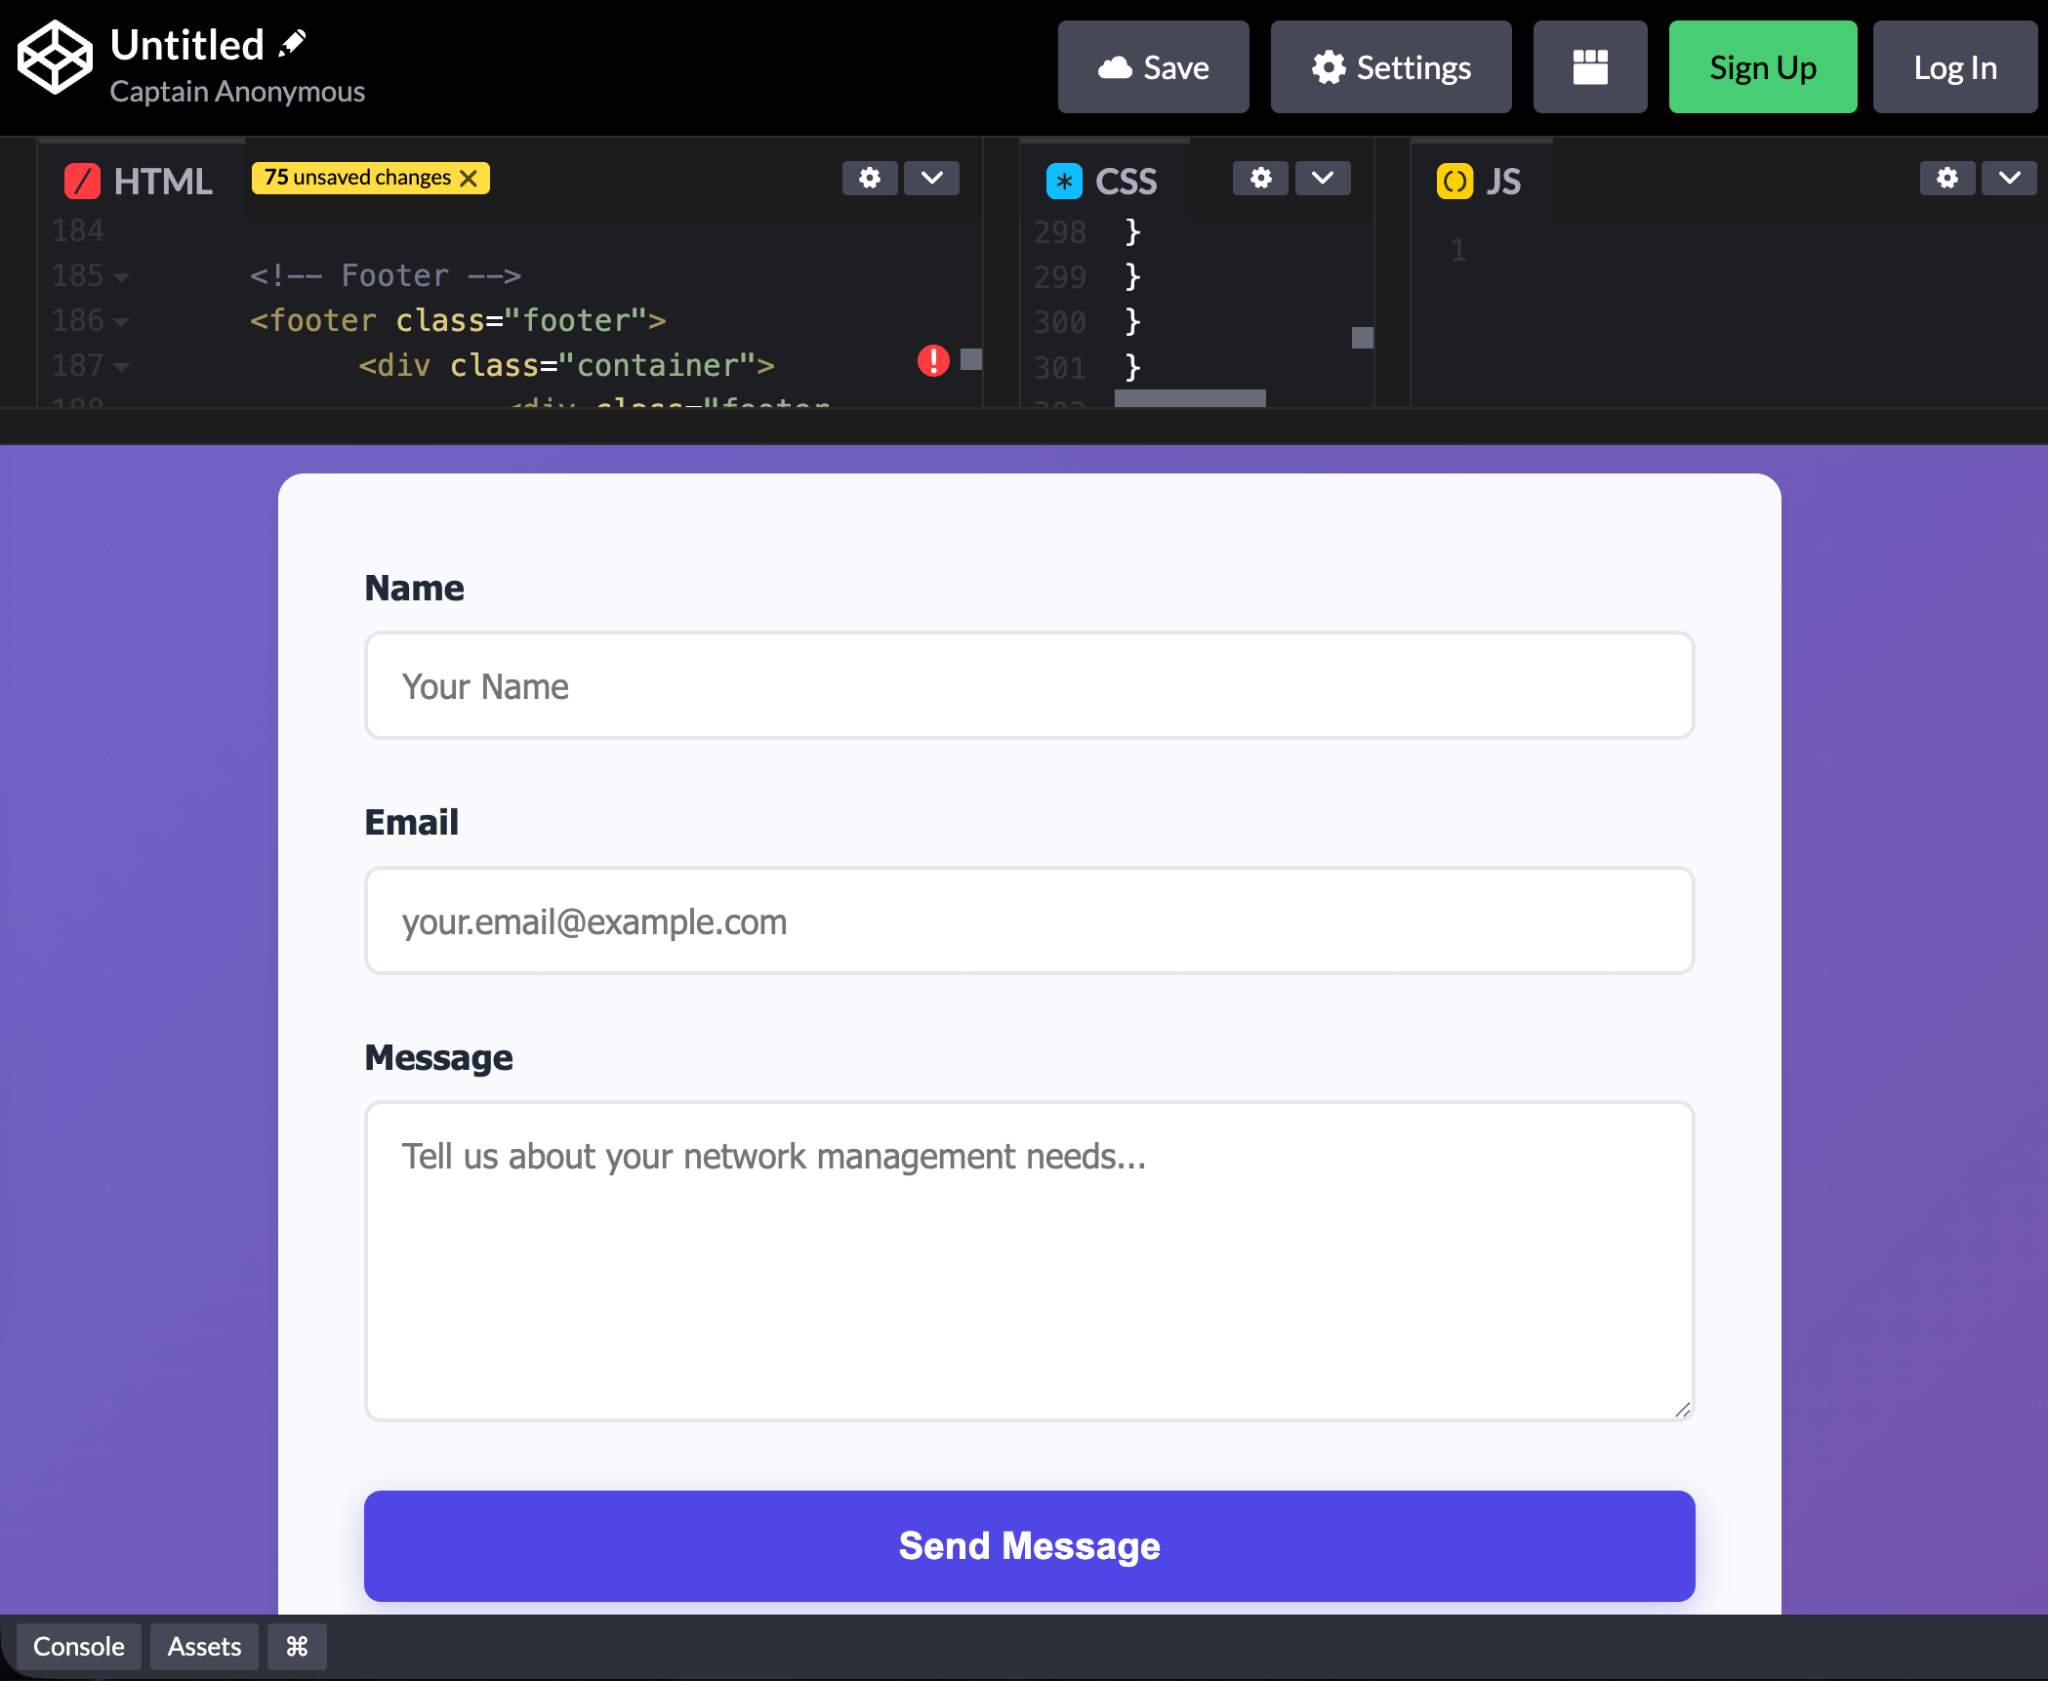
The contact form is created. You can scroll the preview pane in codepen.io to view it.
Step 4 - Test the inquiry form on the webpage using Claude Chrome recording
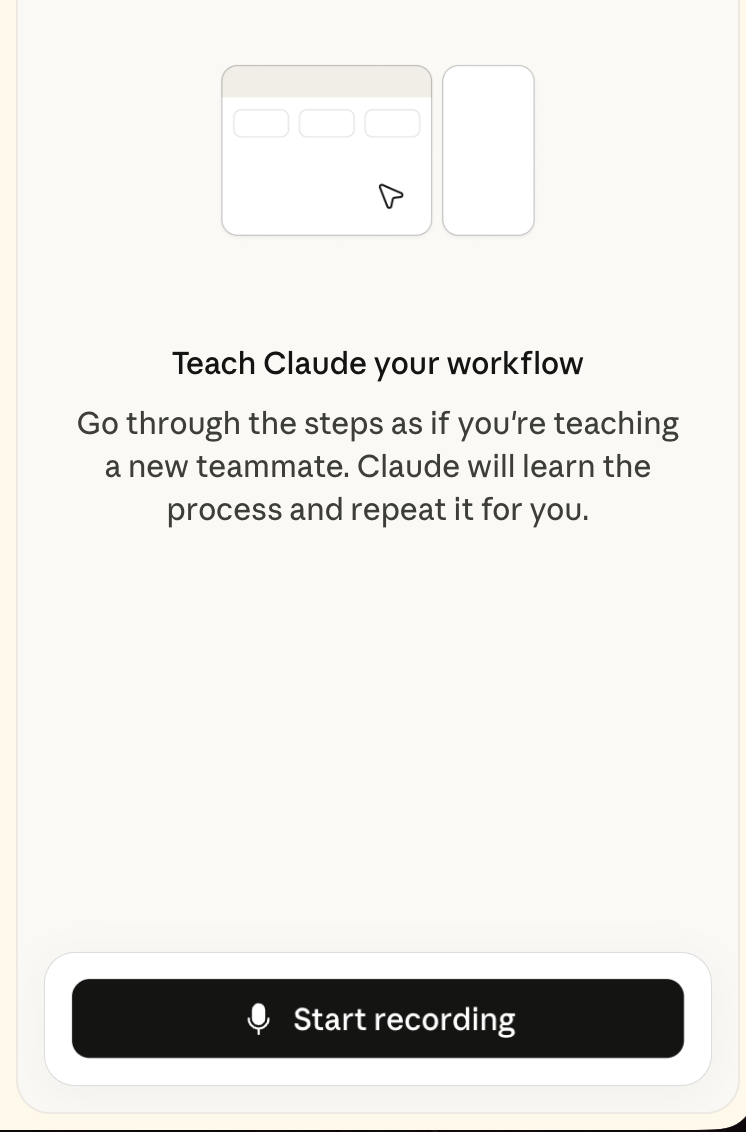
Let’s test the contact form by automating the step using the Claude Chrome recording feature. It’s called ‘Teach Claude.’ The idea is to click ‘Teach Claude,’ and perform the repetitive steps manually to teach it. Then, add the shortcut to the Claude Chrome. When you want to execute the task, simply click the shortcut, and Claude will follow the exact same steps to complete it.
For example, you want to test the inquiry form repeatedly to ensure that it works as expected. Open a new tab and click the Claude Chrome extension. Click the pointer icon in the chat box at the bottom.
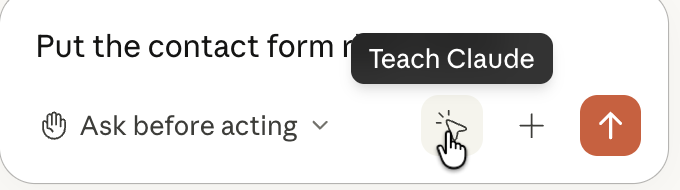
Next, click ‘Start recording.’
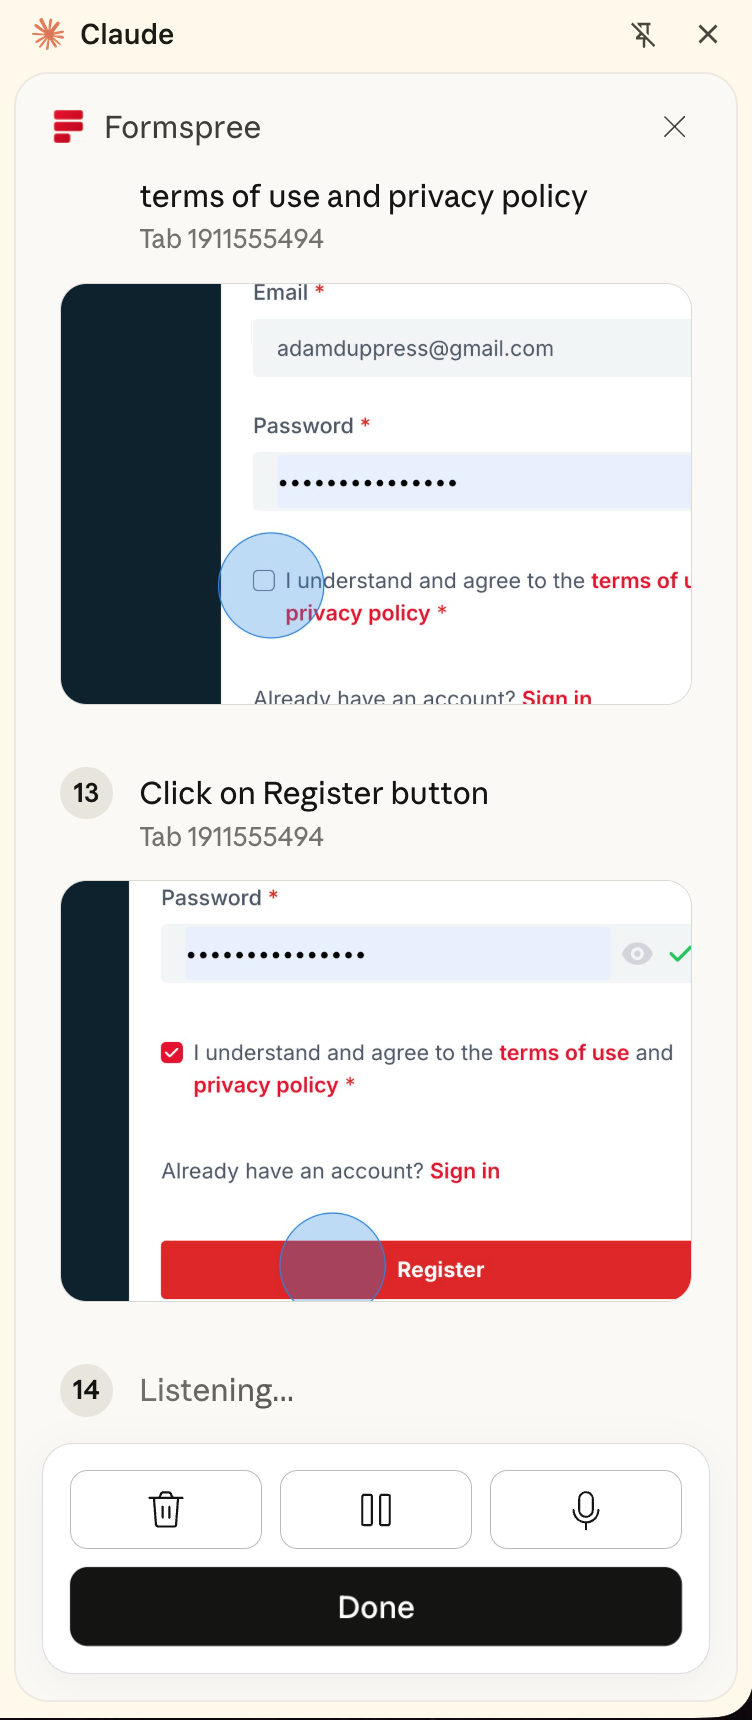
Execute the steps manually by entering the details in the contact form. Click ‘Send Message’ to send the message. Carefully track all the steps you took in the manual form submission. Once you’re satisfied, click ‘Done.’
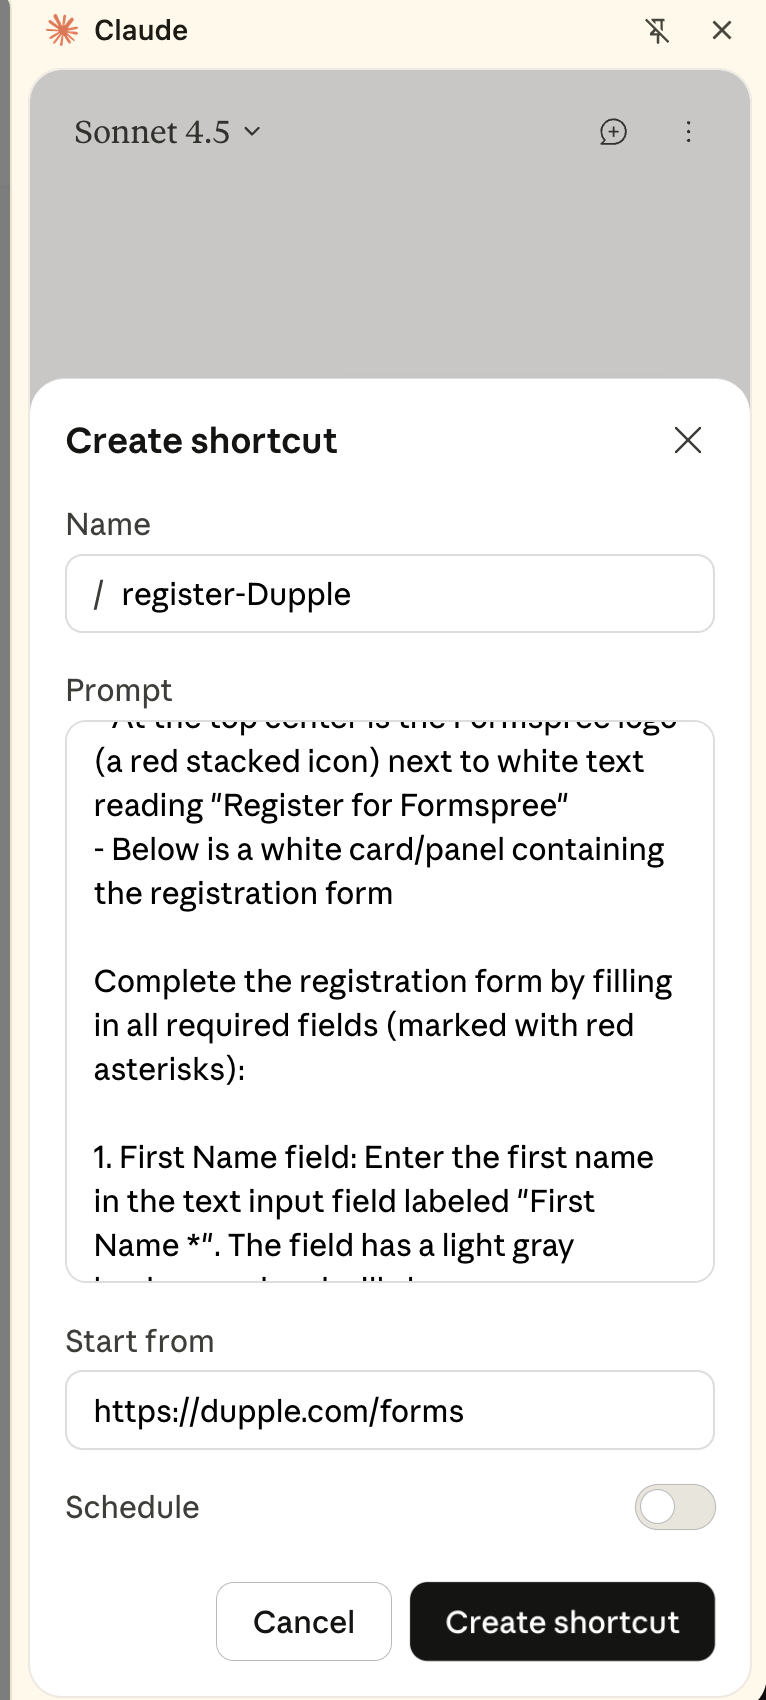
Specify the name of the shortcut, review the steps and click ‘Create Shortcut.’
The shortcut will be displayed at the top of the chat input box.
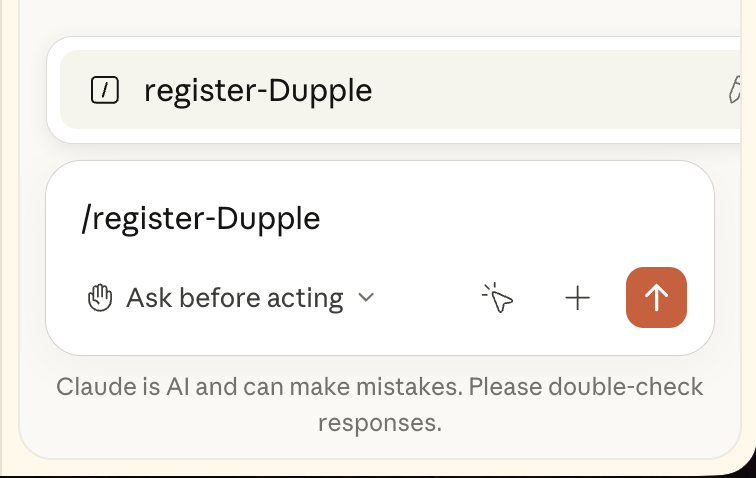
You can click it any time to test the contact form.
That’s it, you’ve successfully automated the form submission using the Claude Chrome extension. This recording feature is particularly useful for workflows like filling client intake forms, processing emails, or any repetitive browser task you do regularly.
.png)

.avif)
