.avif)
One thing is for sure: Google Gemini might be taking the jobs of brand designers. Gone are the days when you had to shell out thousands of dollars to build a brand kit for your company. As the famous quote goes, ‘ A penny saved is a penny earned.’ You save money on logo creation, social media templates and almost everything you’d hire a graphic designer for.
So what’s the catch, you might ask. Well, there is none. You pay a low fee, hone up your English skills, craft a clever prompt and bam! A complete brand kit is ready for you to download and use as you please. And if you are by any means a bit lazy, you can pay someone a couple of hundred bucks, and they will generate a flashy brand kit complete with logo variations, social media templates, brand colours and everything a brand kit provides.
It doesn’t matter whether you are a business owner, a graphic designer or a disgruntled startup founder, Gemini has everything you’d need to get started. As you all might know, getting started is the most challenging task in the process of doing business.
In this amazing tutorial, we’ll teach you how to set up Nano Banana Pro in Google AI Studio, brand discovery, generate logo variations, build your brand kit slides, create a social media asset grid, and assemble your brand kit.
By the end, you’ll be able to:
- Access and set up Google AI Studio
- Discover your brand
- Generate logo variations
- Extract your chosen logo
- Build your brand kit slides
- Generate social media assets
- Assemble your brand kit
So what’re you waiting for? Let’s dive right in!
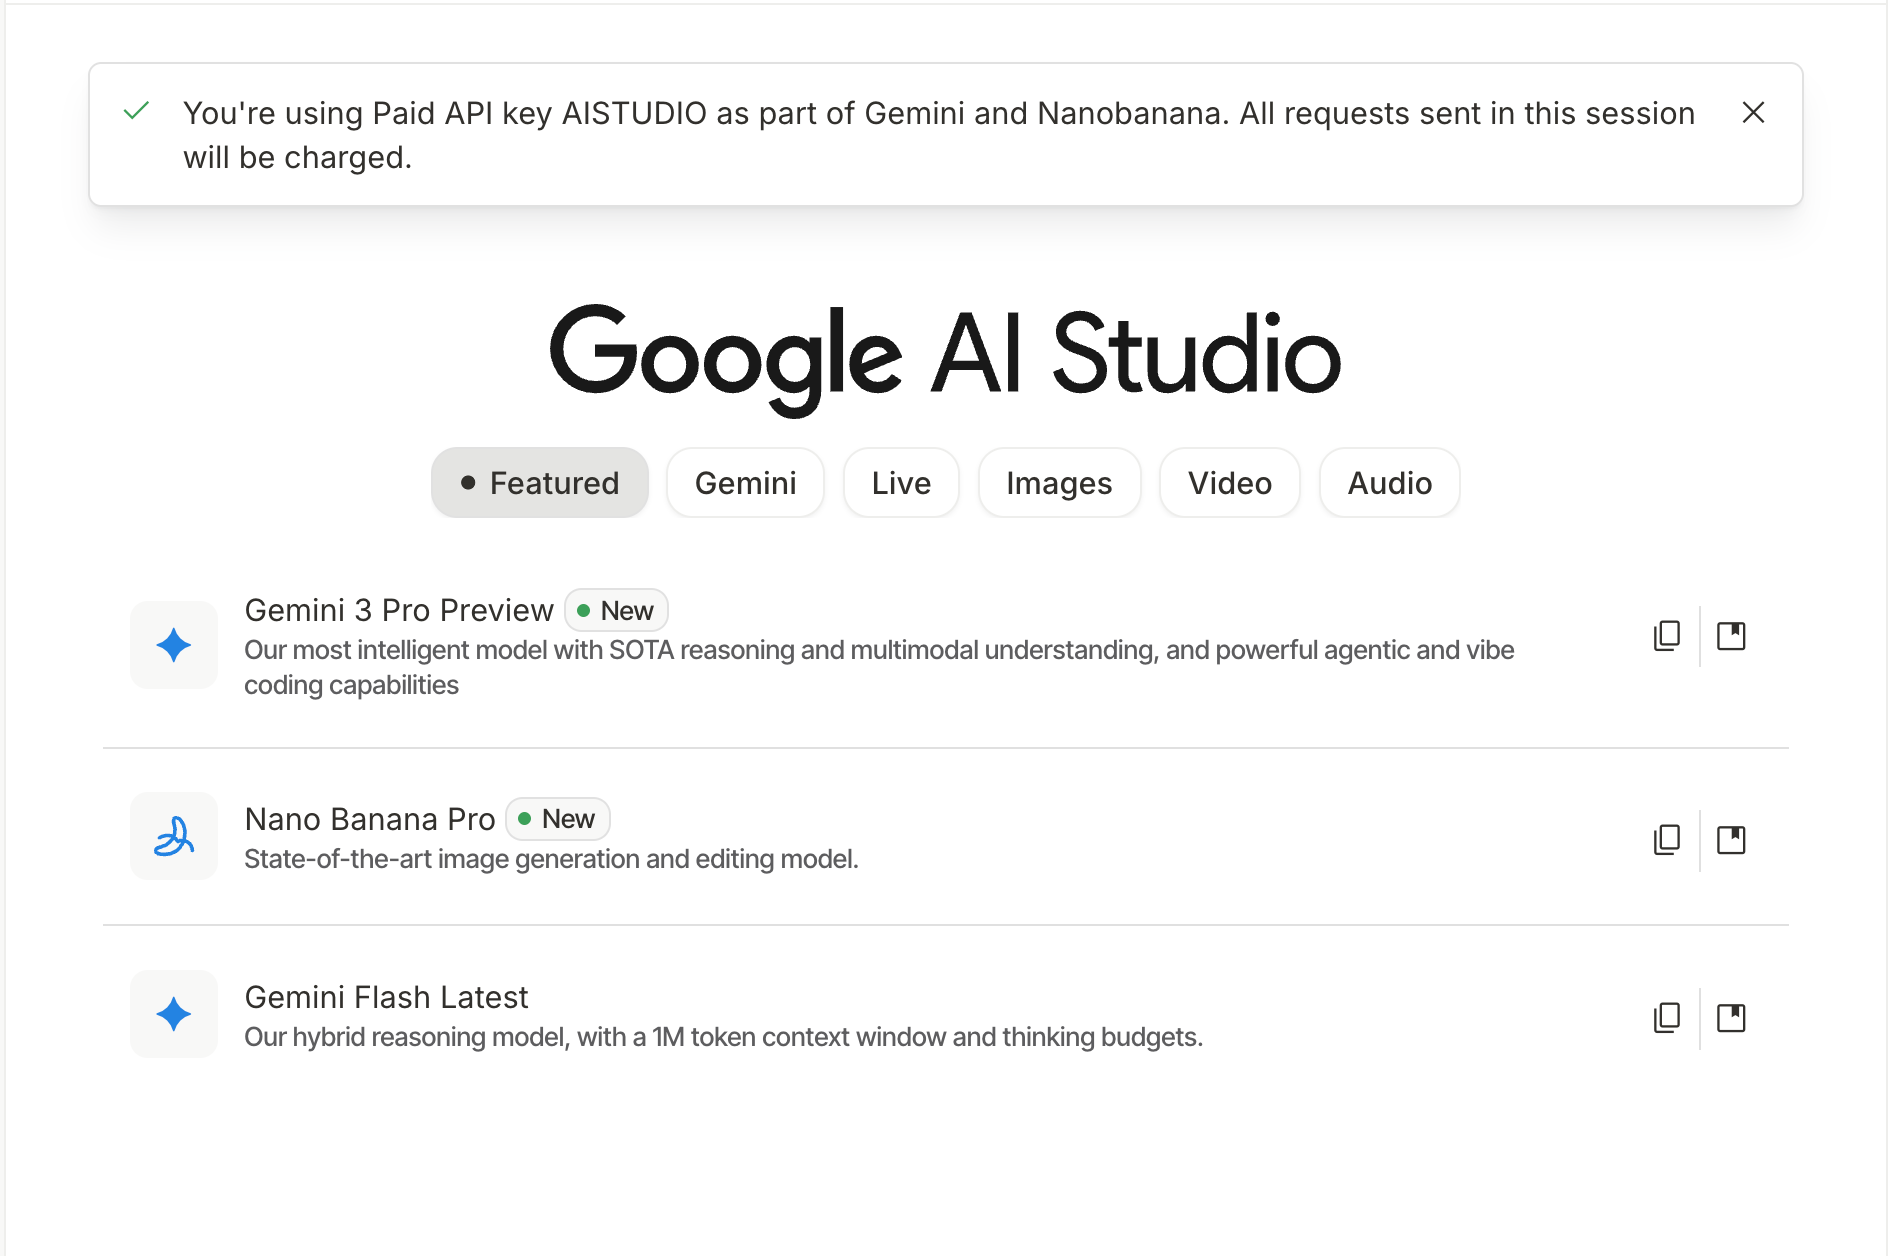
Step 1 - Access and set up Google AI Studio
Go to Google AI Studio and sign in to your account.
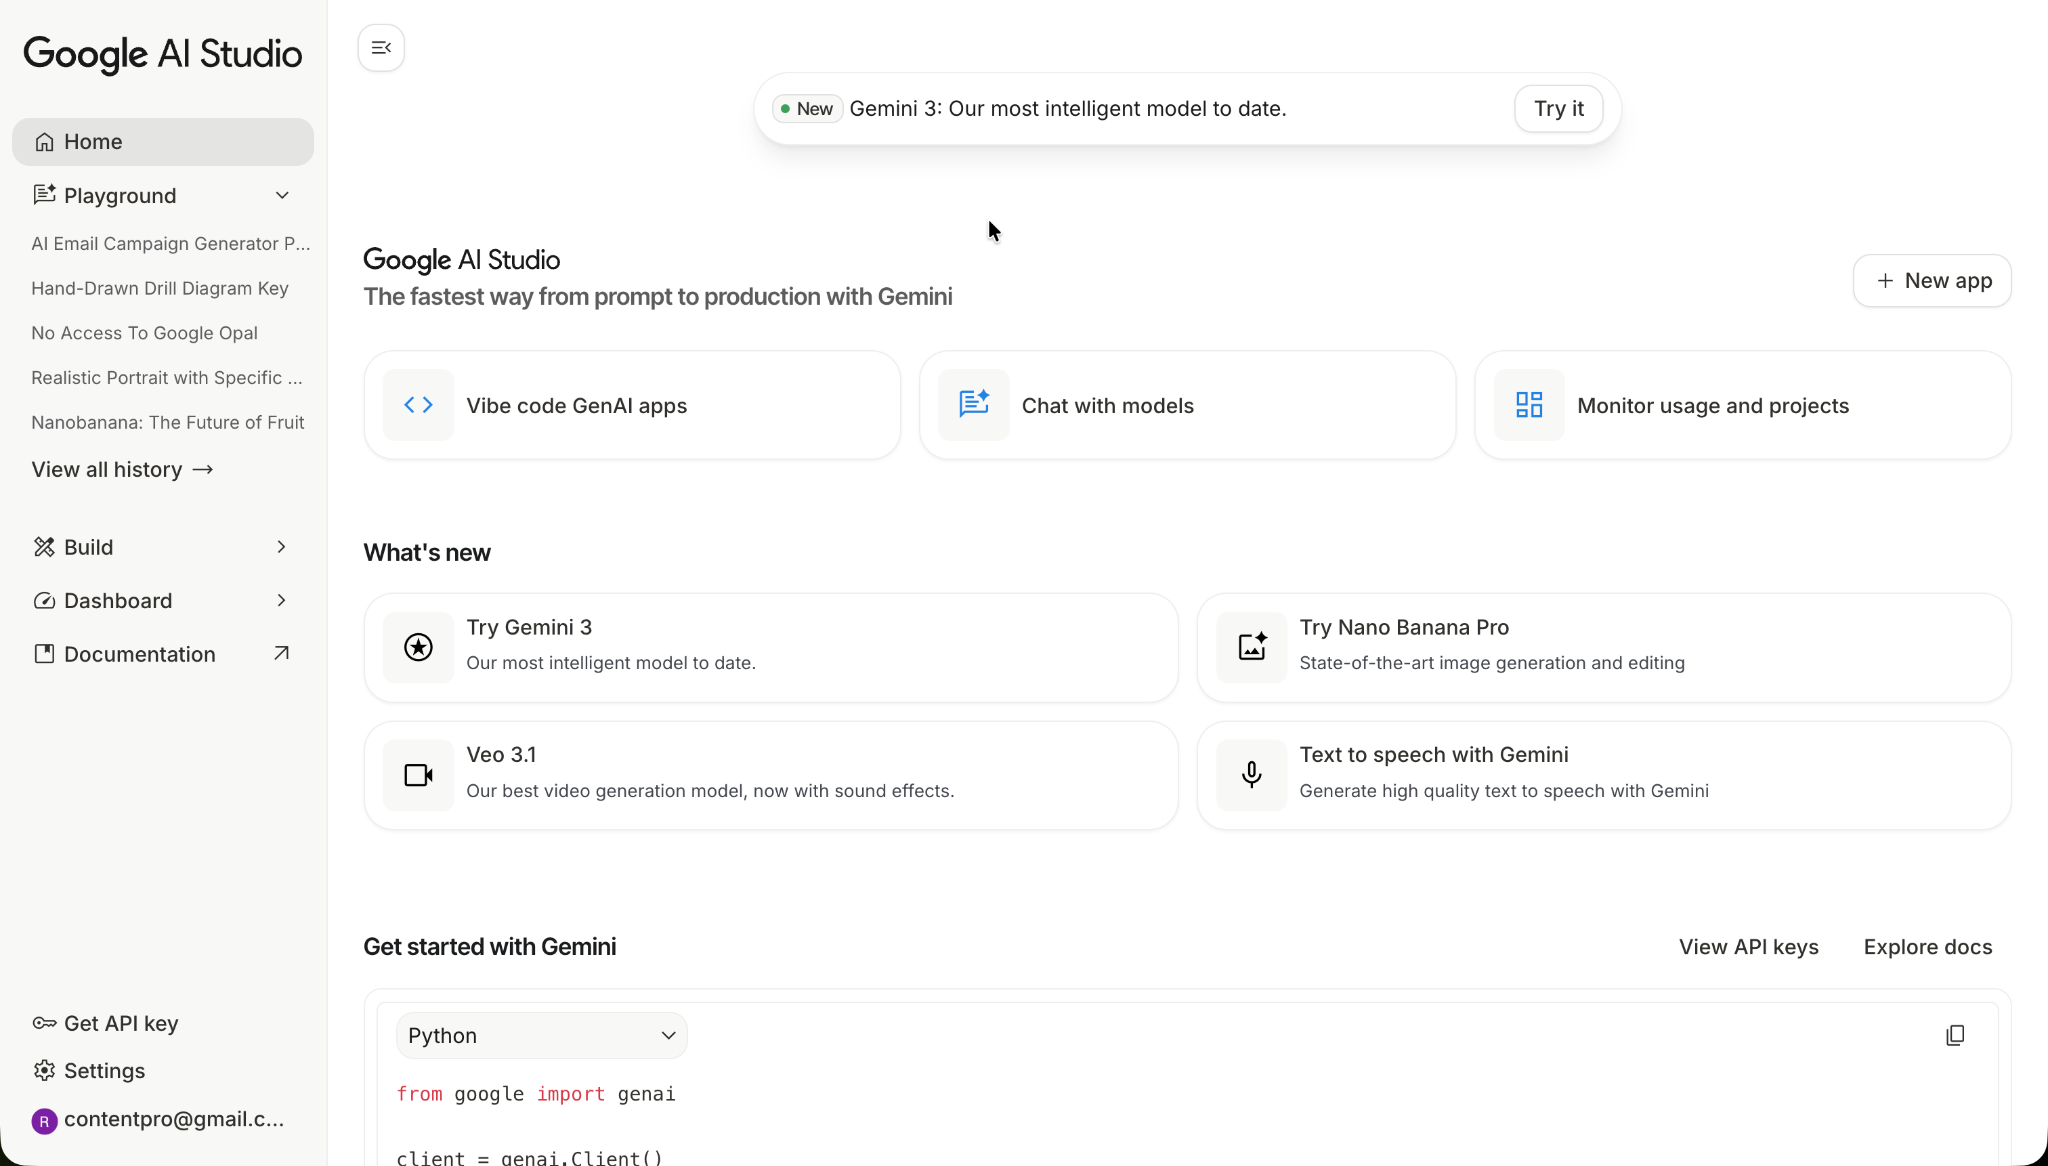
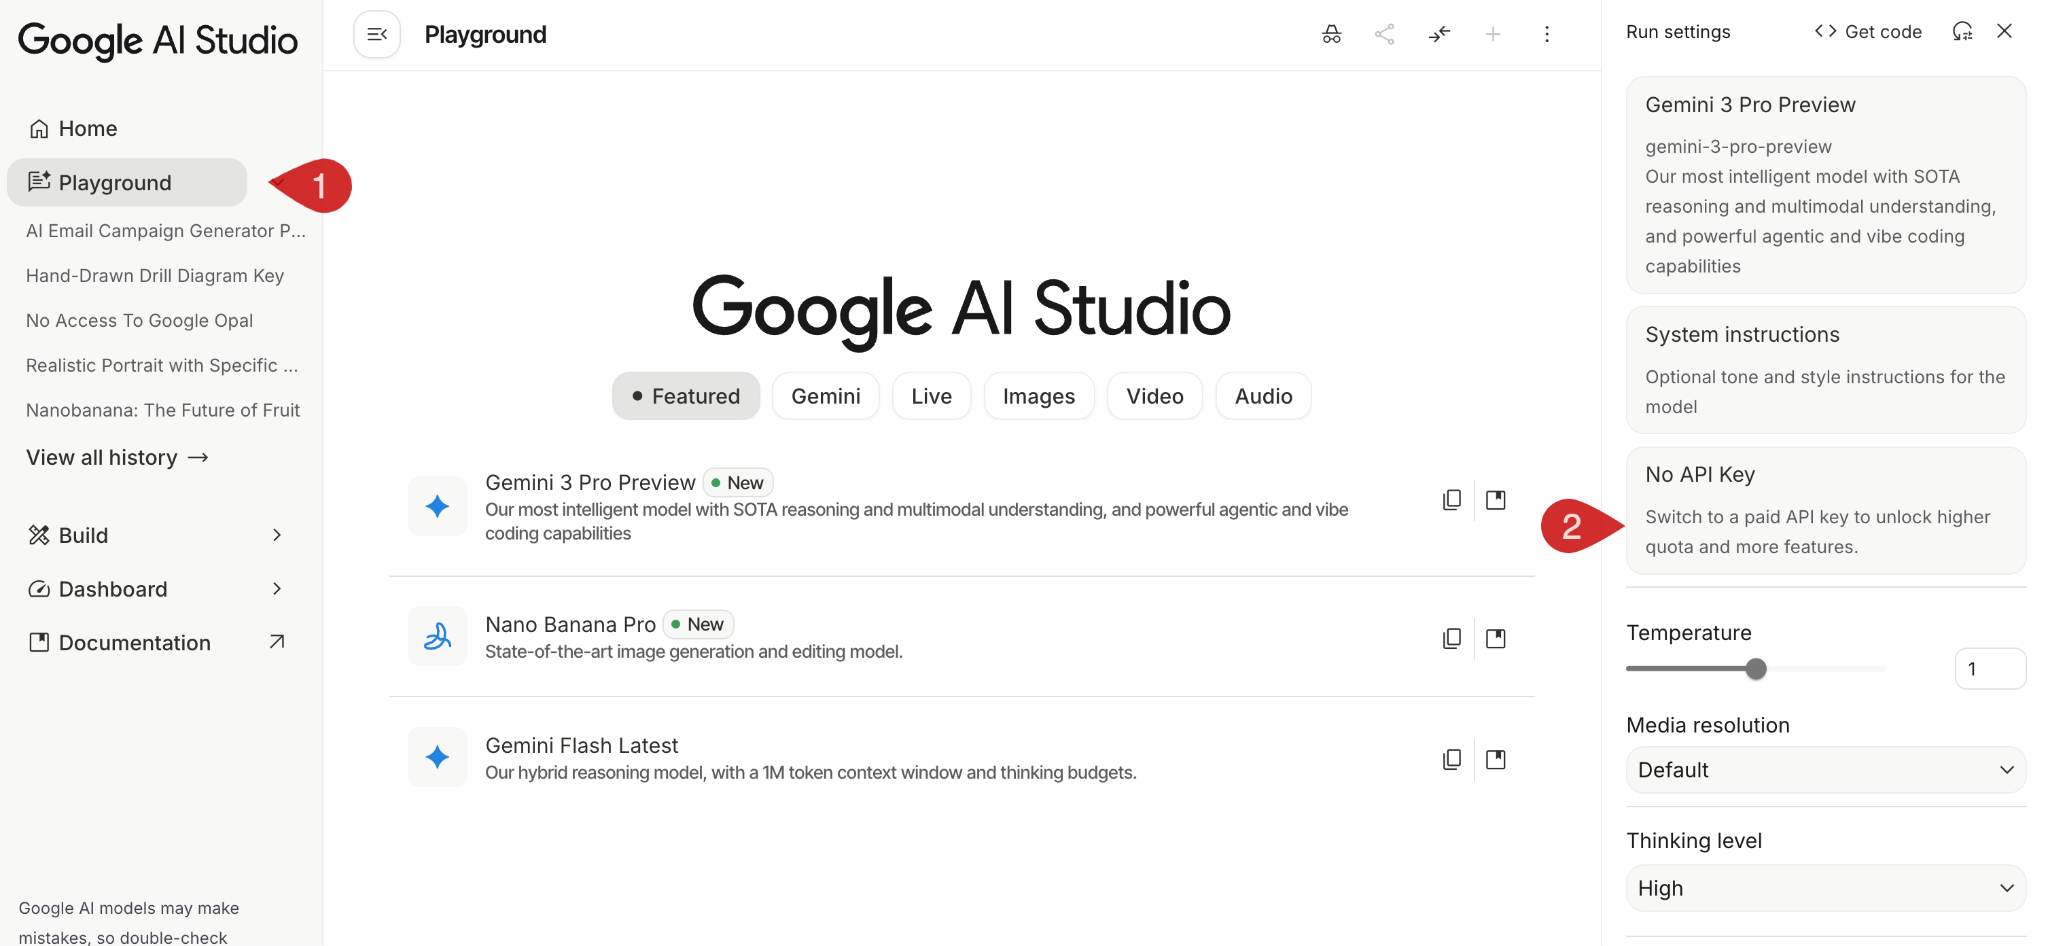
Click ‘Playground’ in the sidebar menu. You must set up an API key to use Gemini 3 and Nano Banana Pro in AI Studio.
Create a new project and set up the billing. Google offers $300 in credits. All you need to do is provide billing details. Google will set you up for a paid Google Cloud account.
Once you’re done setting up the paid account, generate an API key. Select the API key in the paid project and click ‘Select key.’
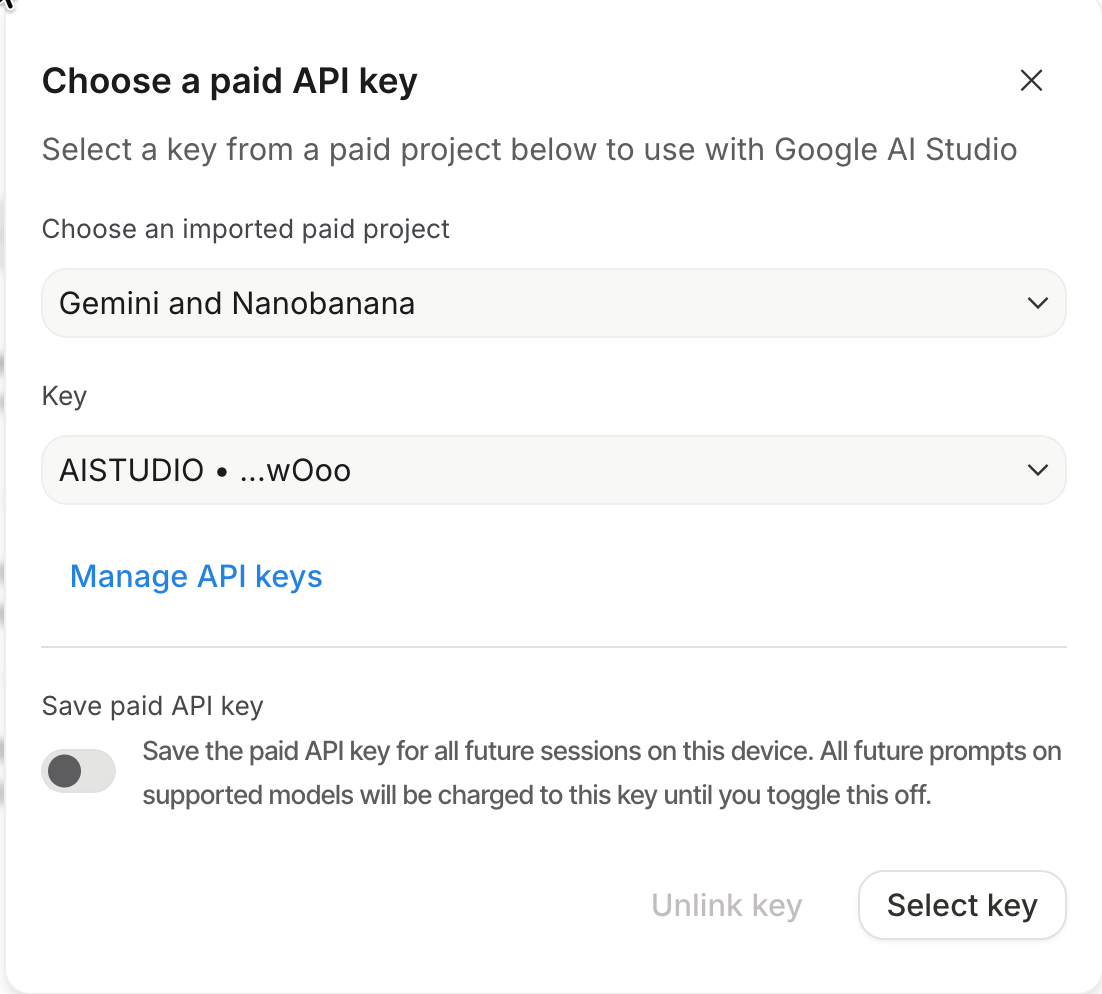
Your Google AI Studio is all set to generate your brand kit.
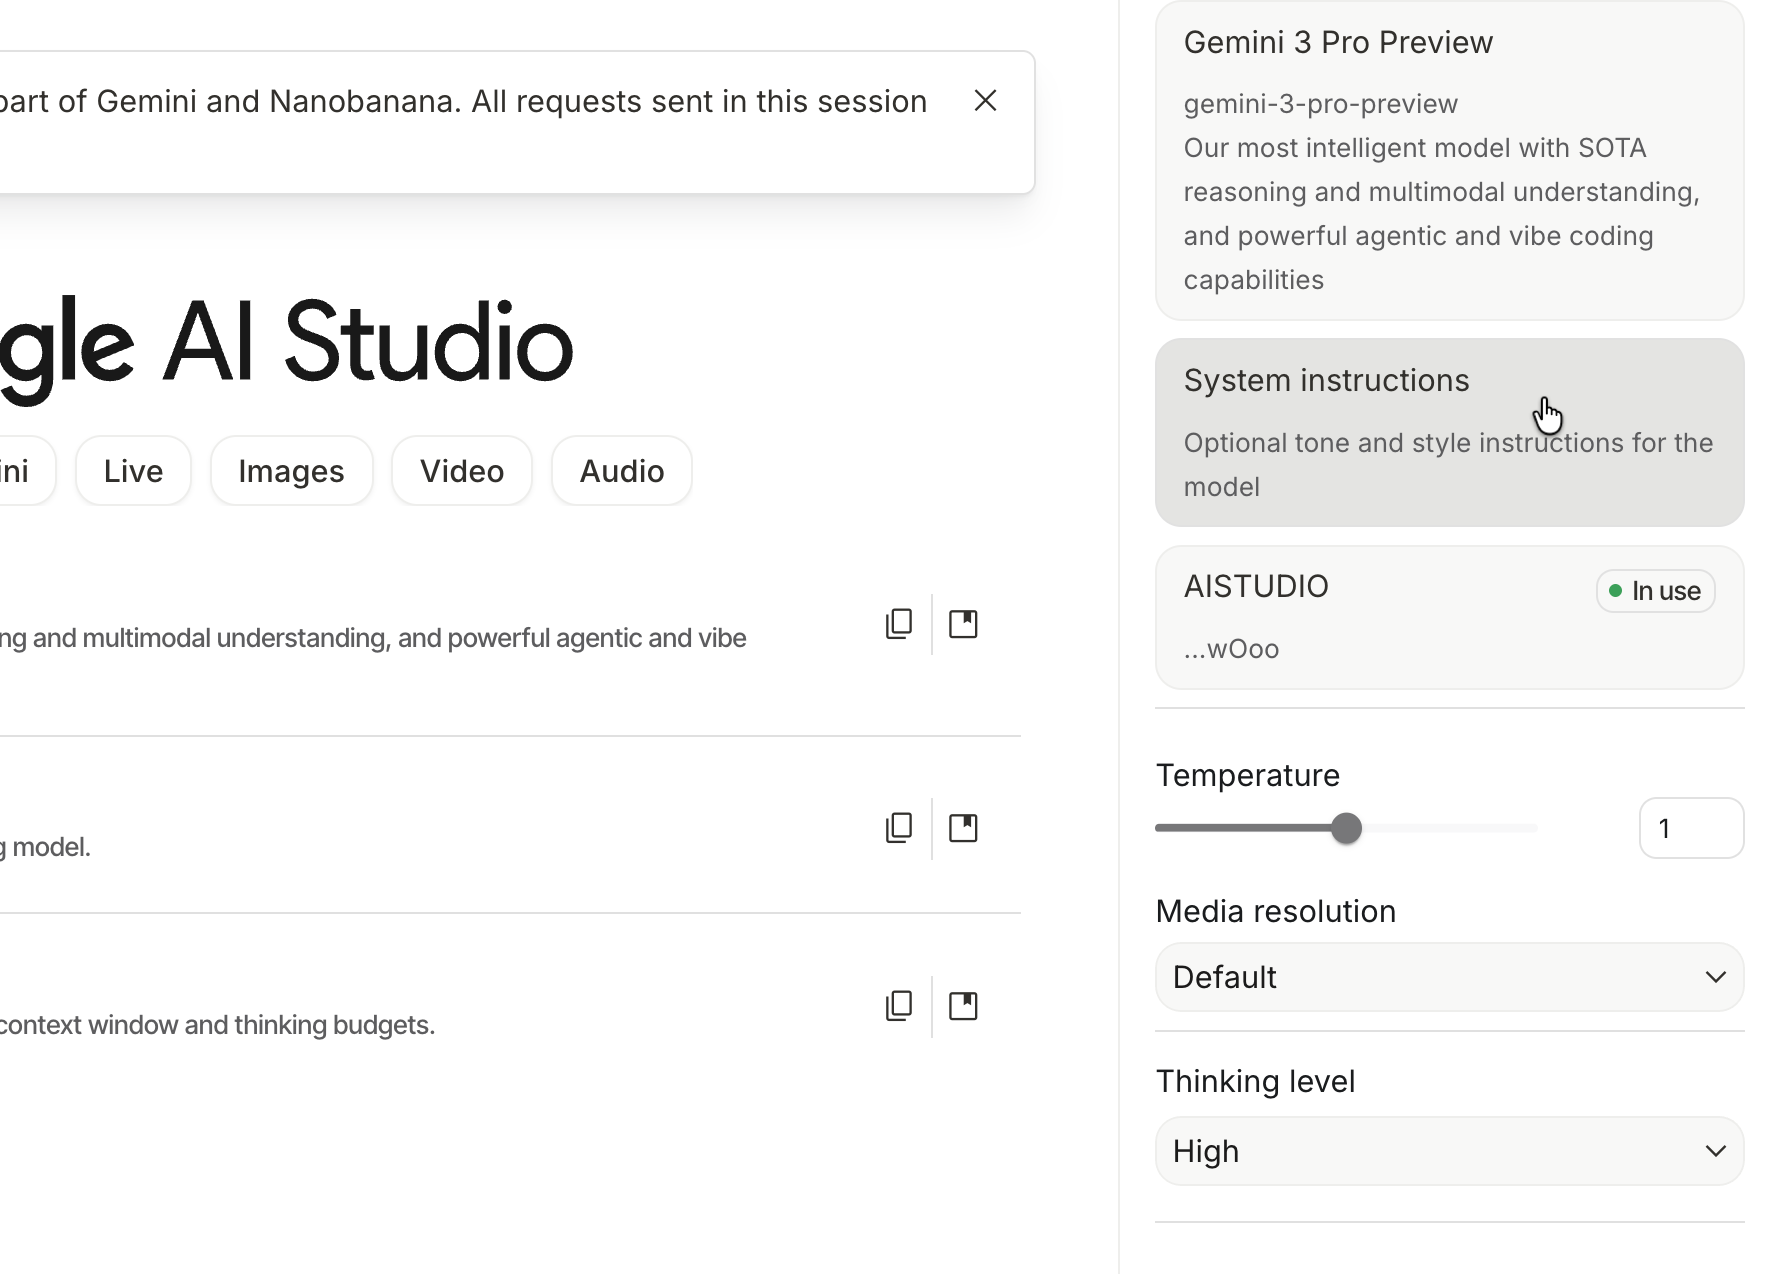
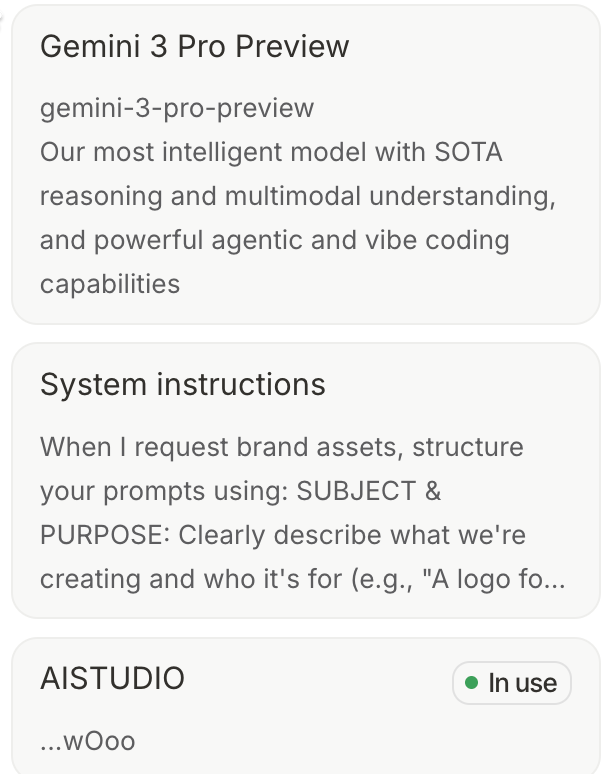
Add system instructions
To ensure that Gemini understands the context of your prompts, add system instructions. Click ‘System instructions in the menu bar on the right and add the following instructions.
Prompt:
GENERATION PRINCIPLES: When I request brand assets, structure your prompts using:
1. SUBJECT & PURPOSE: Clearly describe what we're creating and who it's for (e.g., "A logo for freelance designers who value both aesthetics and professionalism")
2. ISUAL DESCRIPTION: Use natural language and full sentences. Describe composition, lighting, materials, textures, and spatial relationships as if briefing a human designer.
3. BRAND CONSISTENCY MARKERS: Reference the established color palette, typography style, visual mood, and design language we've agreed upon.
4. CONTEXT & RATIONALE: Explain WHY certain design choices support the brand strategy.
WORKFLOW APPROACH:
- Start with foundational assets (logo, color palette) before moving to applications
- Suggest variations that maintain brand integrity while adapting to different contexts
- Proactively identify when an asset needs adjustment for its specific use case (e.g., social profile vs. banner)
QUALITY STANDARDS:
- Leverage Nano Banana Pro's strengths: precise typography, data visualization, consistent branding, multi-image composition
- Avoid keyword-style prompts like "logo, modern, clean, blue"
- Instead, use: "A contemporary logo mark that combines geometric precision with organic flow, rendered in deep navy with coral accents, designed to appeal to creative professionals who appreciate sophisticated minimalism"

Create a folder structure on your computer.
To stay organized, create a new folder on your computer for your brand kit. Create the following subfolders inside the main folder.
Main folder - [Brand Name] brandkit
Subfolder - Logo files
Subfolder - Social Assets
Subfolder - Brand kit slides
Step 2 - Discover your brand
Let’s start with the first prompt to Gemini 3. But first, ensure that the Gemini 3 model is selected in the sidebar menu on the right.
Now, use the following prompt to tell Gemini about your brand and provide context.
Prompt:
I need to create a complete brand kit for my business. Let me give you the basics:
Business name: [YOUR BUSINESS NAME] What we do: [ONE SENTENCE - e.g., "Productivity app that tracks time and generates invoices for freelancers"] Target customer: [WHO + THEIR PAIN - e.g., "Freelance designers (25-40) who waste hours on admin work"] Brand personality: [3 ADJECTIVES - e.g., "Professional, approachable, energetic"]
Interview me briefly to understand my brand, then we'll start generating assets. Keep it to 3-5 focused questions. Make sure you interview me about tagline(s) we can use for the brand.
Example:
I need to create a complete brand kit for my business. Let me give you the basics:
Business name: [SuiteBaskets] What we do: [We sell premium gift baskets for C-suite executives and high profile people. These gift baskets are filled with premium products, including Dom Perignon Champagne and top-quality cheeses and chocolates. Target customer: [Investors, and businesspeople who want to connect with C-suite executives of Fortune 1000 companies] Brand personality: [Rich, premium, and high-end]
Interview me briefly to understand my brand, then we'll start generating assets. Keep it to 3-5 focused questions. Make sure you interview me about tagline(s) we can use for the brand.
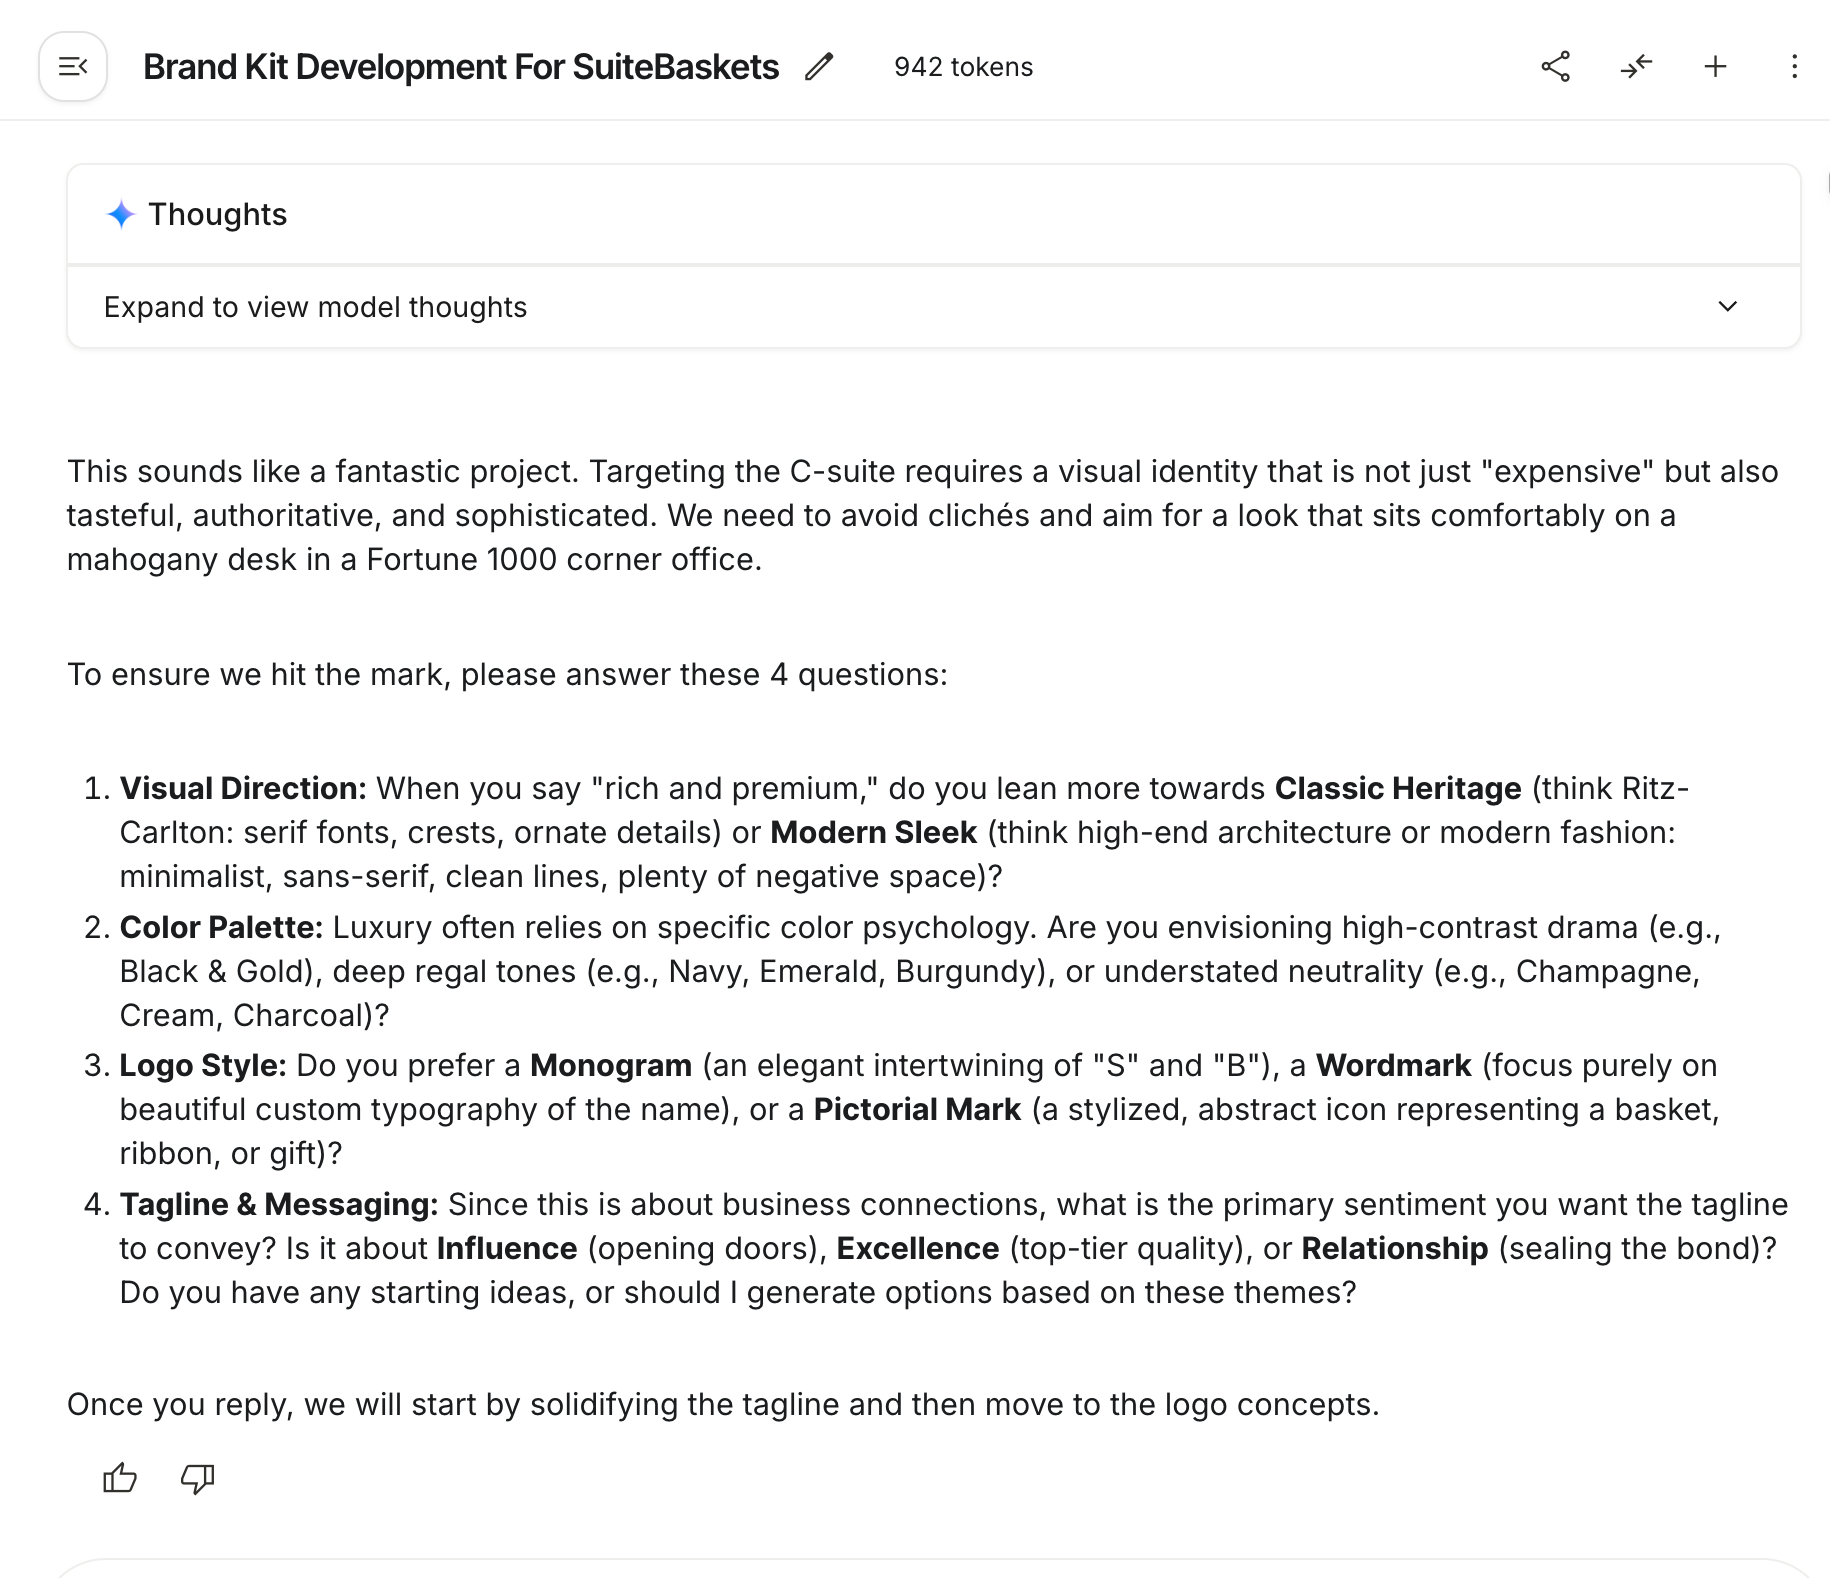
Gemini will ask 3-5 targeted questions. Instead of providing long answers, write the answer naturally. Do not overthink it. These questions help Gemini build context so that all assets remain consistent.
Note: The more time you spend iterating with Gemini, the stronger your final results become.

Step 3 - Generate logo variations
Once you provide the answers, Gemini will generate a list of suggestions. Keep interacting with it until it gets all the answers. The more you interact with it, the better the results will be.
Now there are two ways to go from here. You can use the prompt Gemini suggested to generate logo variations, or you can use the following prompt to get precise results.
Access Nano Banana Pro and paste the following prompt to generate logo variations.
Prompt:
Based on our conversation, generate 4 distinct logo concepts for [YOUR BRAND NAME].
Show them in a clean 2x2 grid, labeled "Option 1" through "Option 4". Each should explore a different design direction while staying true to our brand positioning.
Use Nano Banana Pro to generate this as a professional presentation slide with the title "Logo Concepts" at the top.

Step 4 - Extract your chosen logo
Next, finalize the primary logo and use the following prompt to get the final version of your chosen logo.
Of course, if you didn’t like any of them, you can instruct Nano Banana to regenerate the logos. Make sure to provide specific details in the follow-up prompts.
Prompt:
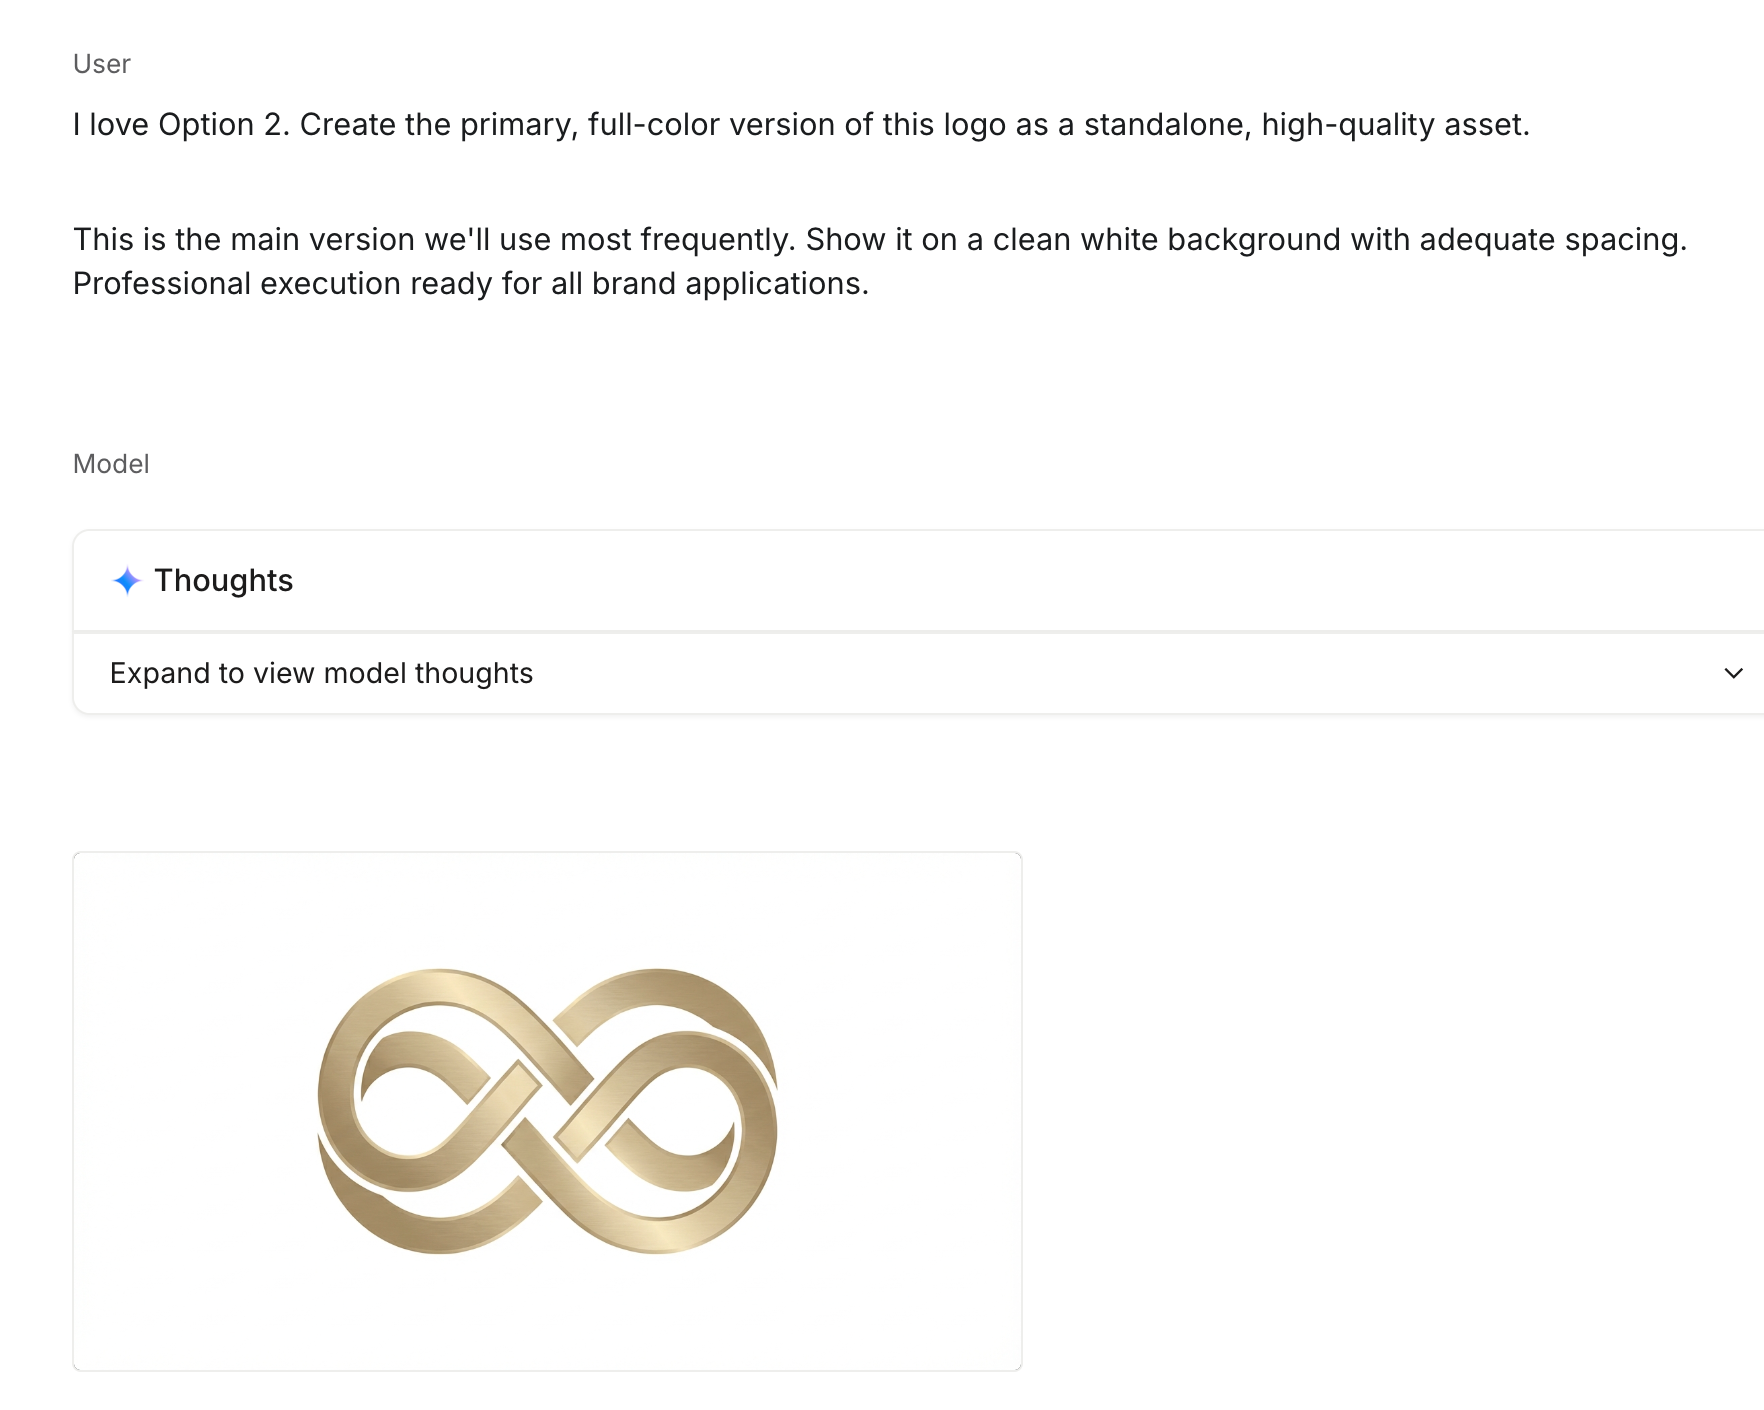
I love Option [NUMBER]. Create the primary, full-color version of this logo as a standalone, high-quality asset.
This is the main version we'll use most frequently. Show it on a clean white background with adequate spacing. Professional execution ready for all brand applications.
Download and save the file as ‘logo_primary.png’ in the Logos File folder.
Now generate a secondary simplified logo.
Prompt:
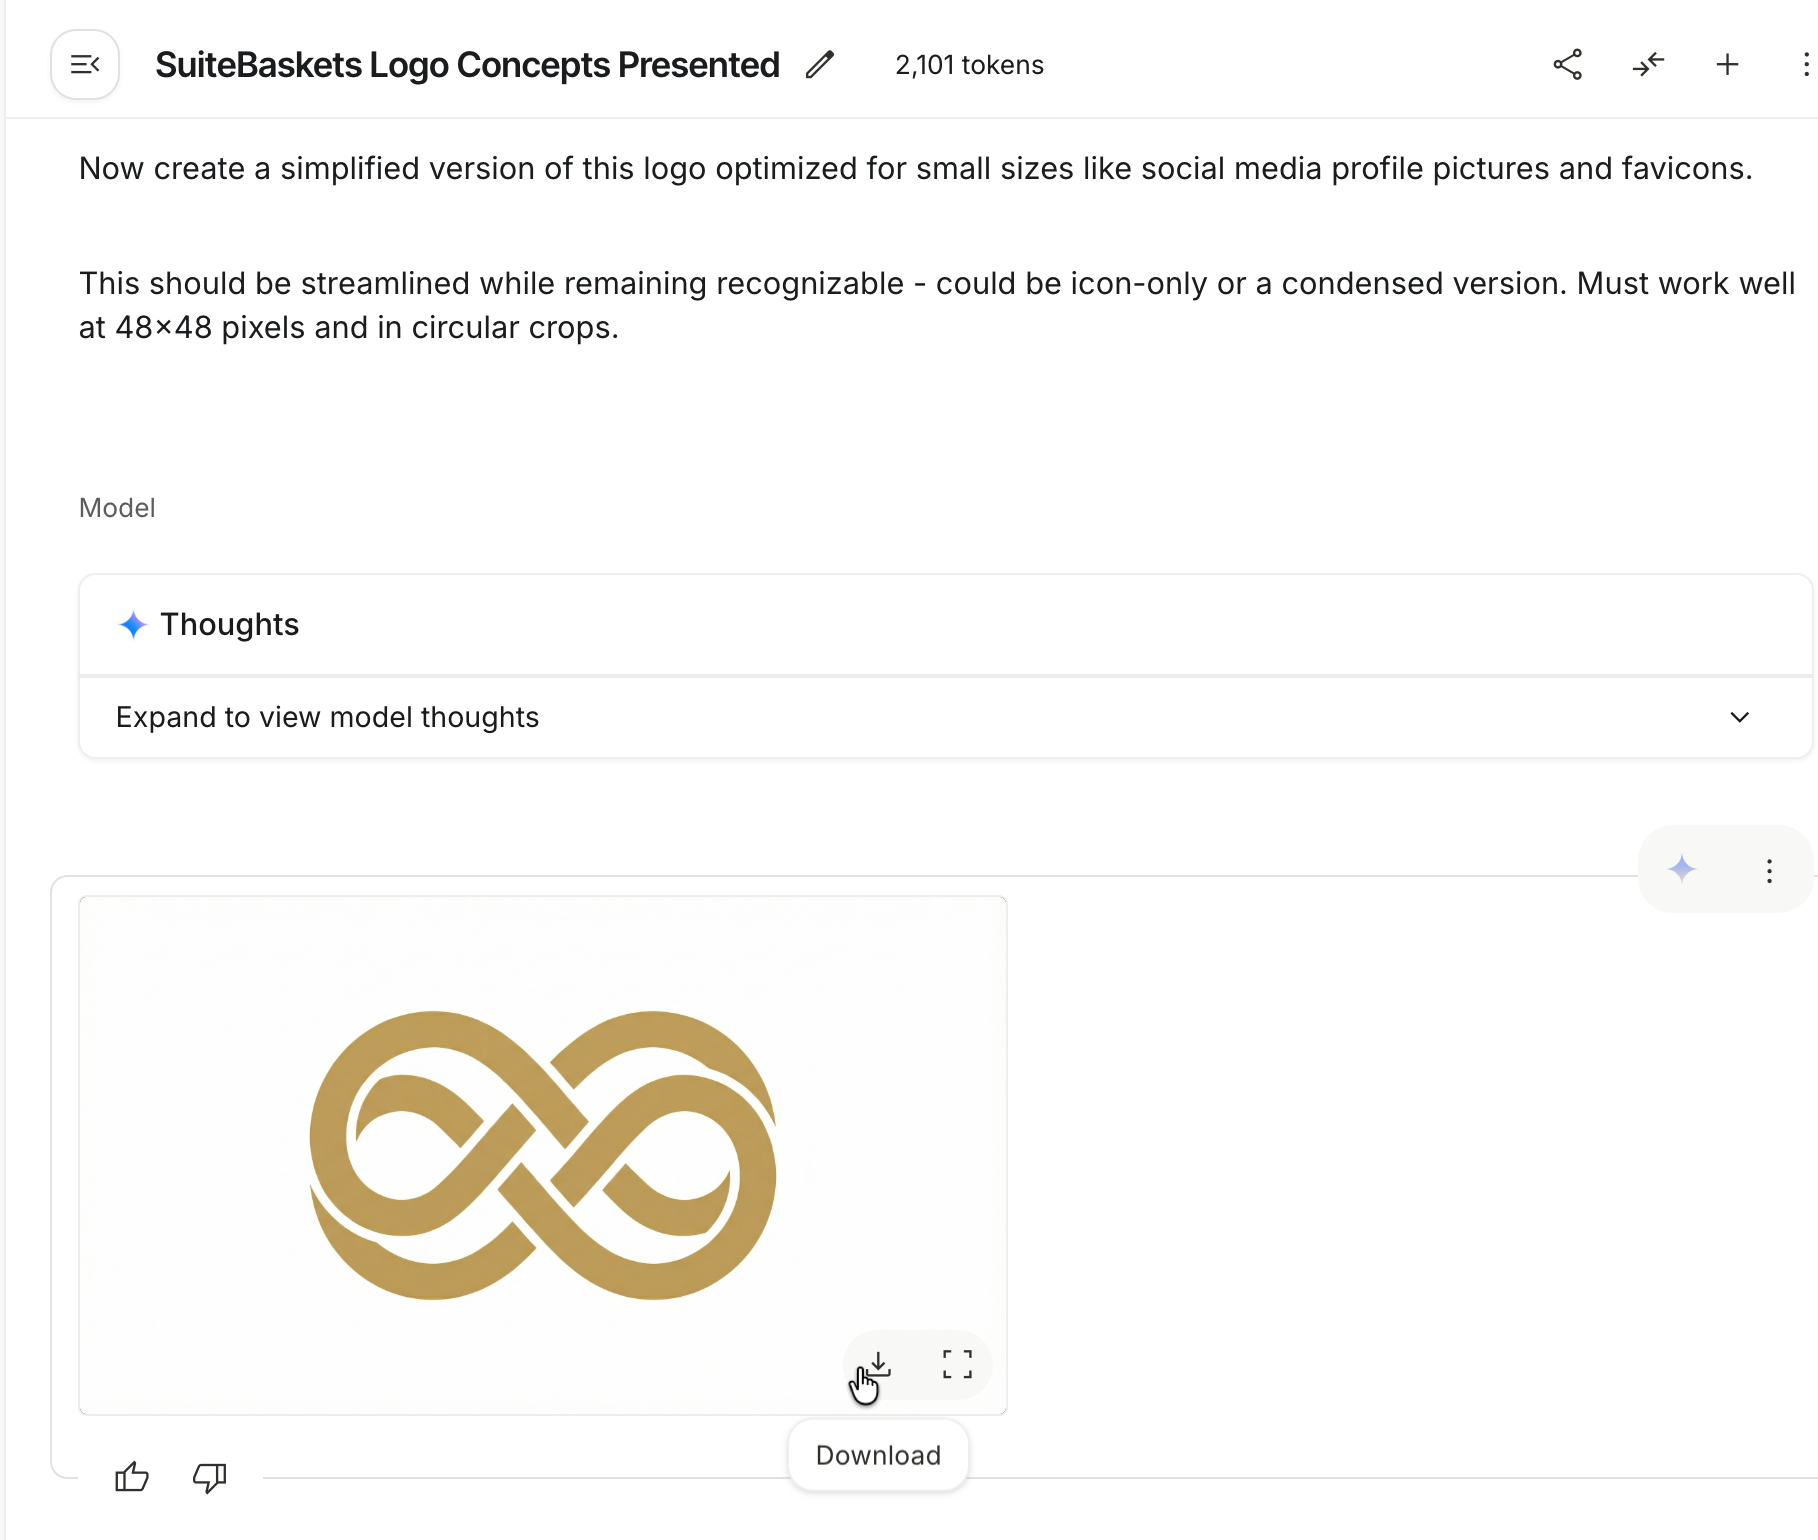
Now, create a simplified version of this logo optimized for small sizes like social media profile pictures and favicons.
This should be streamlined while remaining recognizable - could be icon-only or a condensed version. Must work well at 48x48 pixels and in circular crops.
Download and save it as ‘logo_secondary.png in the logos files folder.
Now, we need the monochrome black and monochrome reverse (white) version of our chosen logo. Use the following prompt to get them.
Prompt:
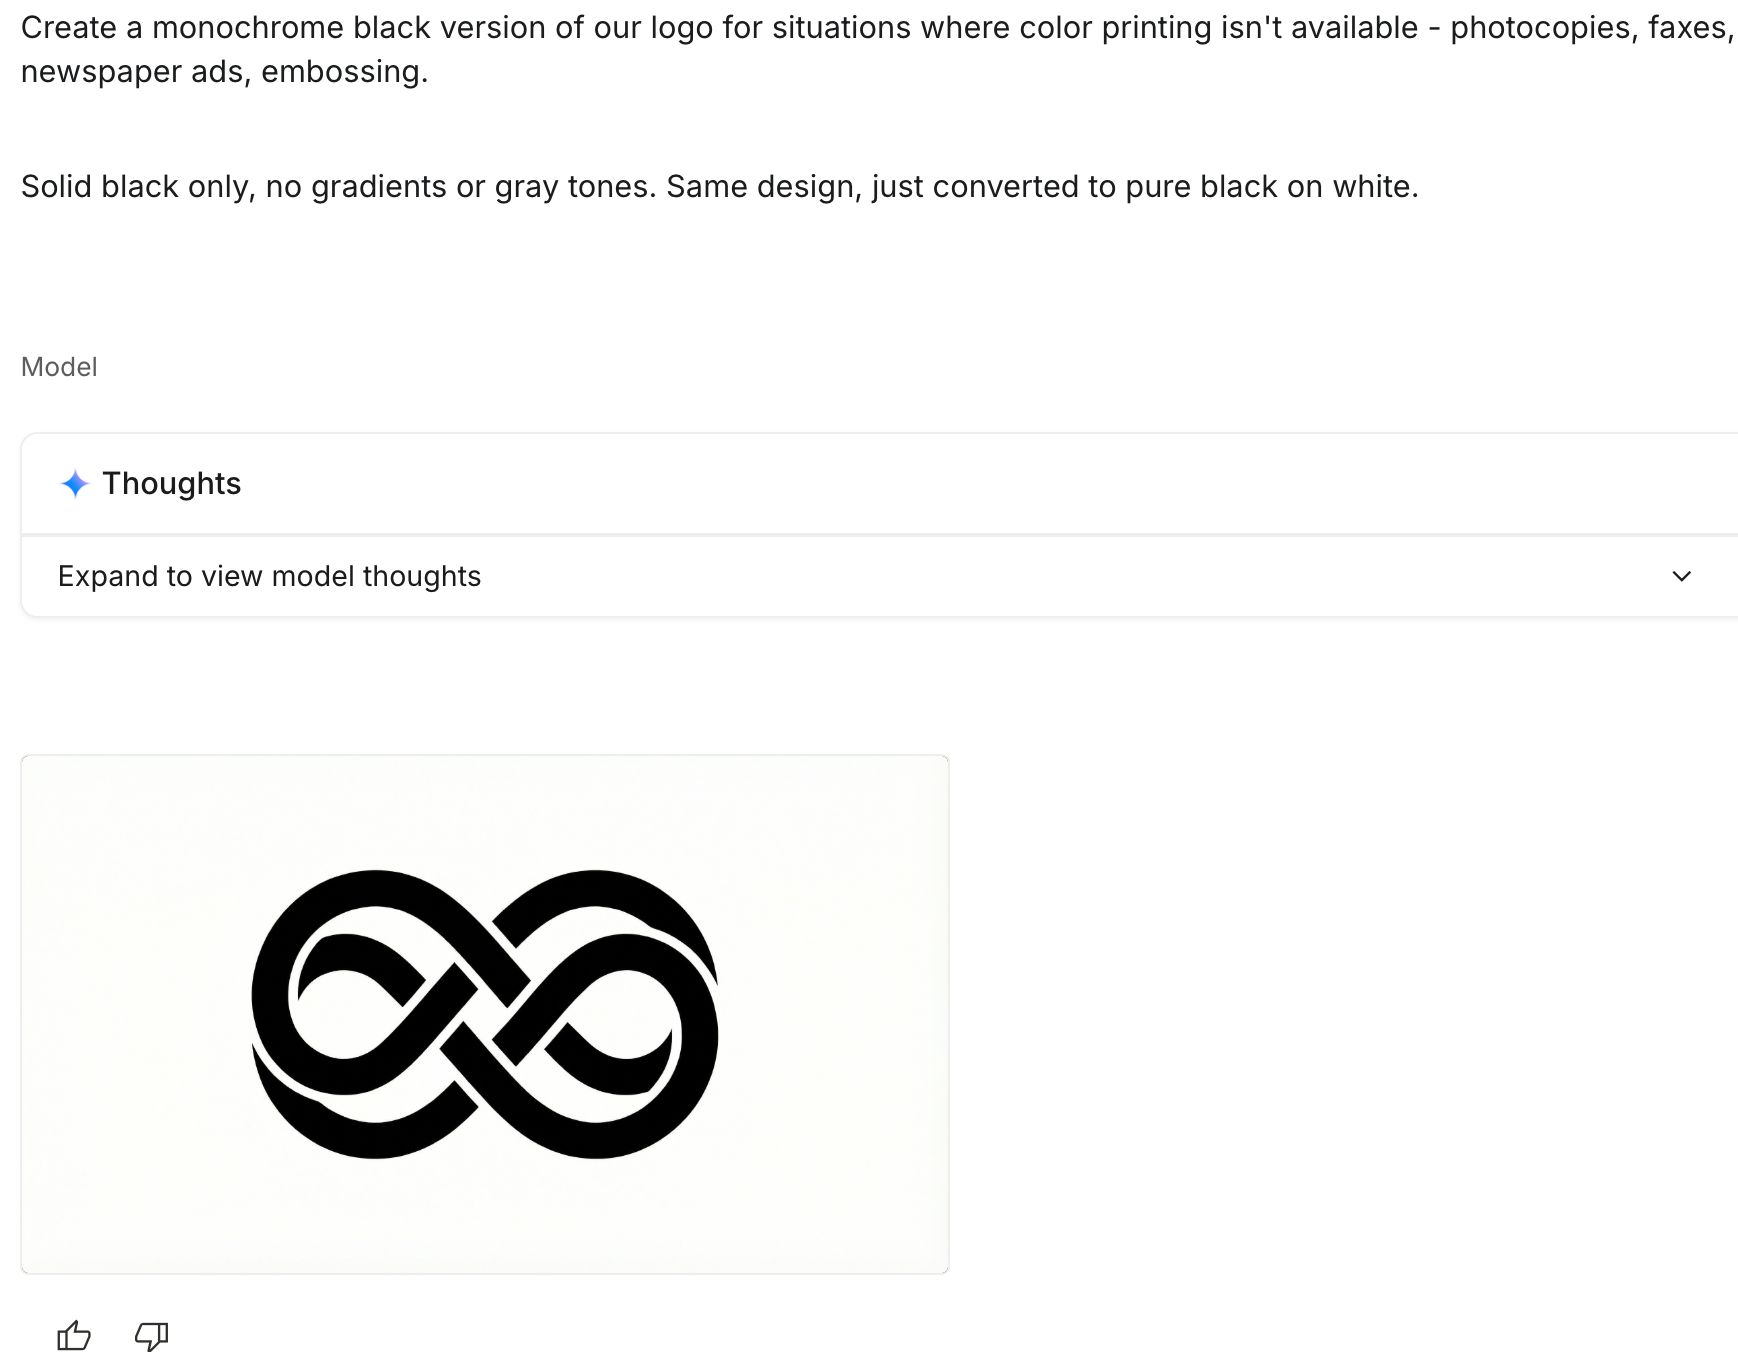
Create a monochrome black version of our logo for situations where color printing isn't available - photocopies, faxes, newspaper ads, embossing.
Solid black only, no gradients or gray tones. Same design, just converted to pure black on white.
Download and save it as ‘logo_monochrome_black.png in the logos files folder.
Now on to the reverse version.
Prompt:
Create a monochrome reverse version - white logo on a dark background. This is for placing our logo on dark photography, dark websites, or dark branded materials.
Show it on a dark background so I can see the contrast clearly.
Download and save it as ‘logo_monochrome_white.png in the logos files folder.
The last prompt in the logo generation marathon is the icon. Icons are a necessary part of brand identity.
Prompt:
Create an icon-only version (just the symbol/mark without the wordmark) for extremely small applications like app icons, favicons, and social media profiles.
Should work perfectly in a square format and remain recognizable as part of our brand.
Download and save it as ‘logo_icon.png in the logos files folder.
Create logo system overview slide.
Let’s create a slide showing all 5 variations of the logo in a clean grid.
Make sure your system settings are set to a 16:9 aspect ratio for slides.
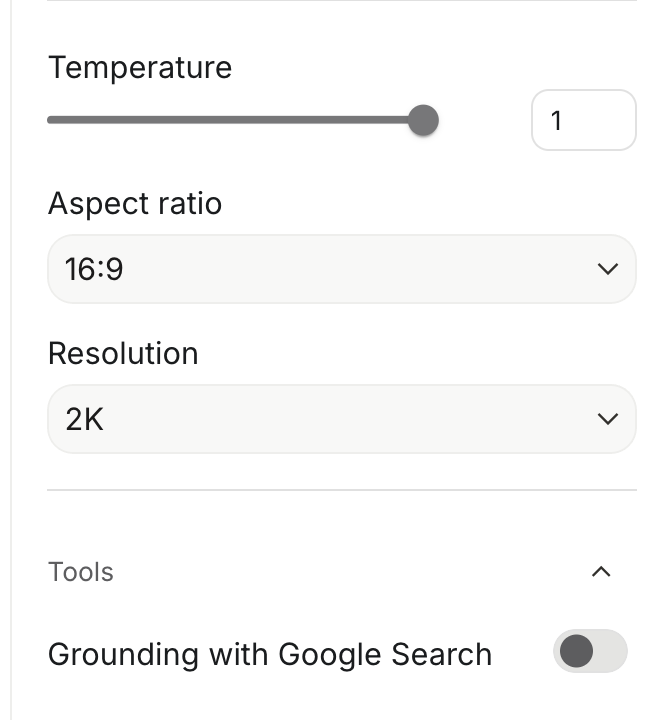
Prompt:
Now create a professional "Logo System" slide showing all 5 variations we just created in a clean grid:
- Primary (full color)
- Secondary/Simplified
- Monochrome Black
- Monochrome White (on dark background)
- Icon Only
Label each clearly and add minimum size specs: "Minimum width: 120px for primary, 48px for icon
Make this look like a professional brand guidelines page.
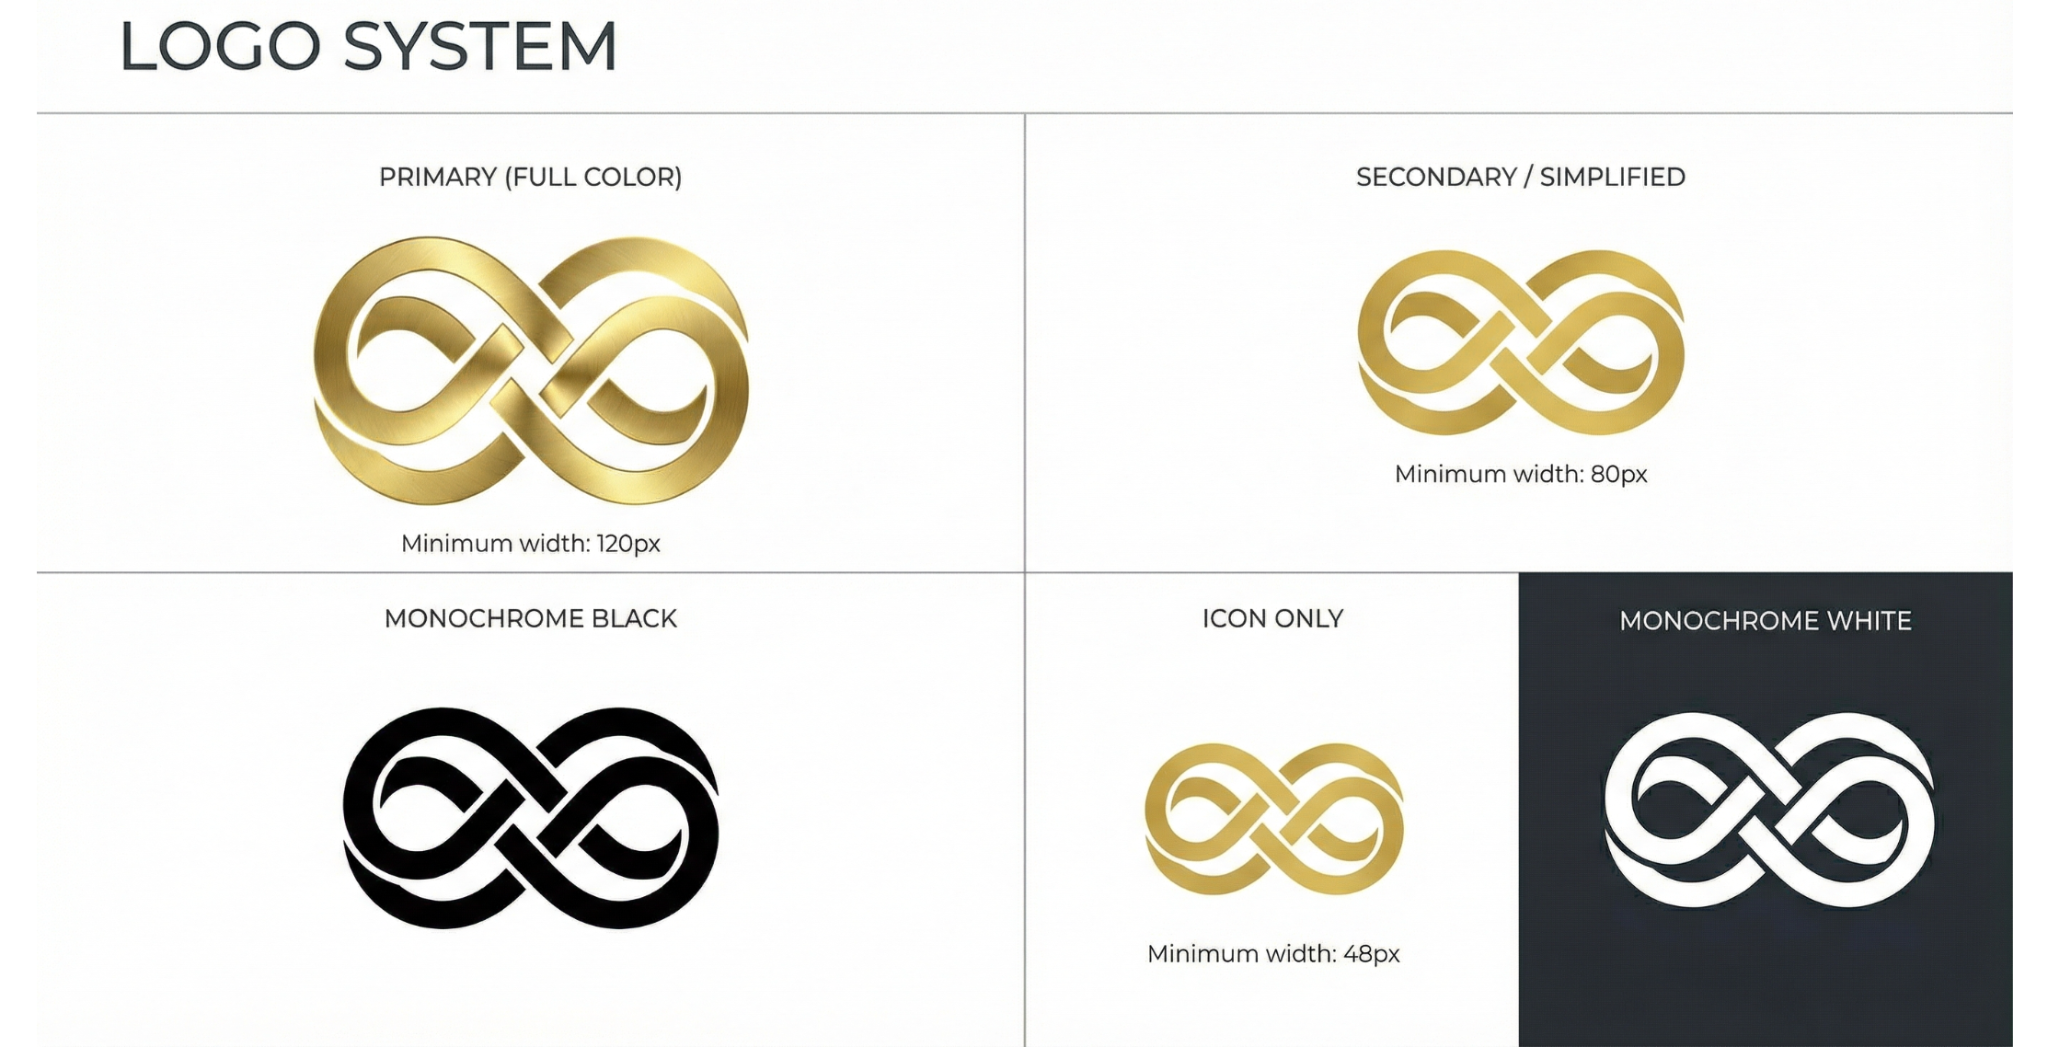
Download and save as "slide_03_logosystem.png" in the Brand Kit Slides folder.
Step 5 - Build your brand kit slides
Now that your logo slide is all set, you can start generating the rest of your brand kit slides. Just send these messages one at a time.
Slide 1 - Cover
Prompt:
Create a professional brand kit cover slide for [YOUR BRAND NAME].
Include:
- Brand name prominently displayed
- Subtitle: "Brand Guidelines"
- My tagline: "[YOUR TAGLINE]"
- Date: December 2025
Design this using our brand's visual language based on the logo we just created. Clean, modern, professional. This is the first impression of our brand kit.
Save the slide ‘slide_01_cover.png.’
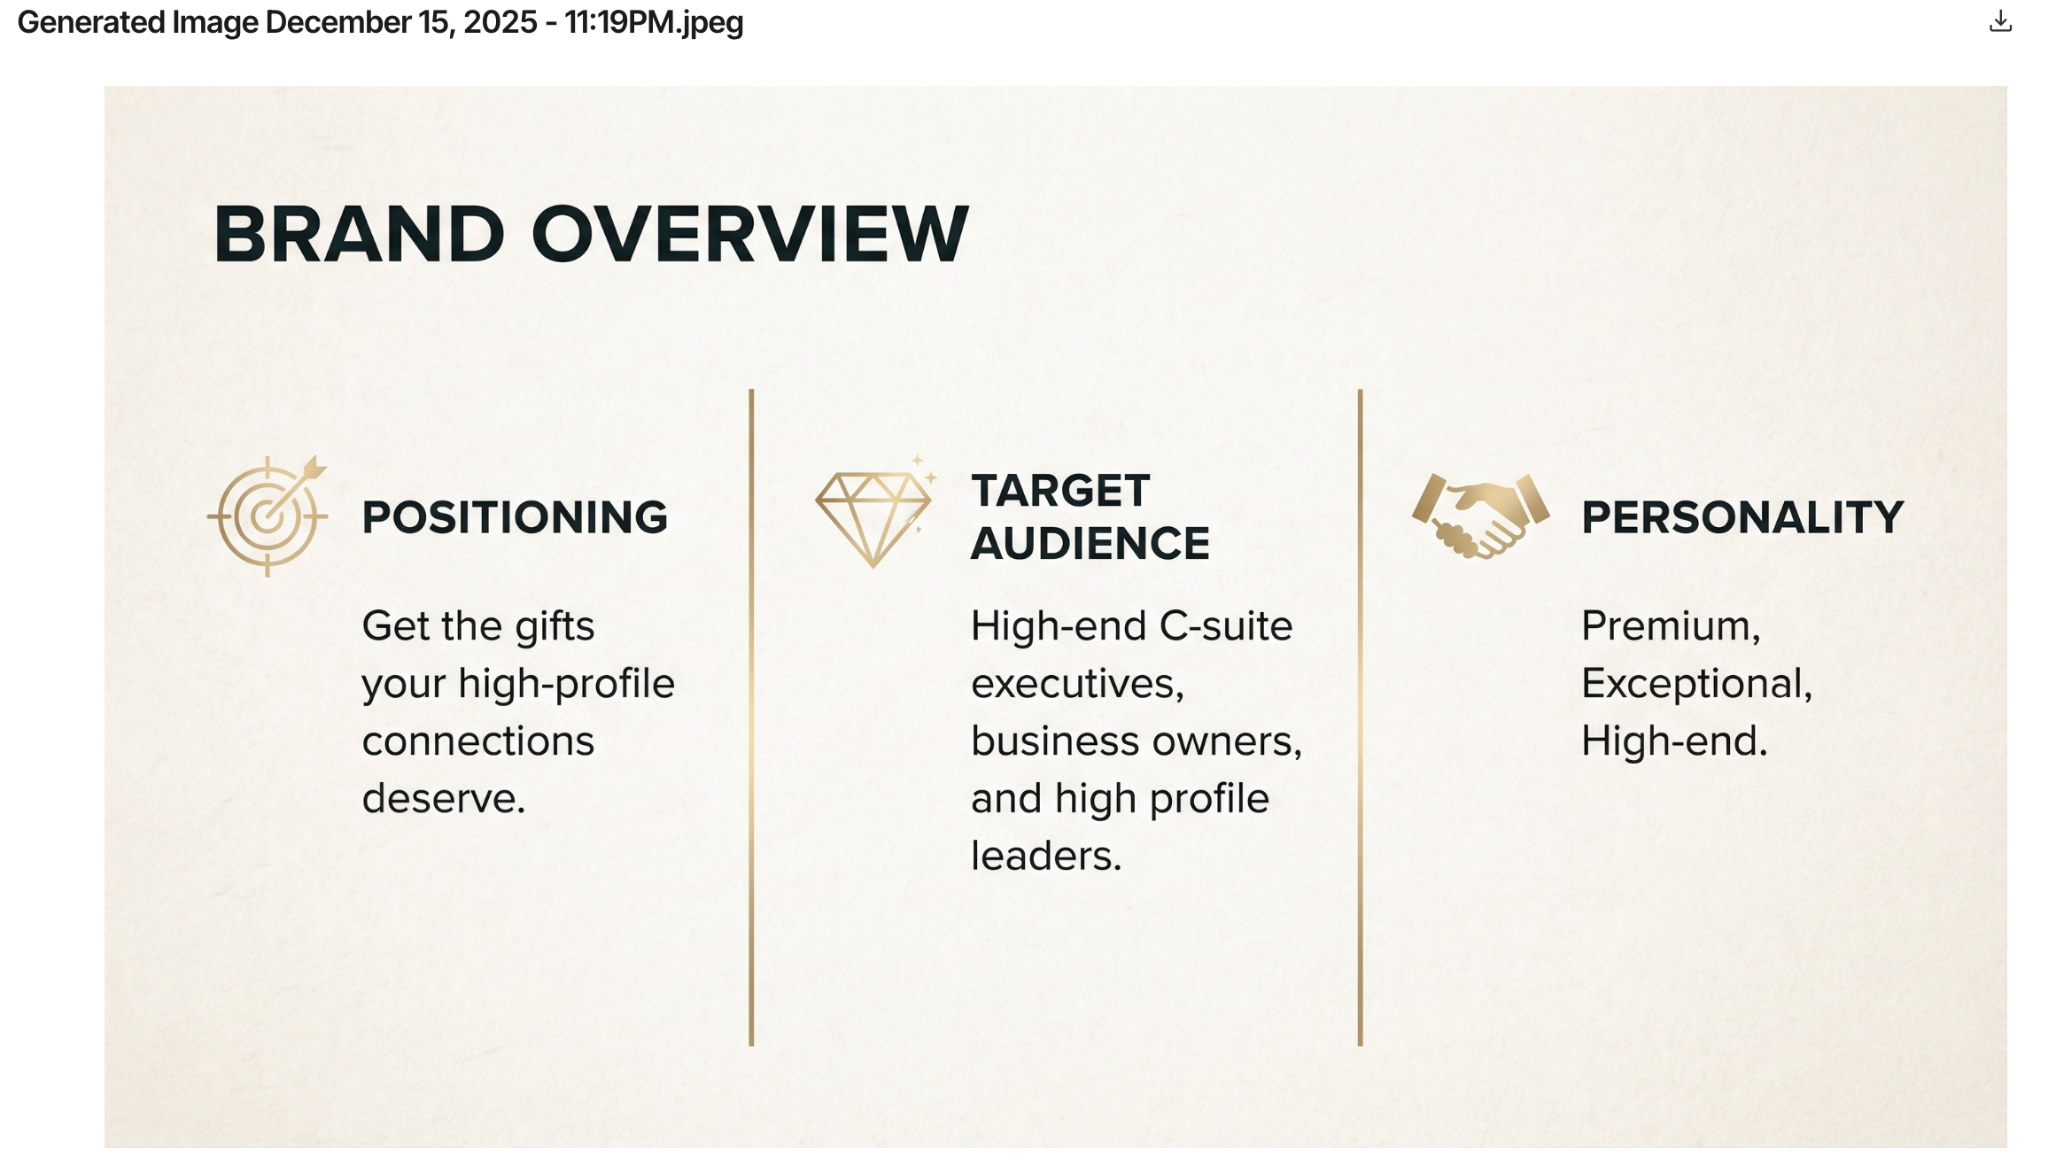
Slide 2 - Brand overview
The next slide is an overview of the brand.
Prompt:
Create a "Brand Overview" slide with these sections:
Brand Positioning: [Write 2-3 sentences about what you do, who it's for, and why it matters]
Target Audience: [YOUR TARGET CUSTOMER description]
Brand Personality: [YOUR 3 ADJECTIVES]
Layout: Clean, professional design with good visual hierarchy. Use our brand's visual style.
Slide 5 - Color palette
In this step, generate a color palette for your brand.
Prompt:
Create a "Color Palette" slide showing our brand colors.
Based on the logo you created, extract and display:
- Primary color (large swatch with HEX and RGB codes)
- Accent color (large swatch with HEX and RGB codes)
- 2-3 neutral/supporting colors (swatches with codes)
Include usage notes for each color (e.g., "Primary: Headlines, key elements" / "Accent: CTAs, energy, highlights")
Professional layout with large, clear swatches.
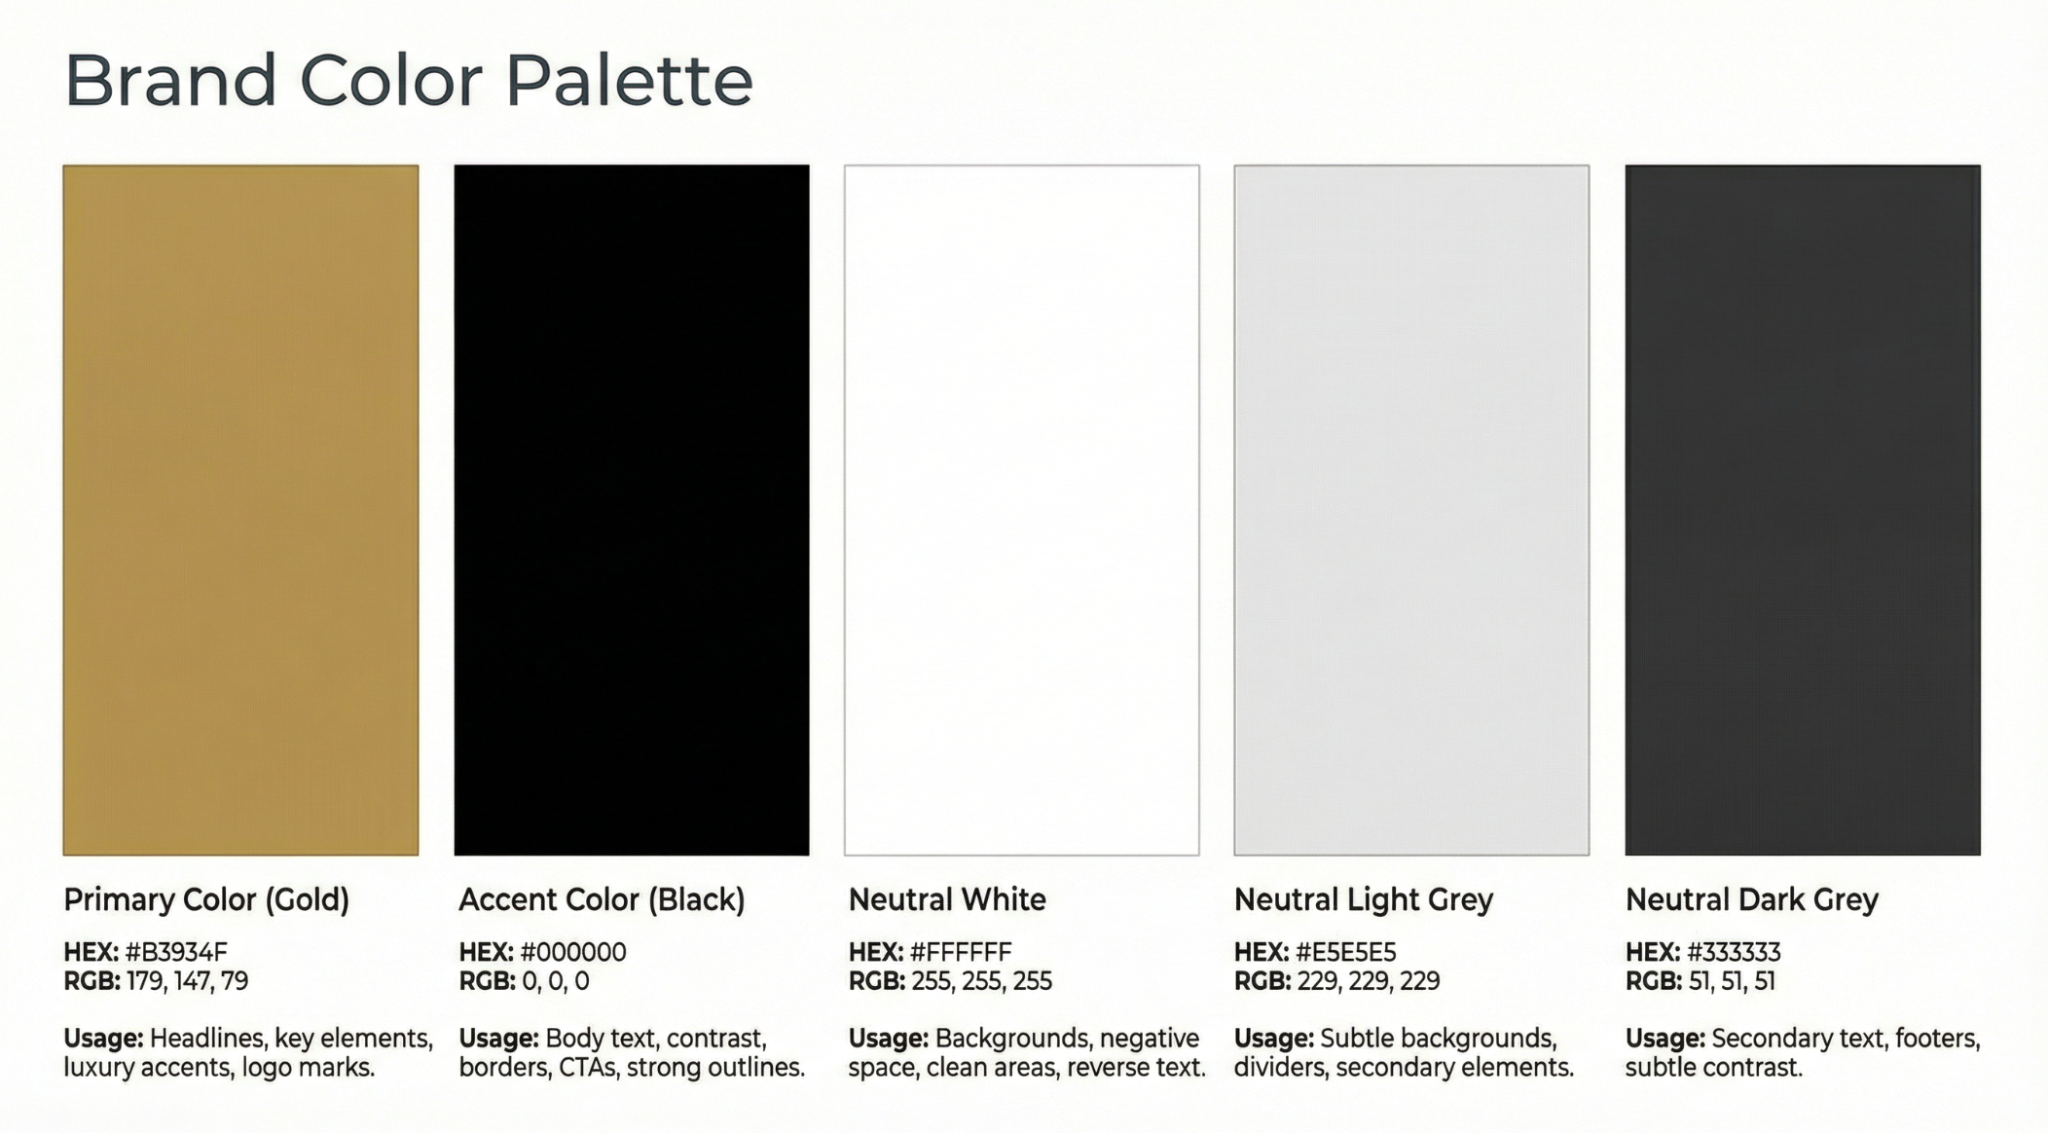
Save it as ‘Slide_05_ColorPalette.png.”
Slide 6 - Typography
Typography is one of the most important assets in the brand identity package. Write a prompt that creates a primary and secondary font for your brand.
Prompt:
Create a "Typography System" slide based on the fonts used in our logo.
Show: Primary Font: [The font style from the logo]
- Large heading sample: "The Quick Brown Fox" (48pt)
- Subheading sample: "The Quick Brown Fox" (32pt)
- Usage: Headlines, key messaging
Secondary Font: [Complementary font]
- Body text sample: Full paragraph at 16pt
- Usage: Body copy, descriptions
Display font specimens with different sizes and weights. Professional typography presentation.
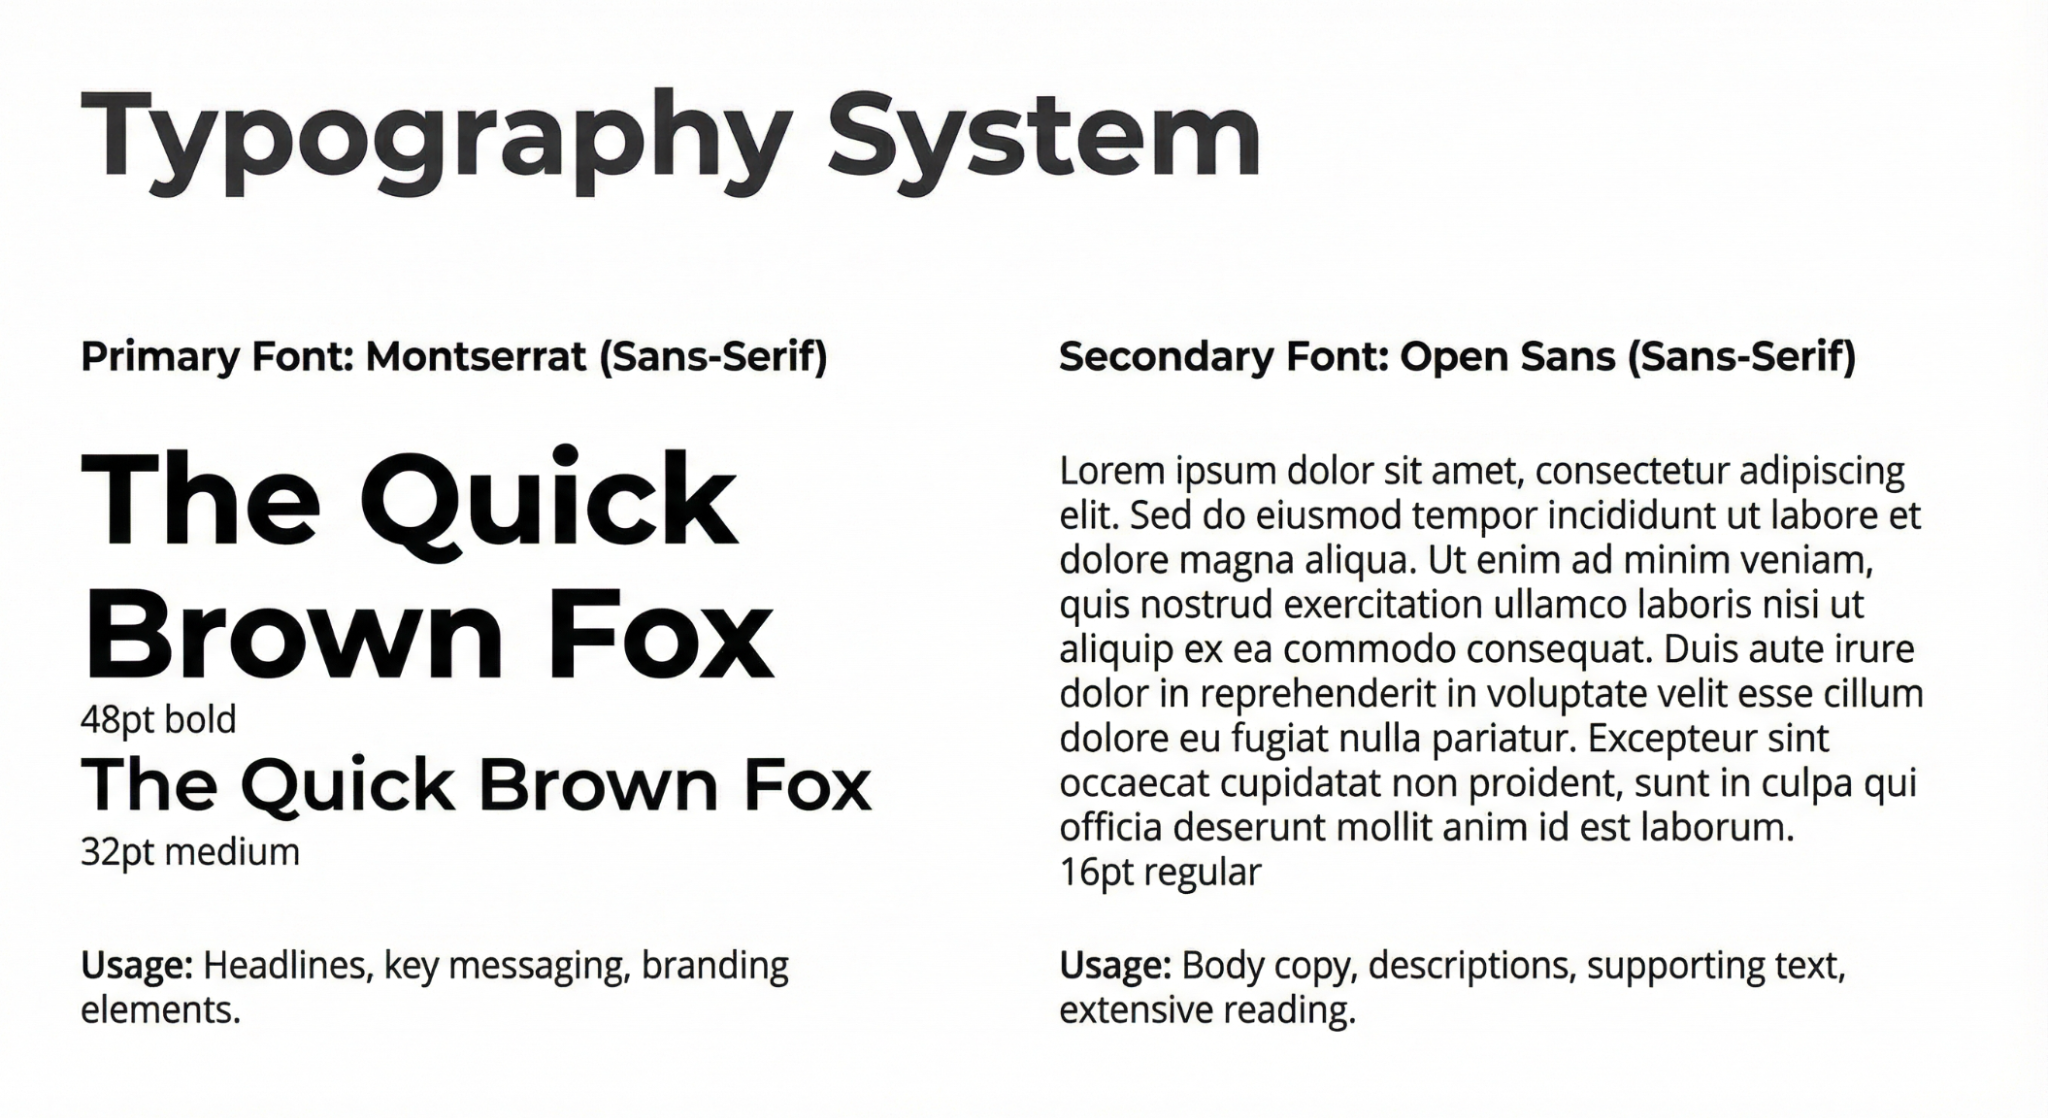
Save it as ‘slide_06_Typography.png.’
Slide 7 - Brand voice and messaging
Now create your brand voice and messaging.
Prompt:
Brand Voice: (how we communicate) [Write 3-4 bullet points describing your tone - e.g., "Professional but approachable", "Direct without being blunt", "Energetic without being juvenile"]
Core Messages: (what we say) [Write 3-5 key messages about your brand - e.g., "Time you'll never bill is money you'll never see"]
Tagline: (displayed prominently) "[YOUR TAGLINE]"
Clean layout with good hierarchy. Professional brand guidelines aesthetic.
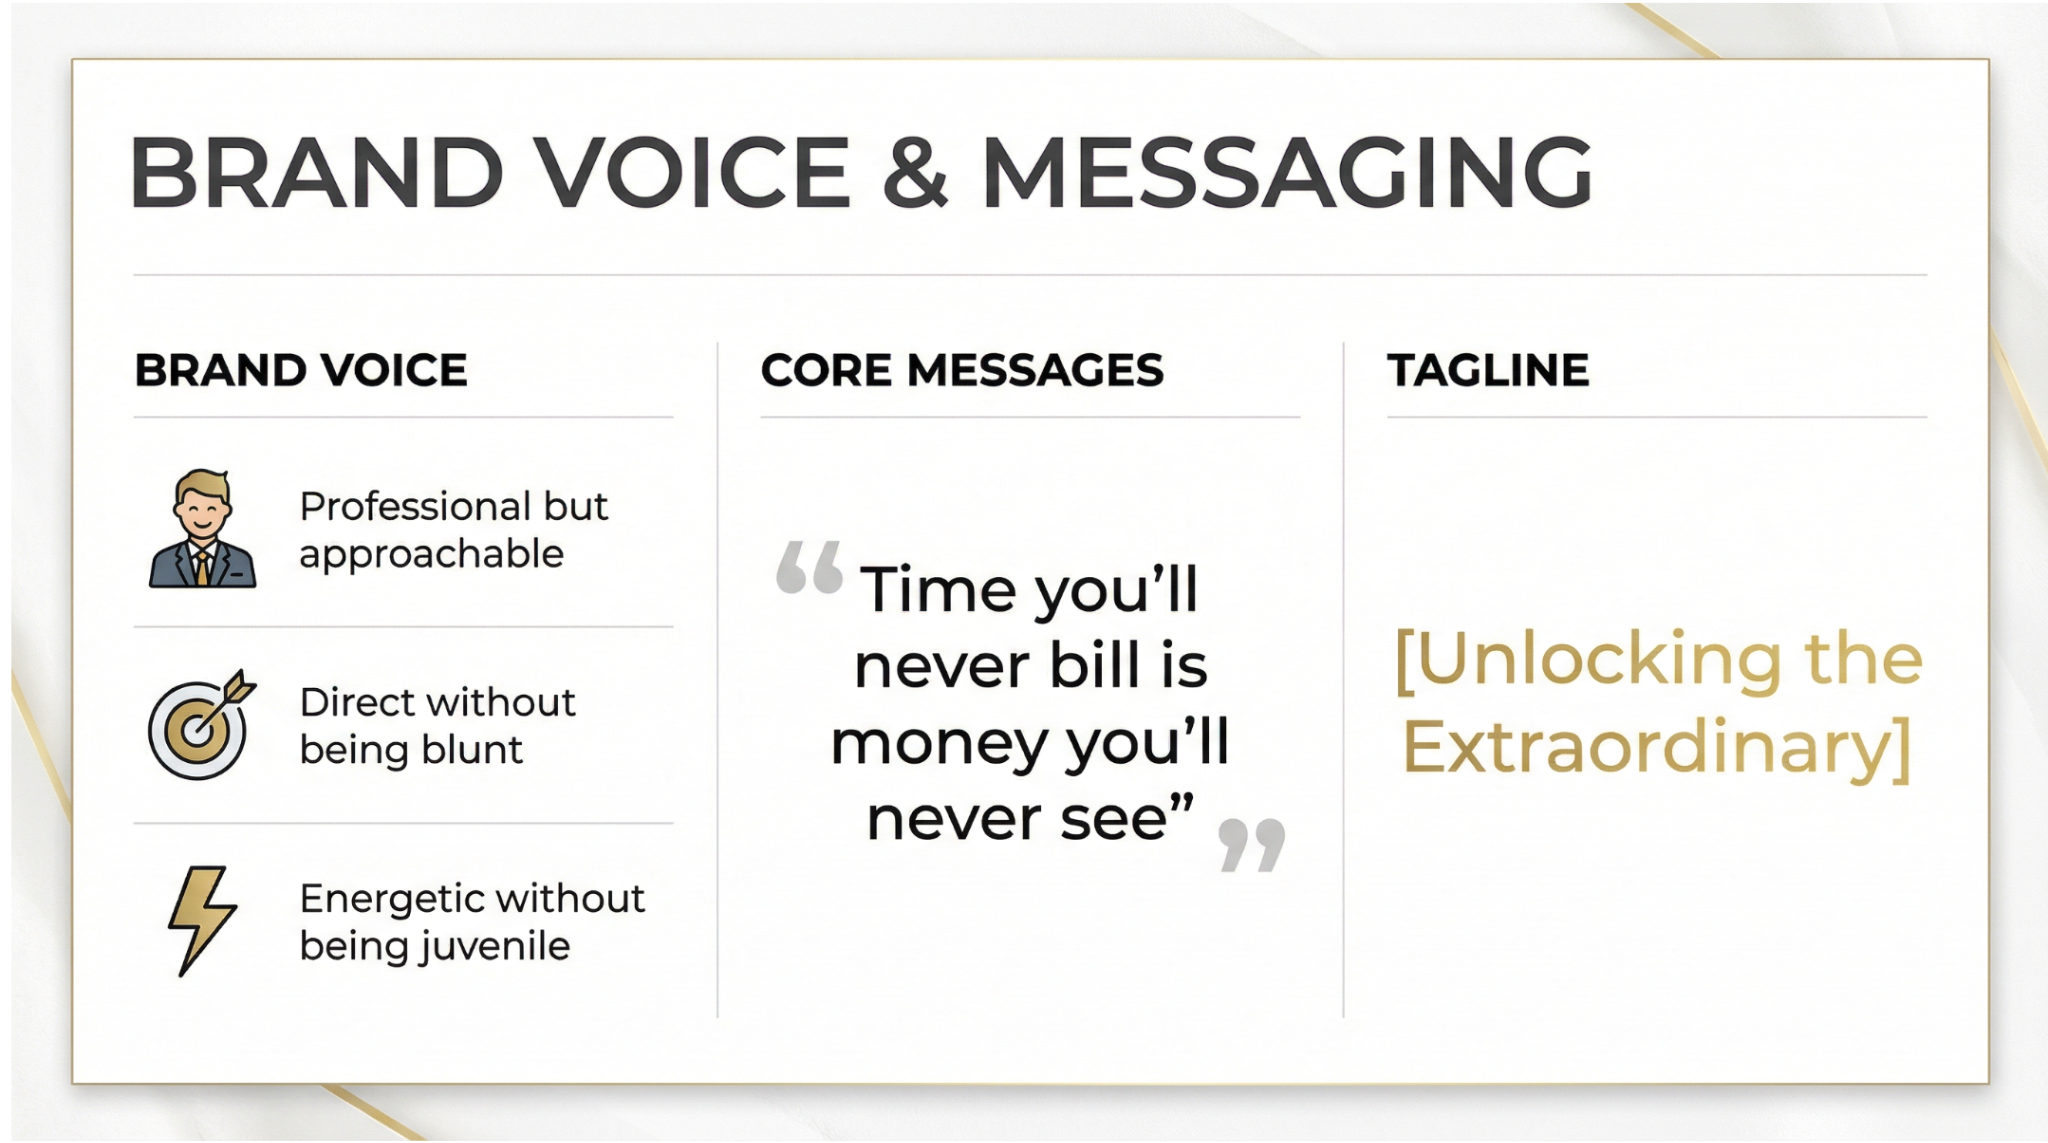
Save the file as “Slide_07_BrandVoice.png.”
Slide 8 - Social media assets grid
The social media assets grid provides an exceptional overview of branding that shows across the social media channels.
Prompt:
Create a "Social Media Assets" slide showing a grid with 6 labeled sections for different platforms:
1. Profile Picture (1080x1080px) - square
2. Twitter/X Header (1500x500px) - wide
3. LinkedIn Cover (1584x396px) - wide
4. Instagram Story Template (1080x1920px) - vertical
5. Facebook Cover (820x312px) - wide
6. YouTube Thumbnail (1280x720px) - landscape
Show the dimensions and aspect ratios clearly with placeholder frames. We'll generate the actual assets next.
Professional grid layout with platform icons.
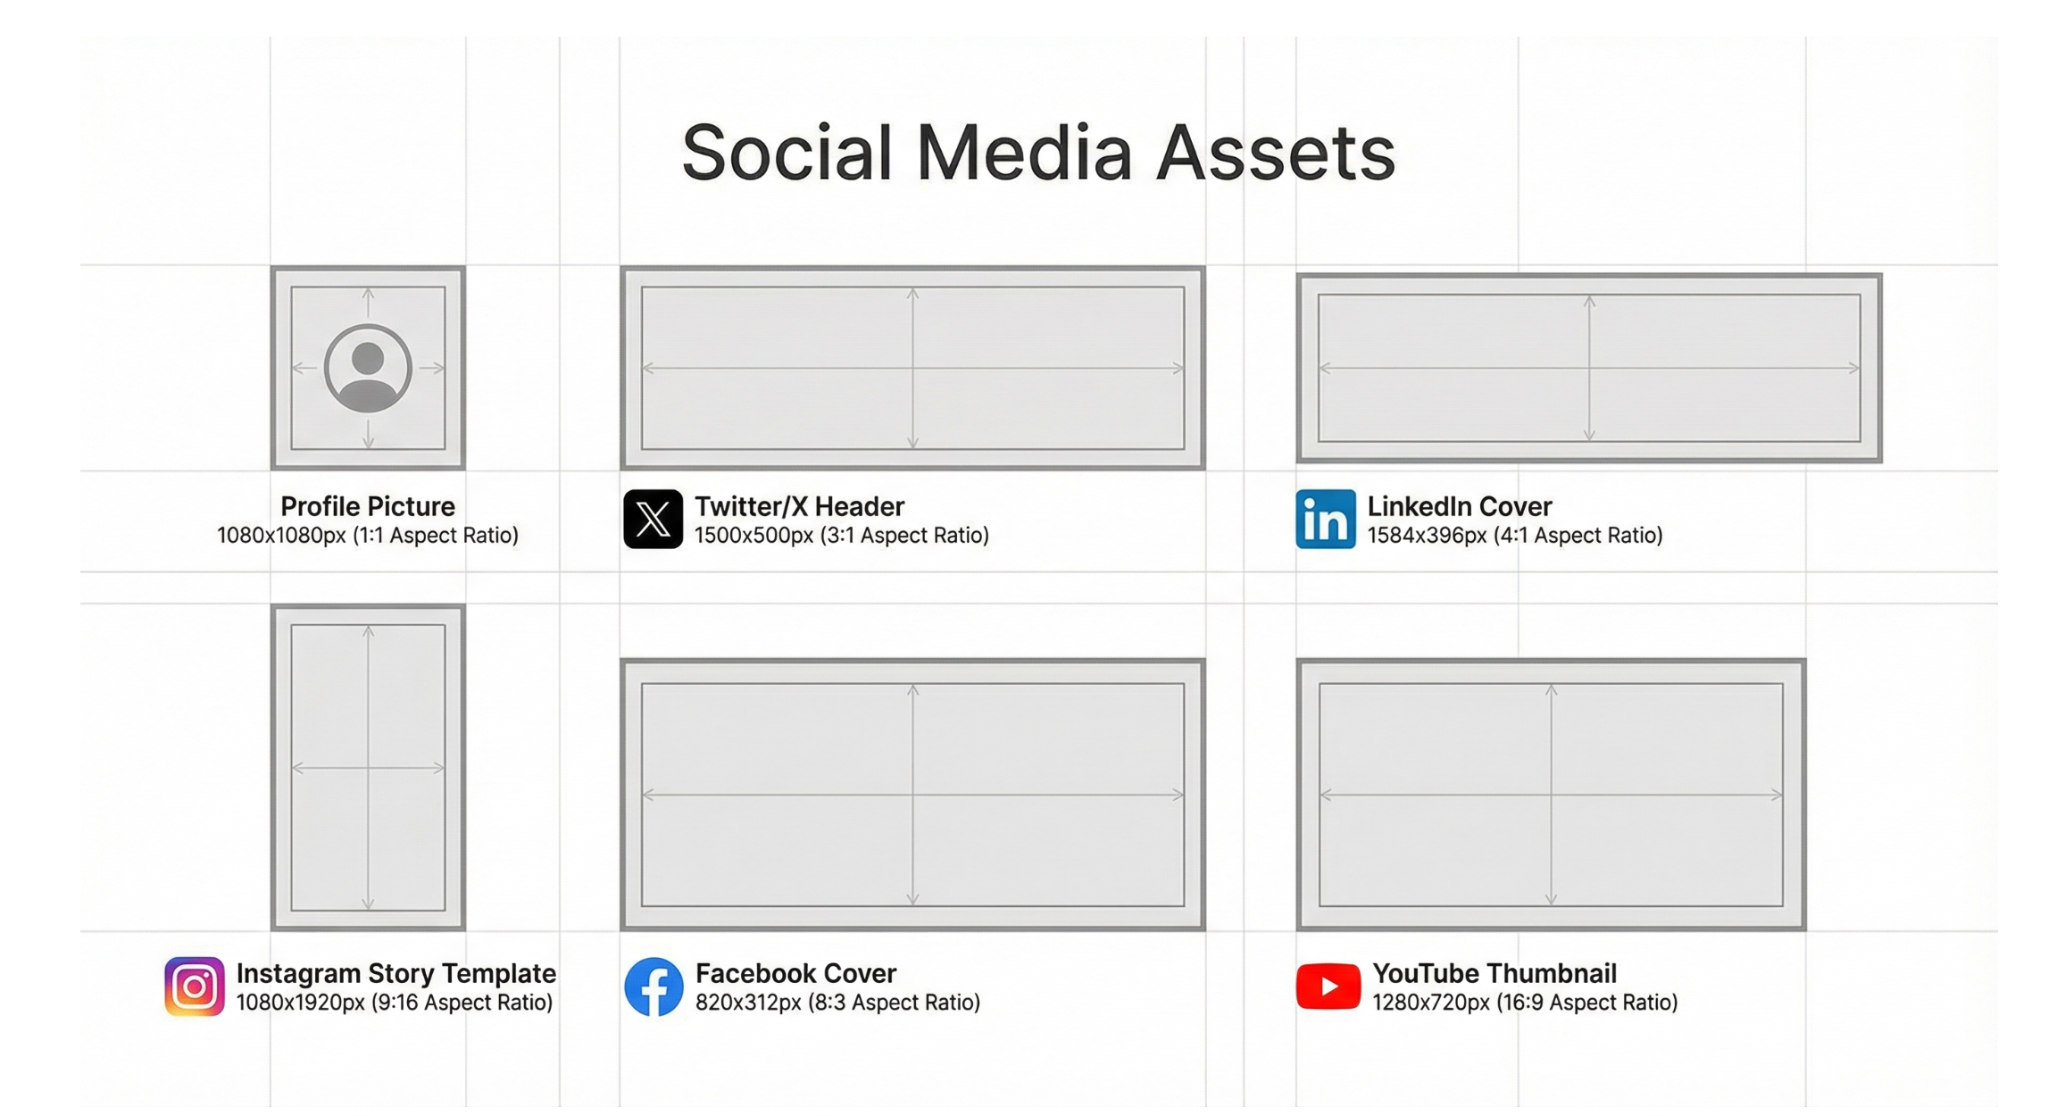
Save the image as ‘Slide_08_SocialGrid.png.’
Slide 9 - Brand applications
Brand applications are the real-world ways your brand shows up and gets used. They are how your logo, colors, fonts, and overall style are applied across different touchpoints, so everything looks and feels consistent.
Prompt:
Create a "Brand Applications" slide showing 4-6 mockups of how our brand could be used in the real world:
- Business card design
- Website header
- Email signature
- Product/app interface
- Marketing material
- Social media post
These should be visual mockups showing our logo, colors, and typography in context—a professional presentation showing brand versatility.
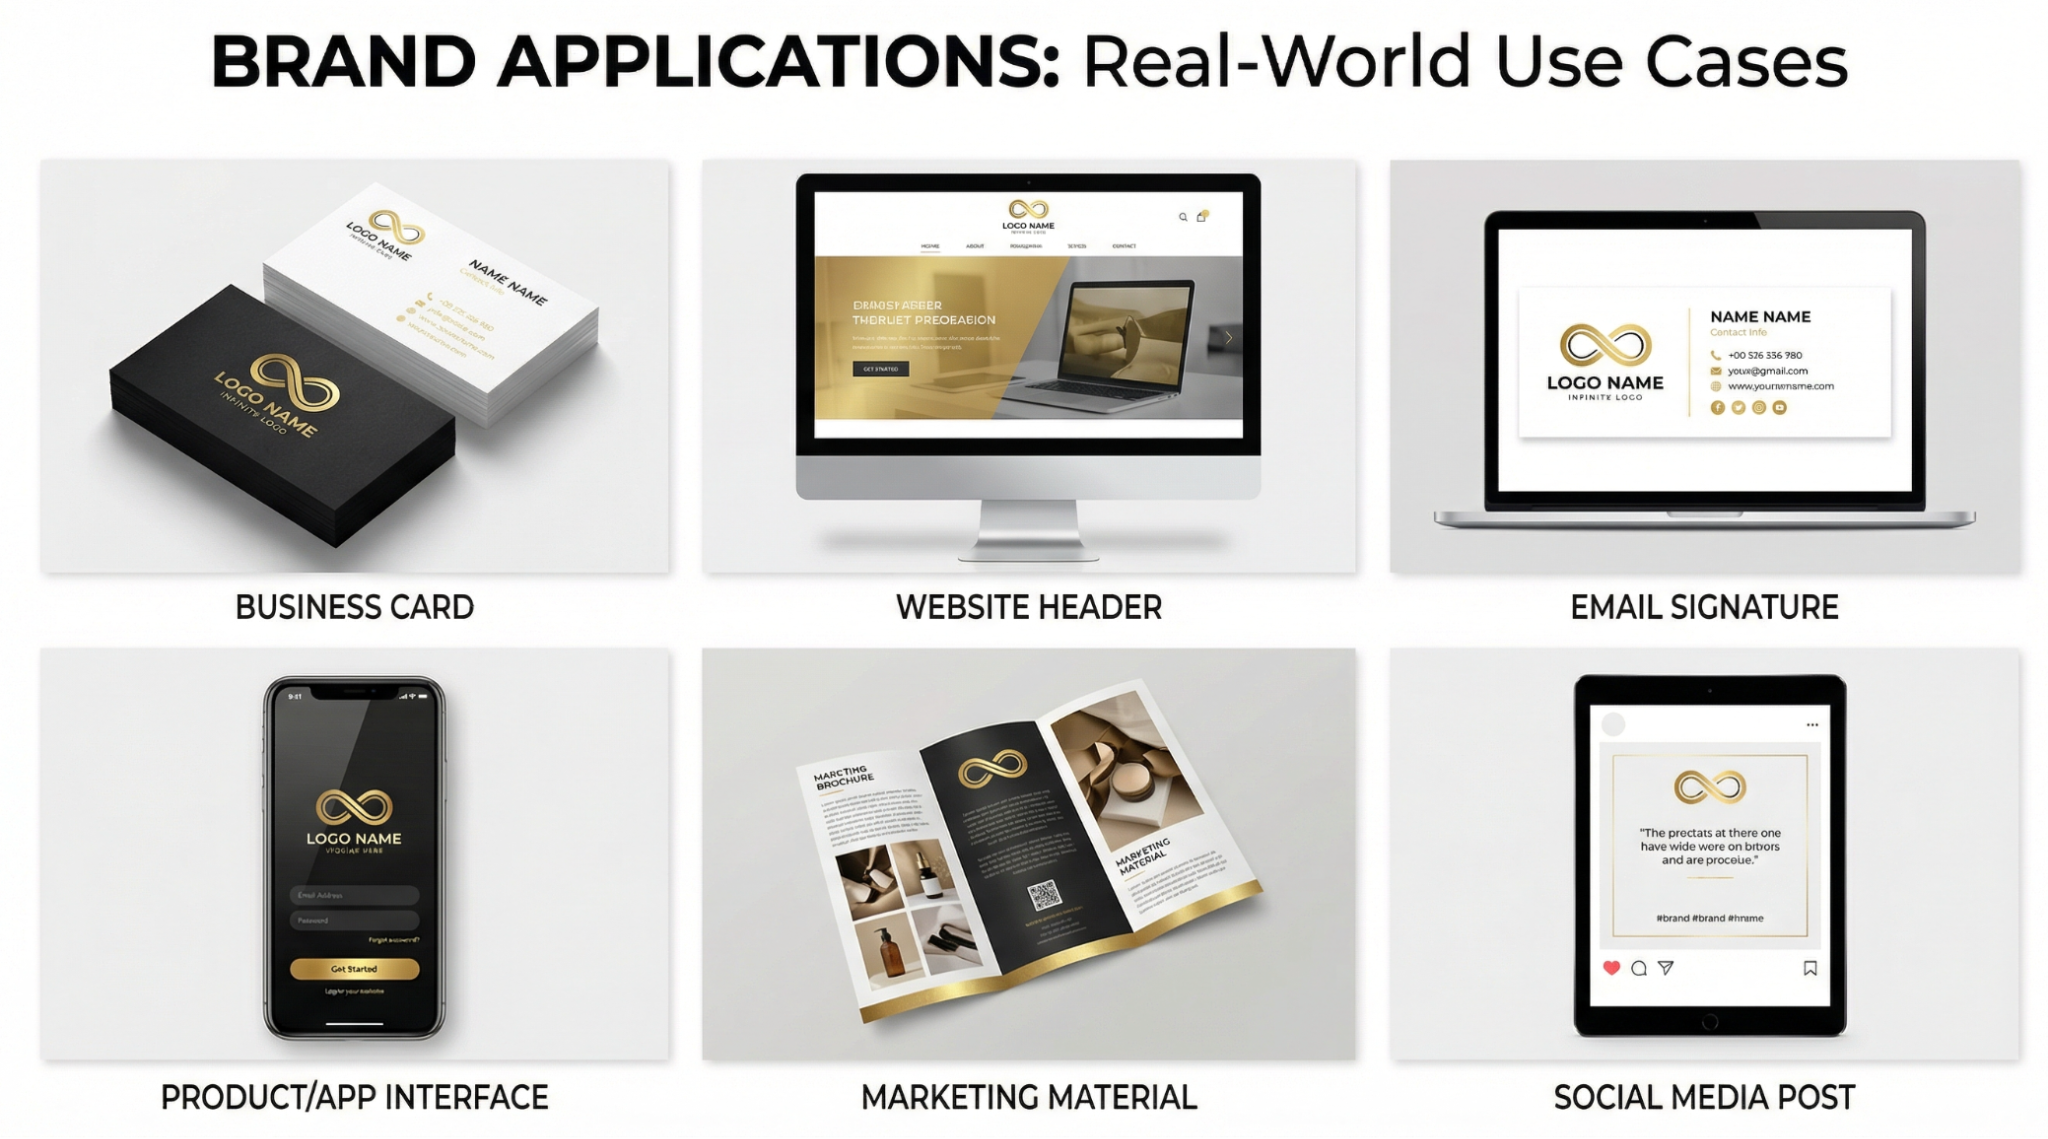
Save it as “Slide_09_Applications.png.”
Step 6 - Generate social media assets
This is the last step before finalizing your brand kit. Social media assets are part of a brand identity kit. In this age, an active presence on social media is necessary for success.
Use these prompts to create everything you need to get your brand’s social media accounts up and running.
Profile Picture
Prompt:
Create a professional social media profile picture for [YOUR BRAND NAME] (1080x1080px square).
Use our simplified logo or icon optimized for circular crops. Works at small sizes (48x48px)—clean, bold design using our brand colors.
Should feel [YOUR 3 ADJECTIVES] and be instantly recognizable as our brand.
Save as: "Social_ProfilePicture.png" in the Social Assets folder.
Twitter/X Header
Prompt:
Create a Twitter/X header banner (1500x500px) for [YOUR BRAND NAME].
Include:
- Our logo or logo elements
- Our tagline: "[YOUR TAGLINE]"
- Our brand colors
Leave a safe space for a circular profile picture on the left side
Clean, professional composition that communicates [KEY BRAND MESSAGE]. Appeals to [TARGET CUSTOMER].
Save as: "Social_TwitterHeader.png" in the Social Assets folder.
LinkedIn Cover
Prompt:
Create a LinkedIn cover banner (1584x396px) for [YOUR BRAND NAME].
More professional/corporate than Twitter. Include our logo, tagline, and brand colors. Leave space for the profile picture on the left.
Communicates credibility and expertise to potential clients/partners. Professional business aesthetic.
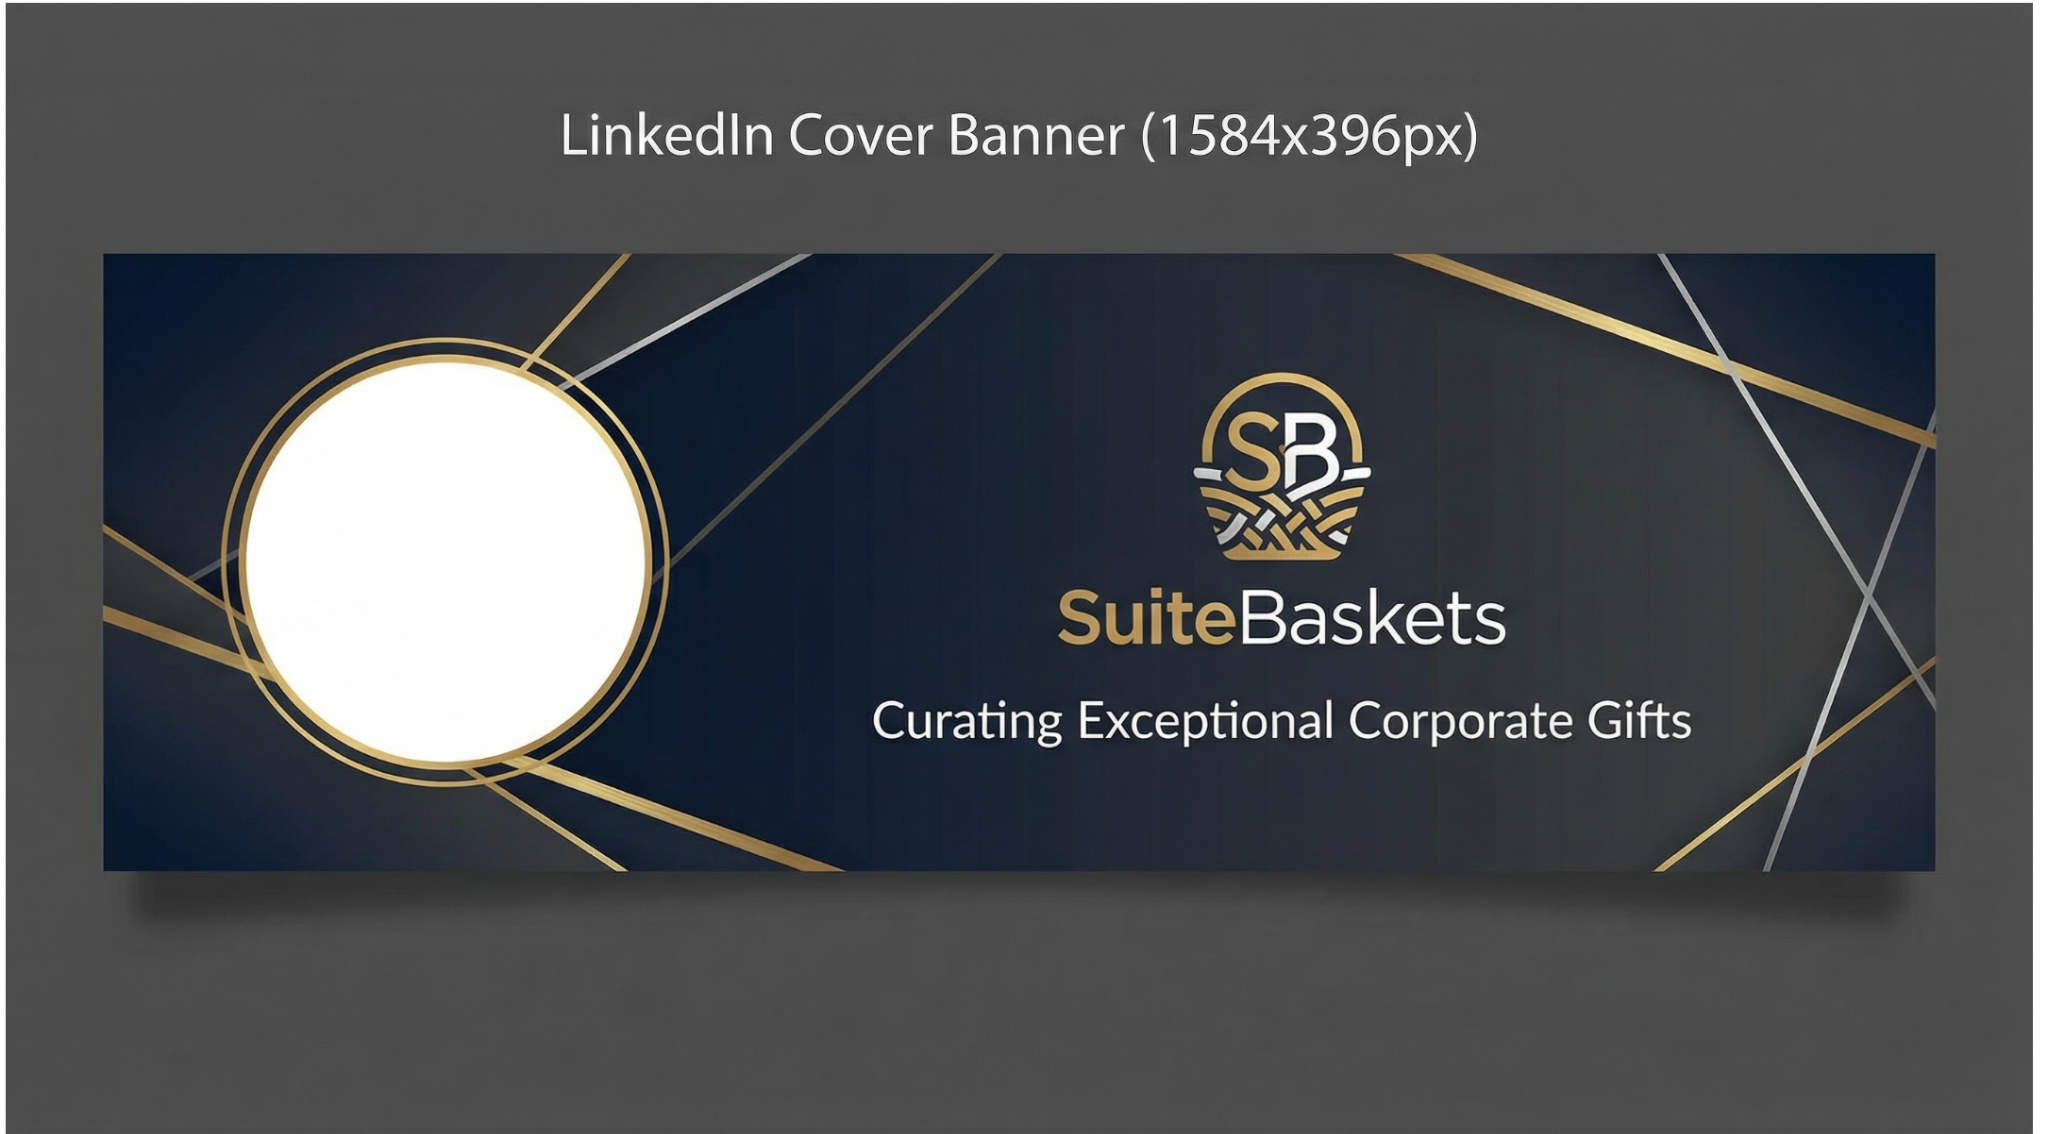
Save as: "Social_LinkedInCover.png" in the Social Assets folder.
Instagram Story Template
Prompt:
Create an Instagram Story template (1080x1920px) for [YOUR BRAND NAME].
Reusable branded template with:
- Branded design elements (borders, shapes, patterns)
- Small logo inthe corner
- Clear content area in the middle for photos/text
- Brand color accents
- Professional but Instagram-appropriate. Frames content while maintaining brand presence.
Save as: "Social_InstagramStory.png" in the Social Assets folder.
Facebook Cover
Prompt:
Create a Facebook cover (820x312px) for [YOUR BRAND NAME].
Include logo (right side), tagline, brand colors. Leave space for the circular profile picture, bottom left.
Community-focused, welcoming, professional. Works with Facebook's interface.
Save as: "Social_FacebookCover.png" in the Social Assets folder.
YouTube Thumbnail Template
Prompt:
Create a YouTube thumbnail template (1280x720px) for [YOUR BRAND NAME].
Reusable template with:
- Strong branded design elements
-Small logo inthe corner
- Large text area for video titles (readable at small sizes)
- High contrast for visibility
- Placeholder text: "VIDEO TITLE HERE"
Stands out in the YouTube feed while maintaining brand consistency.
Save as: "Social_YouTubeThumbnail.png" in the Social Assets folder.
Step 7 - Assemble your brand kit
The last thing to do is to assemble your brand kit.
First, create a blank slide in Google Slides or use Microsoft PowerPoint. Copy/Paste the generated slides from 1 to 9 in the correct order (one image per slide). Once you create the slides, change the name to ‘yourbrandname_slides_deck.
Arrange your slides in the following order:
- Cover
- Brand Overview
- Logo System
- Logo Usage Guidelines
- Color Palette
- Typography
- Brand Voice & Messaging
- Social Media Assets Grid
- Brand Applications
You can also export everything you generated with Nano Banana Pro into a PDF. Instruct Gemini to create a PDF of all the images generated by Nano Banana.
That’s it for this tutorial, AI design wizards! To put your brand kit to work, grab your logos, fonts, and color scheme and set everything up in Canva. That way, whenever you’re making an ad or a social post, your new assets are always right there. If you’re not using Canva, you can also create a custom theme in Google Slides by going to Slide > Edit Theme.
.avif)

.png)
.avif)

