.avif)
.png)
Zapier agents have taken the automation scene seriously. They created a simple and intuitive interface, along with an easy setup process. With just a few clicks, users can build multi-step workflows that run in the background—no coding required. These agents can monitor data, make decisions, and trigger actions across thousands of apps like Google Sheets, Slack, Gmail, and more. What makes them especially powerful is their ability to handle conditional logic, delays, and dynamic data mapping, all through a visual builder. This makes automation not only accessible but also incredibly effective, saving hours of manual work while ensuring tasks run smoothly and consistently.
You can do a lot with Zapier agents. Many processes within companies encounter issues and challenges. Not anymore. In this tutorial, we will show you how to automate HR onboarding processes using Zapier Agents. You will learn how to create a Zap, add a Zapier agent to handle role-based logic, locate files in Google Drive, and send an email using Gmail.
By the end of this tutorial, you’ll be able to:
- Set up your HR data and onboarding assets
- Use Zapier Agents to match roles with documents
- Automate ersonalized Welcome Emails via Gmail
- Test Your HR Workflow
Let’s get started right away!
Step 1 - Set Up your HR data and onboarding assets
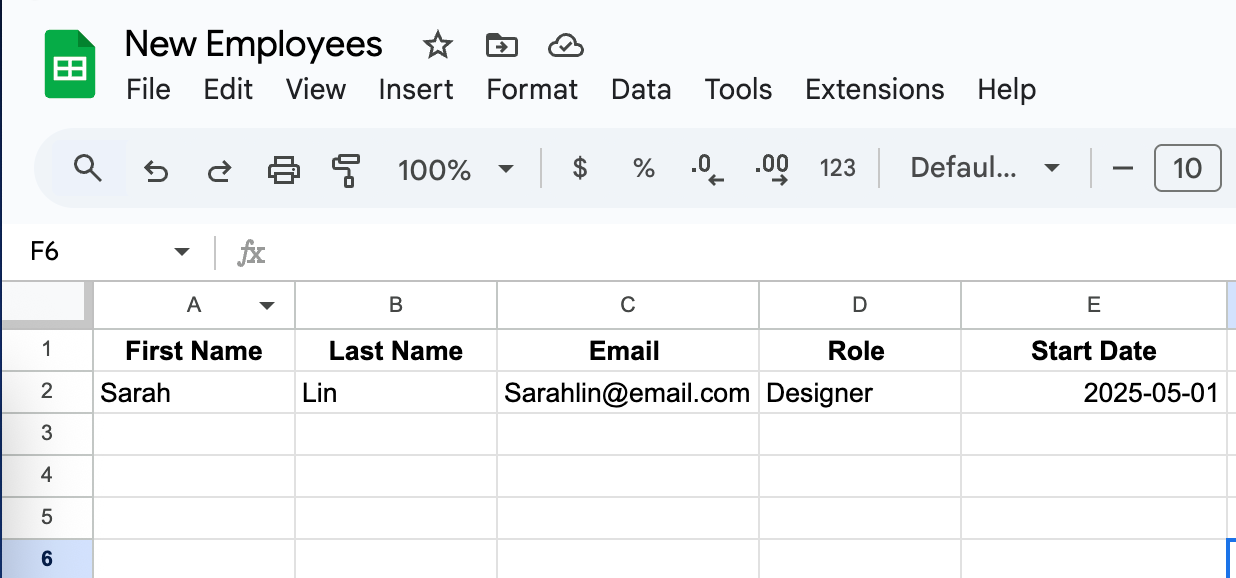
The first step is to gather your HR data and onboarding assets. That means setting up your Google sheet, named ‘New Employees’, with headers. Access Google Sheets and create the ‘+’ sign to create a new sheet. Populate the sheet with the names, emails, role and start date.
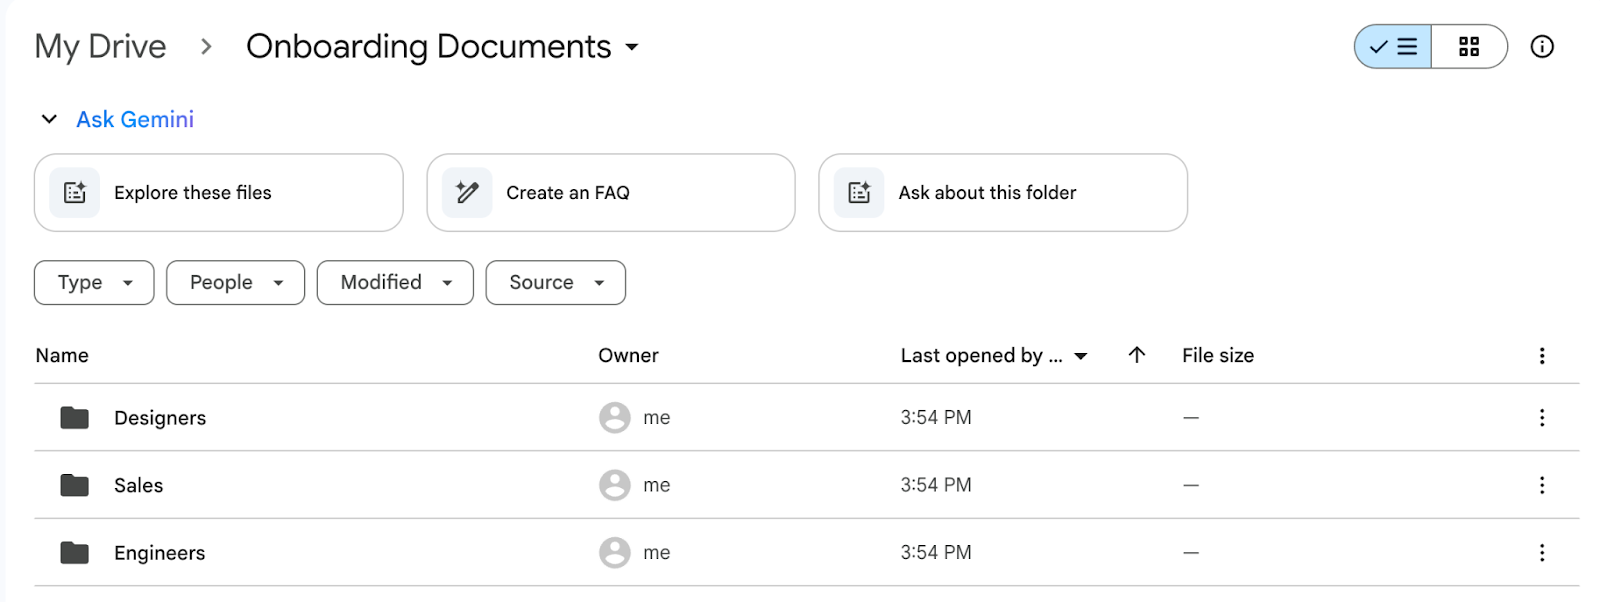
Now, go to your Google Drive and create a folder, 'Onboarding Documents.’ Create three folders and name them ‘Engineer, Designer, Sales.’ Put the relevant documents in each folder.
Go to Zapier agents. Sign in to an existing account or create a new one.
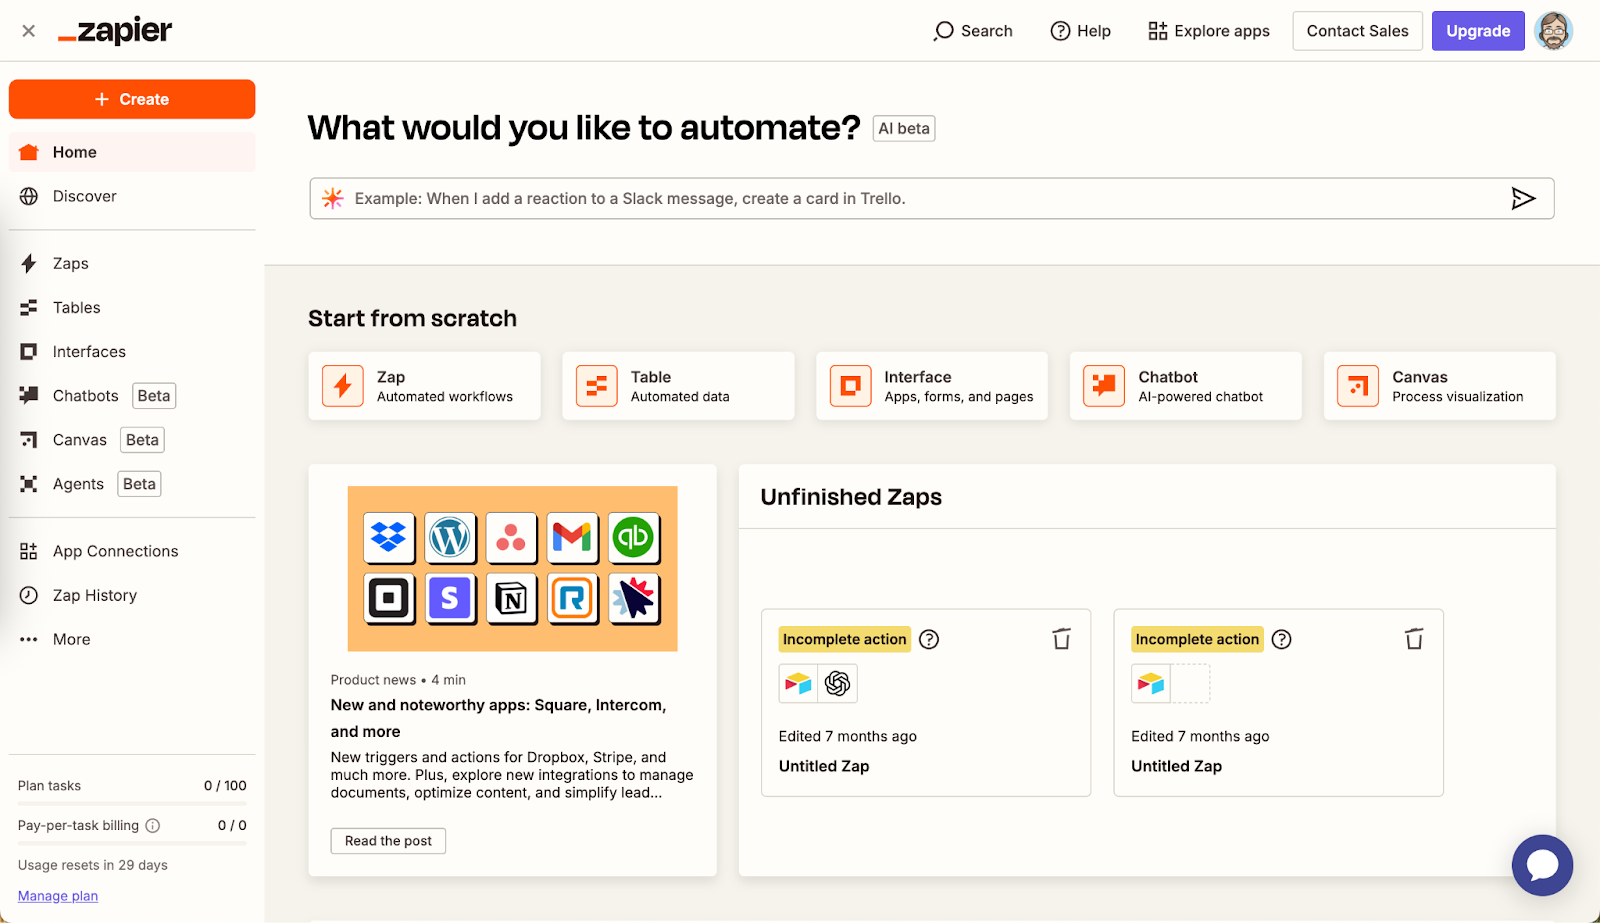
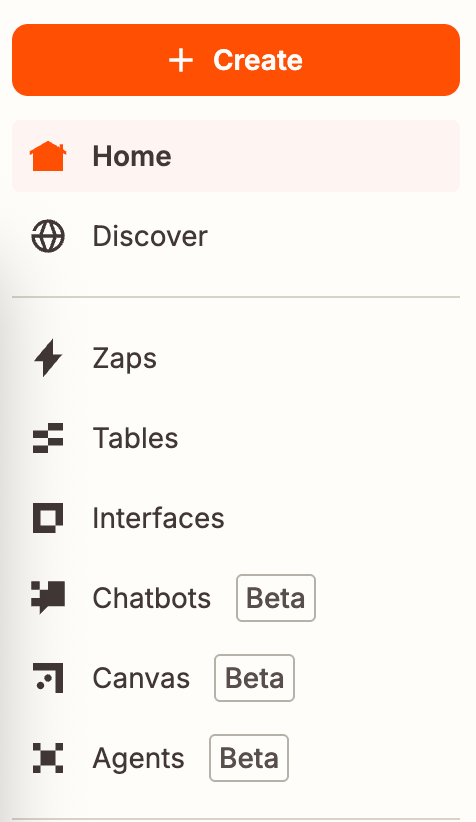
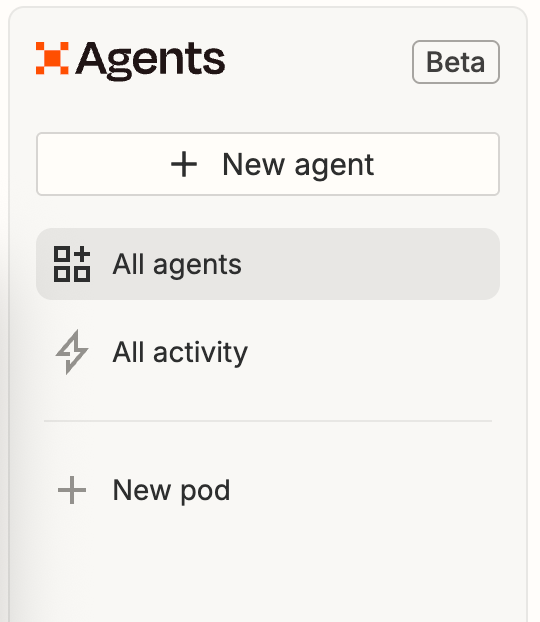
Click 'Agents' in the left menu.
We must start with a new agent. Click '+ New agent.'
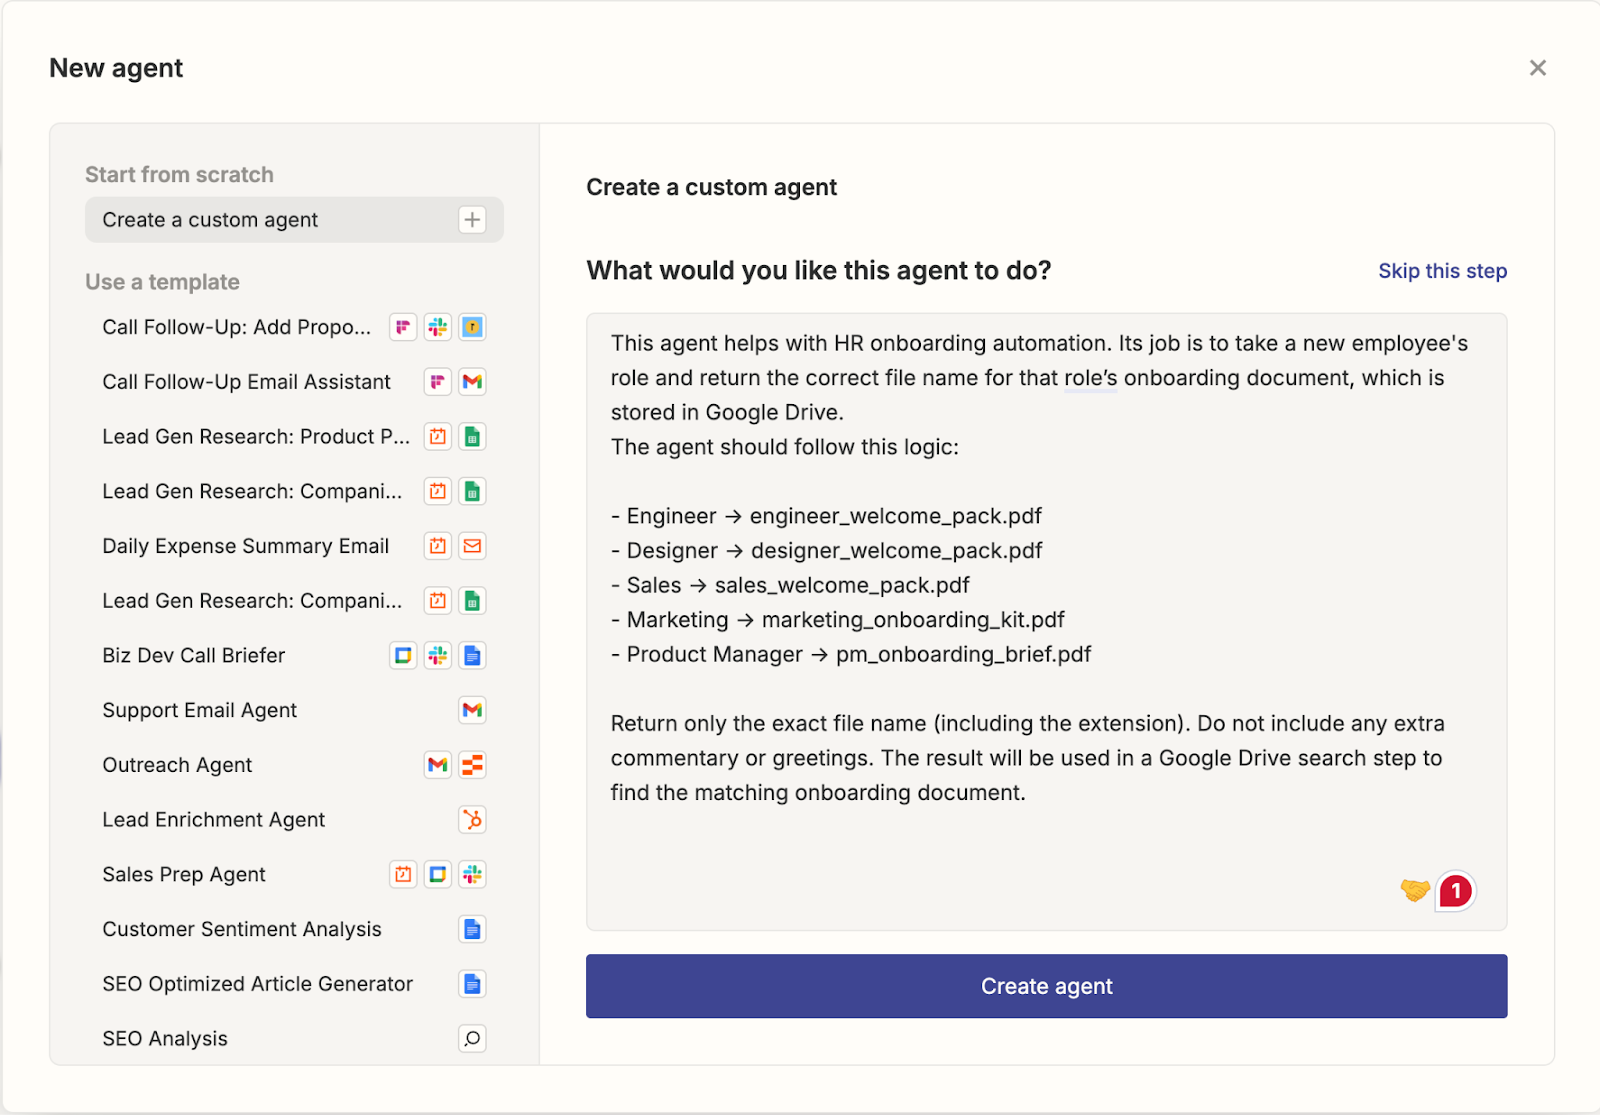
Describe what you want your agent to do. Use the following text to get started. You can modify it according to your needs.
Prompt:
This agent helps with HR onboarding automation. Its job is to take a new employee's role and return the correct file name for that role's onboarding document, which is stored in Google Drive.
The agent should follow this logic:
- Engineer → engineer_welcome_pack.pdf
- Designer → designer_welcome_pack.pdf
- Sales → sales_welcome_pack.pdf
- Marketing → marketing_onboarding_kit.pdf
- Product Manager → pm_onboarding_brief.pdf
Return only the exact file name (including the extension). Do not include any extra commentary or greetings. The result will be used in a Google Drive search step to find the matching onboarding document.
Click 'Create agent.'
Step 2 - Using Zapier Agents to match roles with documents
Matching the right onboarding documents to each new hire's role can be time-consuming, but Zapier Agents make it effortless. By using smart triggers and logic, you can automatically detect the employee's role from a Google Sheet or form submission and instantly send the appropriate onboarding materials. This not only ensures consistency and accuracy but also saves valuable time for HR teams, all without writing a single line of code.
Click ‘Add trigger.’ Select Google Sheets and select ‘New spreadsheet row.’
Select your Google Sheets account. Specify the name of the spreadsheet you created in the previous step and then choose the sheet number. Click ‘Save.’

We will modify the instructions to make them more specific. Use the following prompt to add to the instructions.
Prompt:
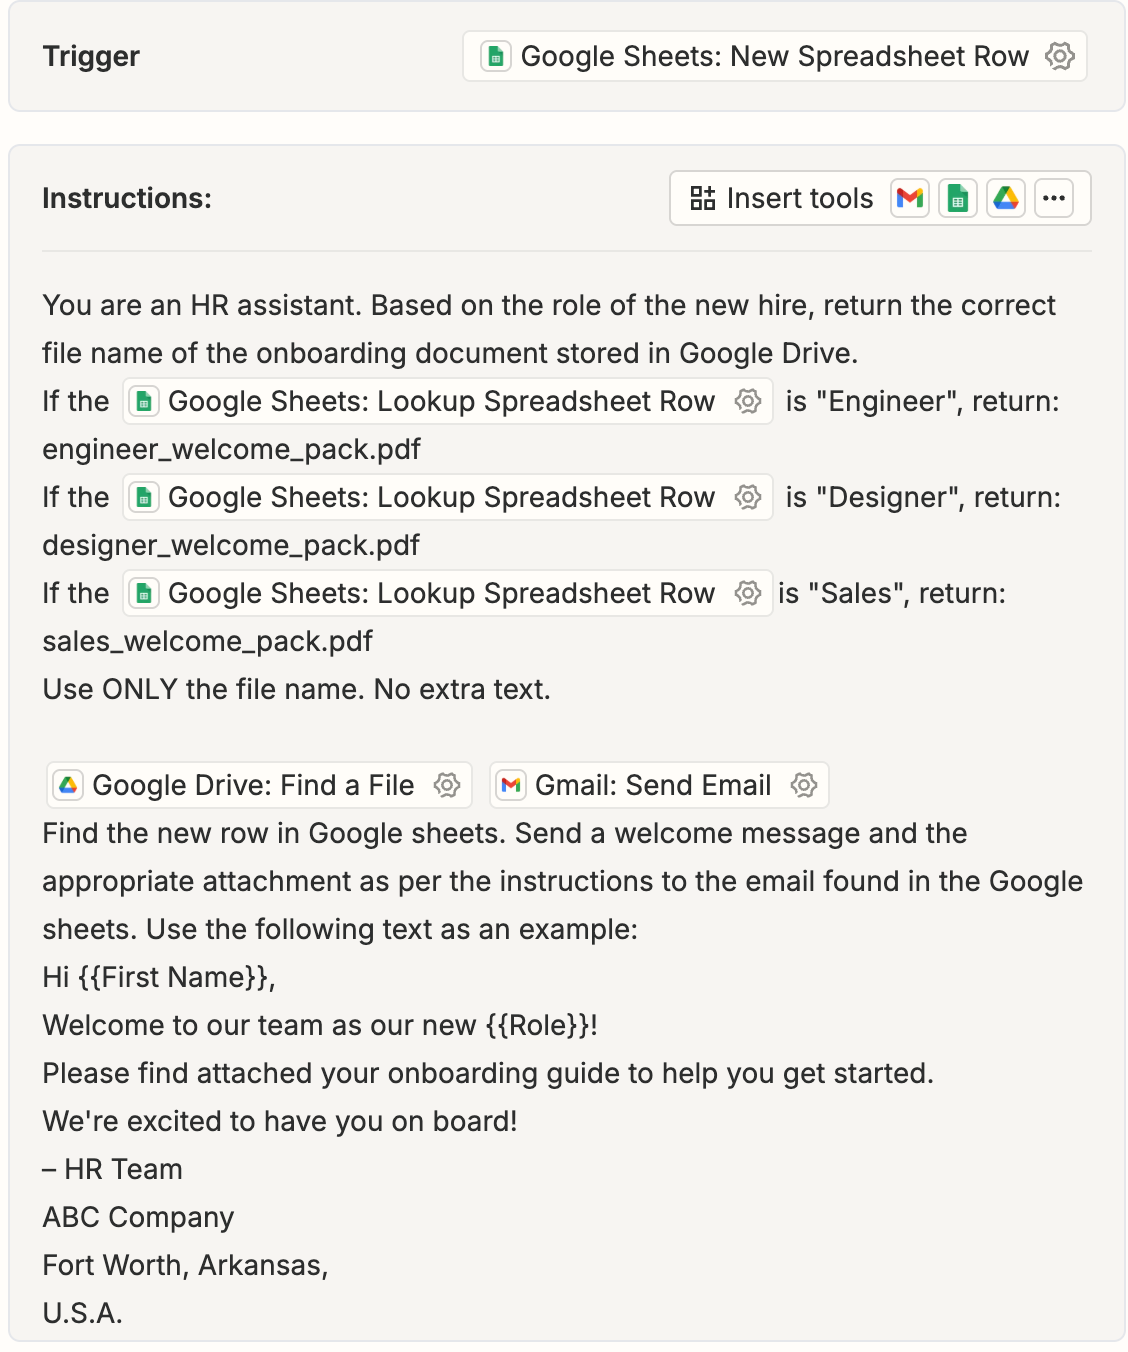
You are an HR assistant. Based on the role of the new hire, return the correct file name of the onboarding document stored in Google Drive.
If the role is "Engineer", return: engineer_welcome_pack.pdf
If the role is "Designer", return: designer_welcome_pack.pdf
If the role is "Sales", return: sales_welcome_pack.pdf
Use ONLY the file name. No extra text.
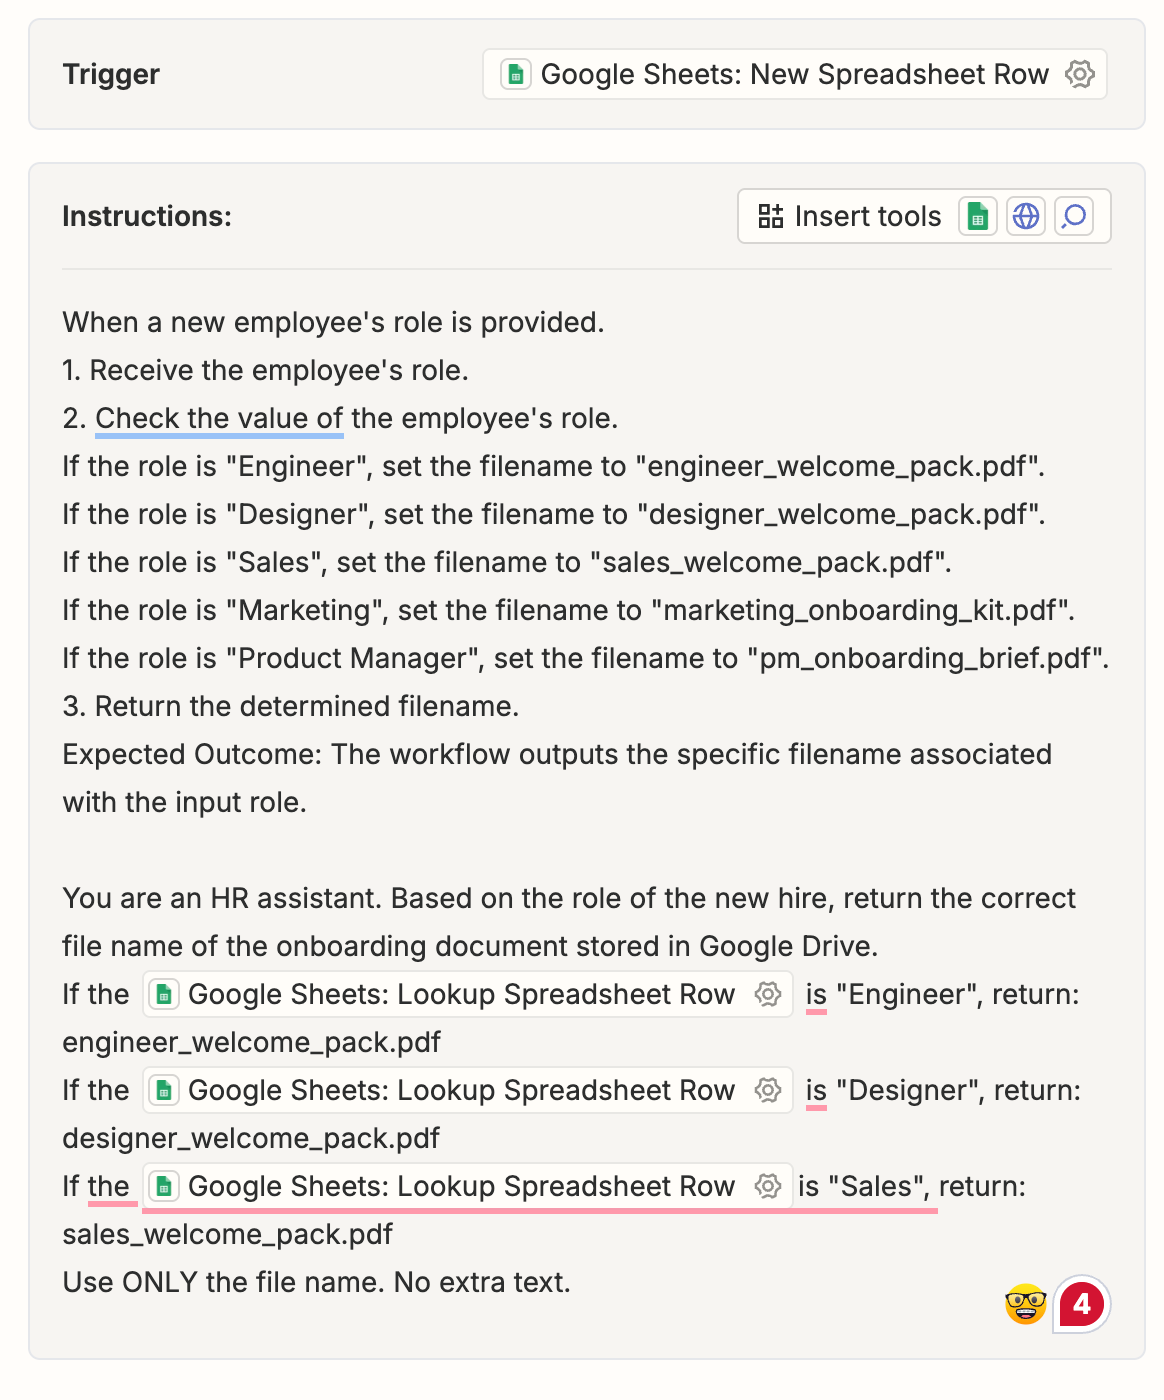
To specify the role, click Insert tools and select ‘Lookup spreadsheet row.’
Next, we must specify the file on Google Drive. The file will be sent as an attachment to the employee’s email. Click the ‘Insert tools’, select ‘Google Drive’ and choose ‘Find a file.’

We are almost done. The next step will be to configure the Zapier agent to find the email of the employee and send the welcome pack as an attachment and a custom message welcoming them.
Step 3 - Configure personalized welcome emails via Gmail
First impressions matter. Zapier Agents make it easy to send personalized welcome emails using Gmail. As soon as a new employee is added to your system, an automated email is triggered with their name, role, and start date already filled in. Each message feels tailored and professional, helping you deliver a consistent and warm onboarding experience with zero manual effort.
Click ‘Insert tools’ again. Select ‘Send email in Gmail. Choose ‘Send Email.’
Write the following instructions for the agent to send the email with a welcome message and the appropriate file attachment.
Prompt:
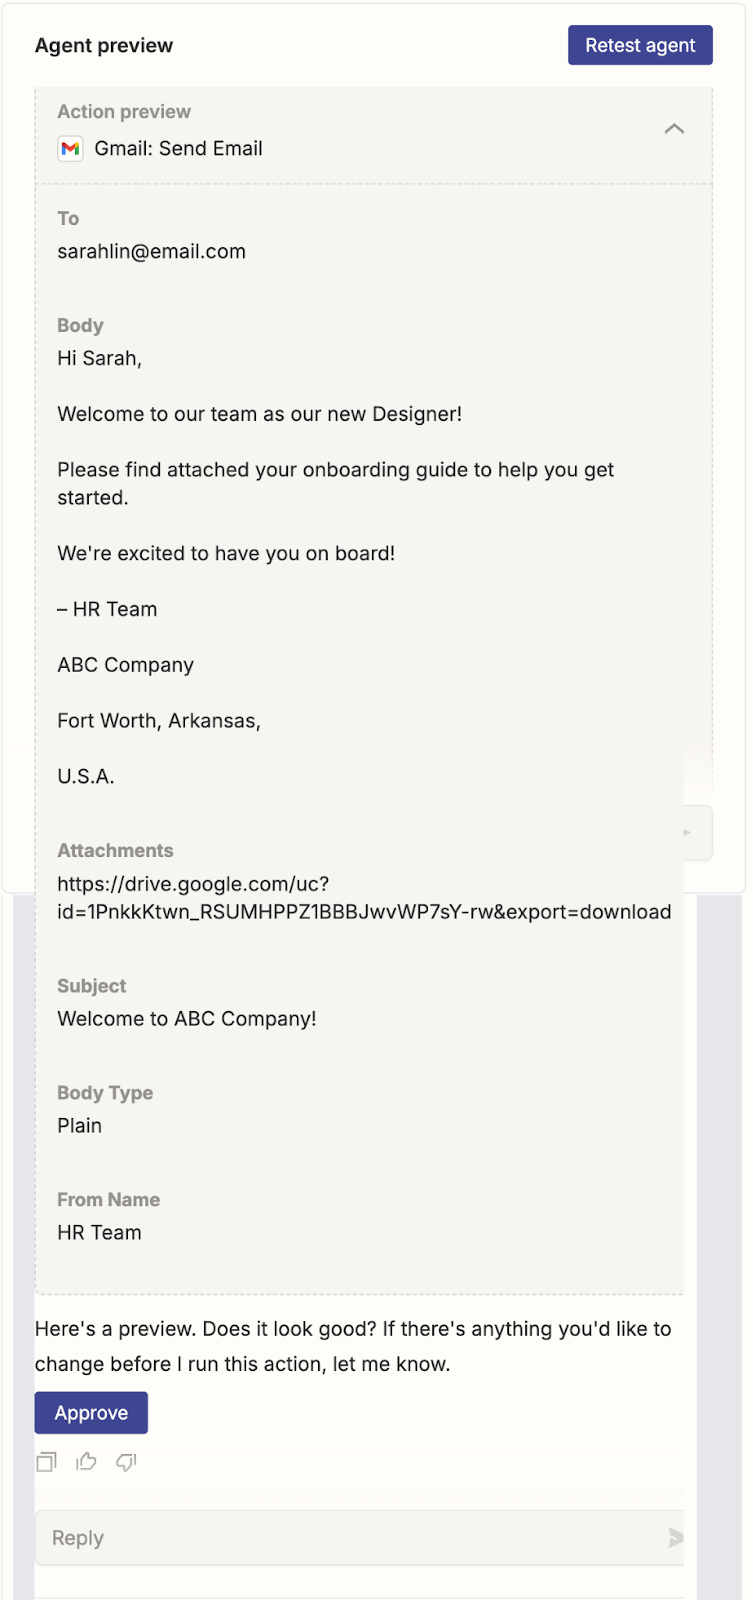
Find the new row in Google Sheets. Send a welcome message and the appropriate attachment as instructed in the email found in Google Sheets. Use the following text as an example:
Hi {{First Name}},
Welcome to our team as our new {{Role}}!
Please find attached your onboarding guide to help you get started.
We're excited to have you on board!
– HR Team
ABC Company
Fort Worth, Arkansas,
U.S.A.
Step 4 - Test your HR workflow
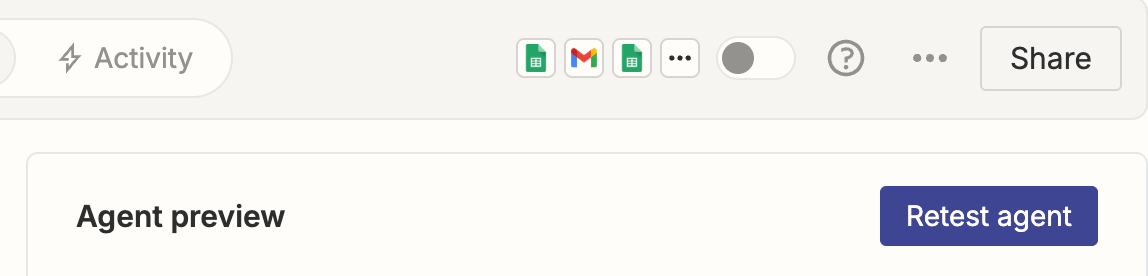
You are almost done. Test the workflow you just created by clicking the ‘Test Agent.’
Click ‘Approve’ if you are satisfied with the workflow. Zapier agents will now send emails automatically using the email message format you have specified in the instructions.
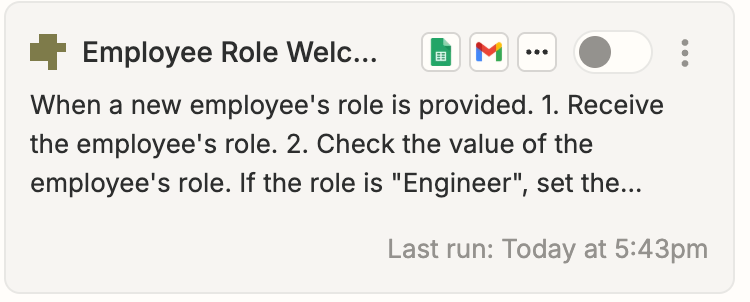
That's it for this tutorial. Always proofread the text and resolve any issues before going live with the agent. Once you’re satisfied with the workflow, click the slider to turn on the agent. It will go live.
.avif)

.png)
